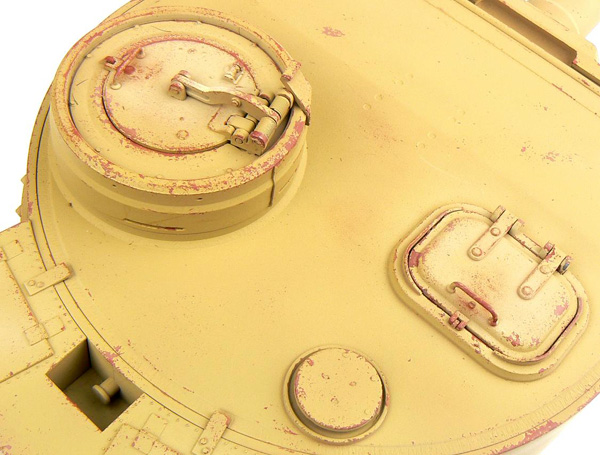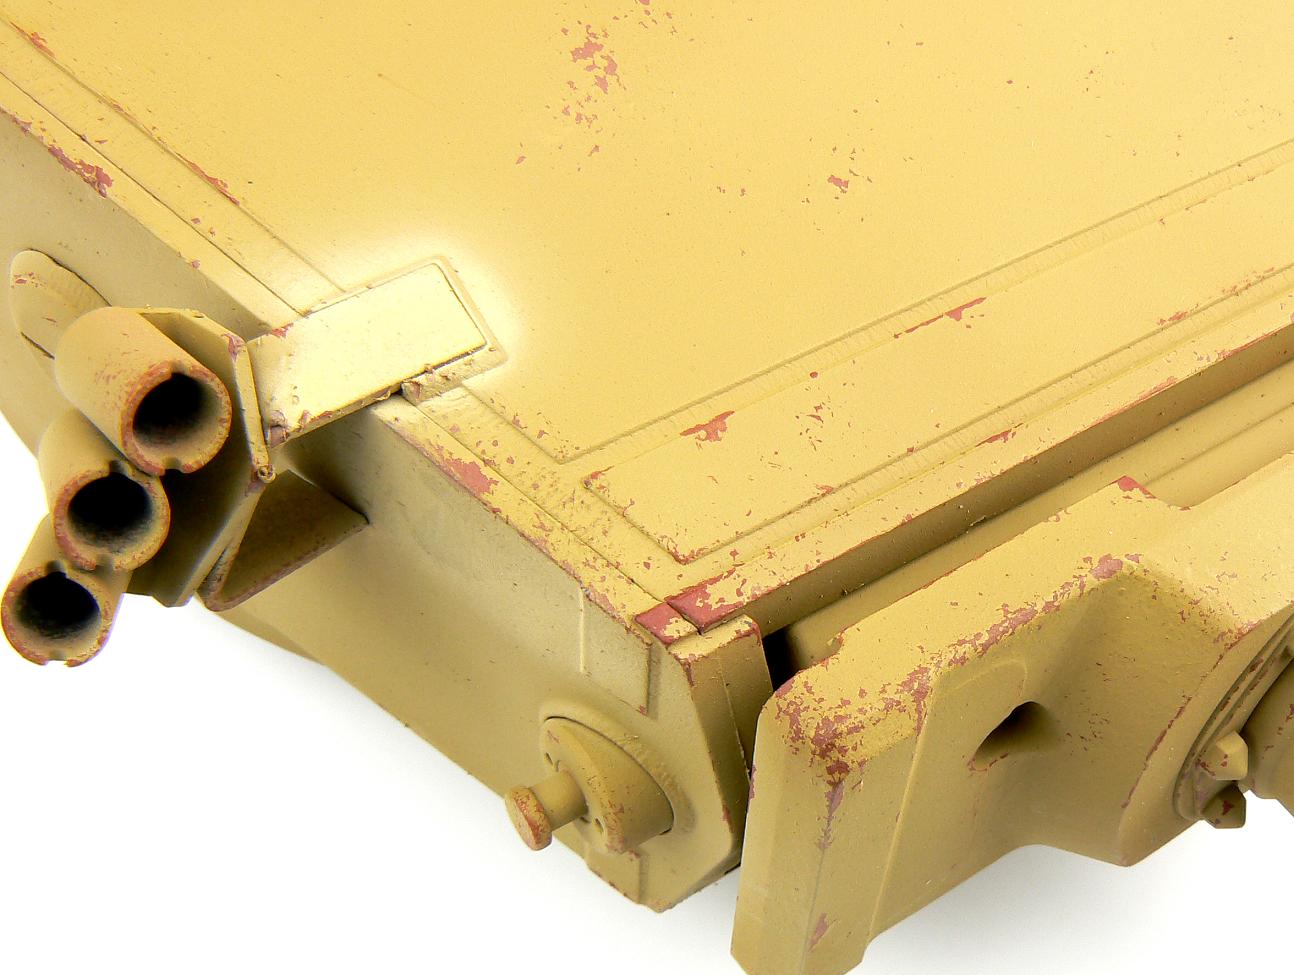
Armour paint chipping – brush
Armour paint chipping – sponge
There are many ways to simulate paint chipping on armour models and in this short article we’ll look at 2 of the most popular, brush and sponge.
Before we start it is important to have some photos of the sort of vehicle in the theatre of operations we are modelling. This will give us some flavour for how far to go and where the chipping will occur. If you haven’t got access to any references then we can use a bit of common sense. Fenders, handles, hatches, cupolas, corners and edges are all likely candidates for chipping. However, don’t go overboard, many vehicles such as early war Soviet vehicles, late war German armour wouldn’t have lasted long enough to get covered in paint chips and modern vehicles are relatively well looked after so again, it’s an idea to get hold of references.
Anyway, on with the chipping
Brush


ZOOM - Move your mouse over image
This is perhaps the most tricky so we’ll deal with this first. First off the kit, I use a new 4/0 fine brush, they tend to wear out quickly and I find that I can only get a couple of vehicles done before I need to replace it. Next up is the paint, I like Vallejo Model Colour as it brushes on really well but Life Color and Citadel acrylics work equally as good, I haven’t had much success with Tamiya or Gunze.
Normally I will apply the primer chips first and then use Vallejo 70822 German Black Brown for the steel chips but it depends on what vehicle you’re chipping. Again references are really handy for this.
I keep some water available, it’s good to keep the brush clean and the paint thin otherwise the chips look blobby!
With the brush loaded, start applying the chips. A tapping motion will help to keep the chips looking like chips and not blobs. Keep things random and every now and then stop and examine what you have done, it’s worth it as it’s easy to get carried away.
Take your time, this is incredibly tedious and it’s easy to get bored and start rushing, if you feel like this then have a break, get a cup of tea, watch Greatest Tank Battles on the Military Channel and then go back to it.
Now take a look at the Video below…
