back page 1 | 2 | 3 | 4 | 5 | 6 | 7 | 8 | 9
Into the office…
As you’d imagine in a kit in this scale – construction is pretty basic and straightforward, although I was a little confused when the parts all got a bit mixed up. I think this was because I (incorrectly) I thought that the new-tool parts were for the GR-7 – wrong! They are for the FA2 and very nice that is too. We’ll be building that one as well fairly soon, so keep an eye out in your Build Now area of SMN for that.


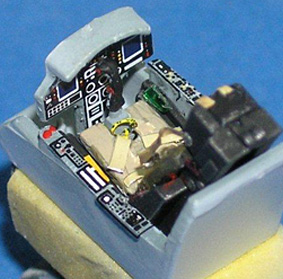
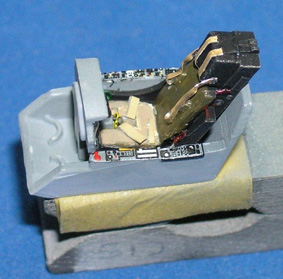
The instructions would have you use the earlier moulded seat and, to be honest, it isn’t anywhere near as well tooled as the Martin Baker Mk.12 seat designed for the FA2? So I changed the seats over and the FA2 seat does just squeeze into the tub designed for the GR.7. I thought about using the other tub, but it doesn’t look like it will work with the different main instrument shroud, so just the seat was used. Oddly, the GR.7 cockpit tub supplied doesn’t have any side consoles and is incorrectly shaped so to fix this I simply cut the side walls down to make them flatter and this made a flat ledge. Onto that you can stick the decals supplied for use with the FA2 kit, but, of course using the main GR.7 instrument panel in front of the pilot. This has the correct two square CRT screens either side of the main instruments.
The seat needs some belts and a harness to make it look realistic. There are two simple shoulder straps moulded into the seat but these were cut off and new straps simply cut from an old wine bottle top and painted bronze-brown to reflect the colour of the real belts? I just used a steel rule to cut some thin strips of lead foil and added them using cyano (Super) glue. Mark’s excellent Harrier book (above) gives lots of very useful images for reference.
The instrument decals worked well enough and I secured them using a mix of Johnson’s Klear and Micro Set decal setting solution. They stuck like glue and the excess carrier film trimmed away when all was dry.

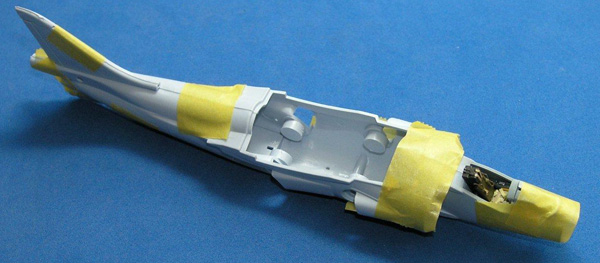
The little tub goes into the front fuselage.
