back page 1 | 2 | 3 | 4 | 5 | 6 | 7 | 8 | 9


Main airframe construction…
The fuselage fits well together, but before you join the halves you can choose to pose the jet nozzles in whatever position you like. The idea of making them moveable complicates the construction/painting process, so I won’t be bothering with this feature. It is easier to assemble the two-part nozzles separately, paint them and add them later towards the end of construction once all the main painting is finished? This will save you having some fiddly masking to do later on.
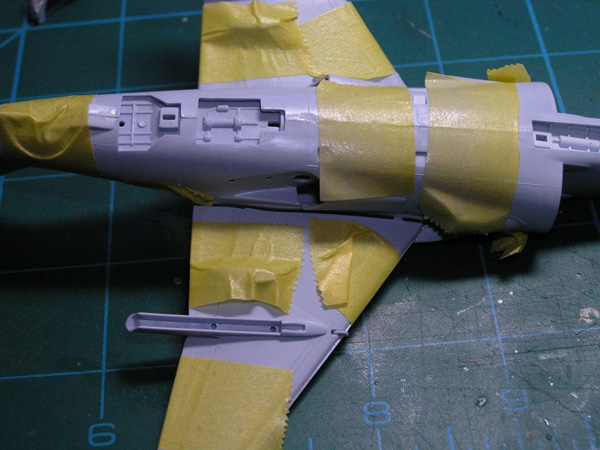
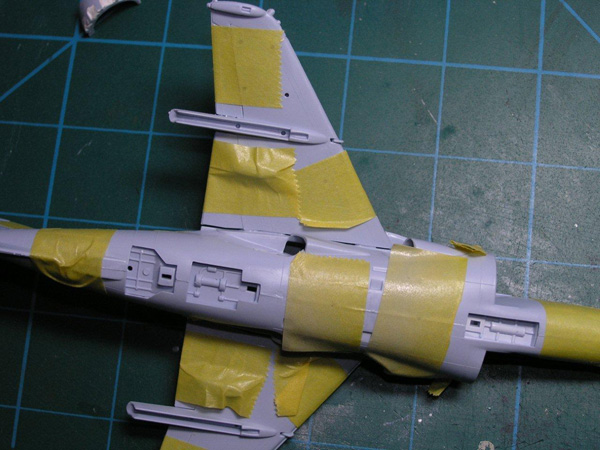
You can see that I’ve joined the main fuselage halves here and securely taped the parts using Tamiya tape – simply the best masking tape on the market in my opinion. It’s majorly re-usable for one thing and that will save you plenty in the long run? When everything is dry, I’ll sand the joins smooth. Speaking of which… I love the plastic Airfix has chosen to mould this kit in – it’s really easy to work with and cuts and sands beautifully, being easily sanded to shape.
Pegasus engine intakes…


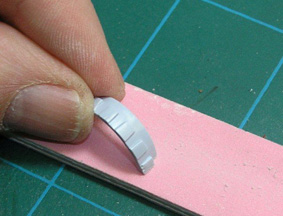
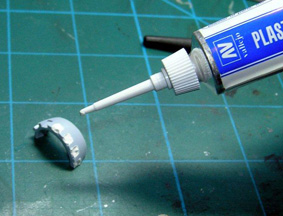
The separate intakes come in two parts – the inner doors and the main exterior intake ring. The idea is a good one, because if you examine Harriers when parked, they almost always seem to have the upper 3 or 4 vent doors open while the lower doors are closed? Check it out… the option included by Airfix is an attempt to help out with modelling this feature. In fact the insert with the square vent doors needs to be sanded where it attaches to the side of the forward fuselage to get a good neat fit. In addition, the lower doors were filled using Vallejo filler and the upper doors that I wanted to configure open were sanded at an angle to look as they are hinged down from, joining the intake ring at the front edge? This seems to be working well and in the next instalment you can see how I get on….
