Canopies and Clear Parts
with Luc Po
A note from Geoff…
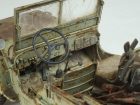
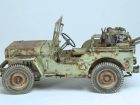
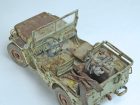
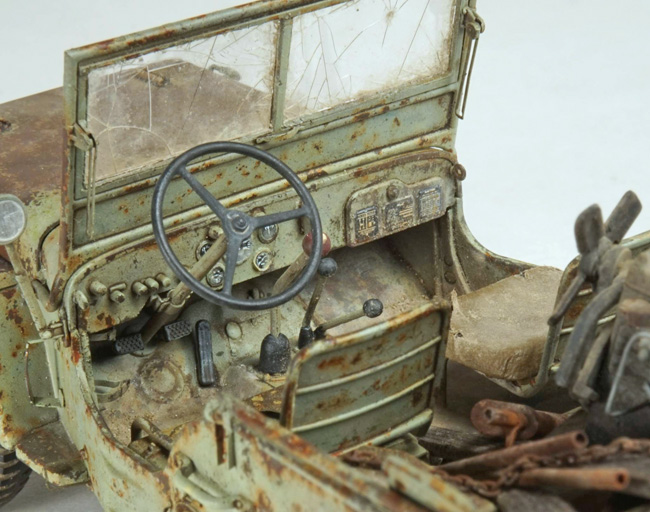
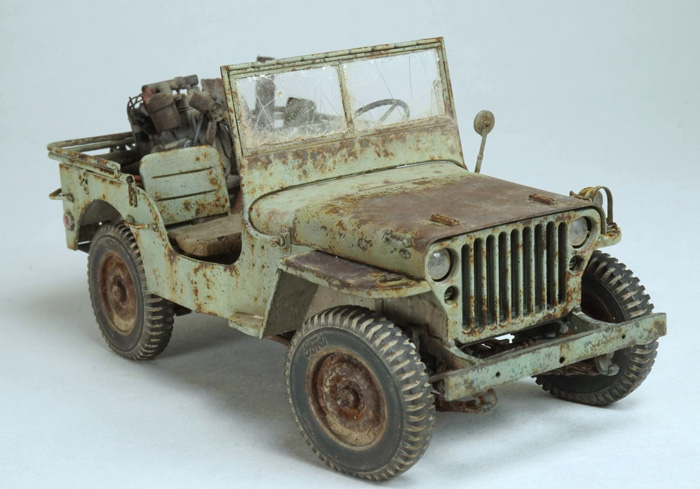
The ingenuity and resourcefulness of modellers never ceases to amaze me and once again Luc P does his stuff and creates a stunning effect with broken glass in the windscreen of his Jeep. I love the effect he’s achieved here and now he shows you how to do it too. :)
Just look at the photo above and you’ll see what I mean….
the great thing is that you can use this technique, whatever your area of interest, especially on larger scale models.
Over to you Luc…
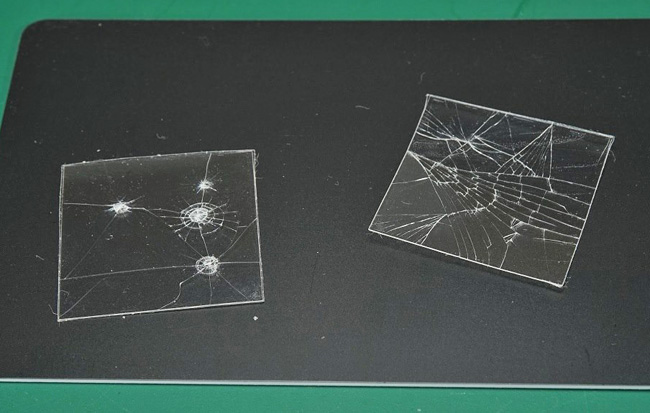
Various break patterns can be obtained in the glass. As glass can be sharp and small shards may be produced when breaking, care is required, so use eye protection and use this technique at your own risk!
The glass can be bought inexpensively from eBay – search for microscope slide cover glass. Or scientific supply store.
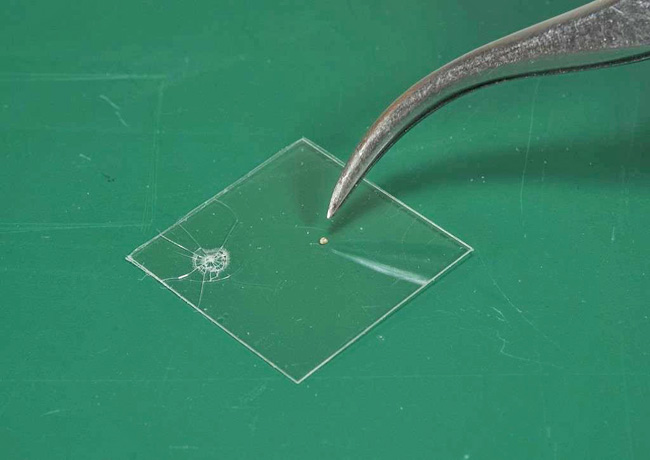
The glass can then be broken in many ways – to get a circular pattern, I place a grain of sand under the glass and press down with a covered finger (tweezer shown to identify sand, not for pressing down).
Question: Which side of the tape should be up or down when you break the glass?
Answer: I did tape side down so the glass can break freely. It is good to have a hard surface to break on.
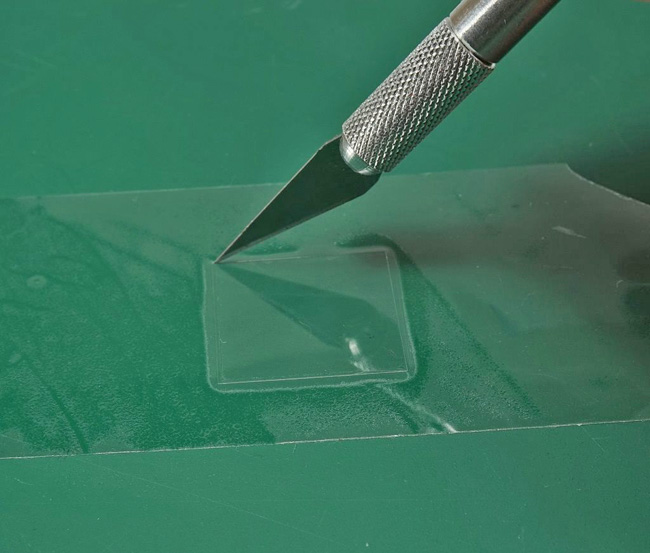
I cut out the glass by tracing around the edge with a sharp blade.
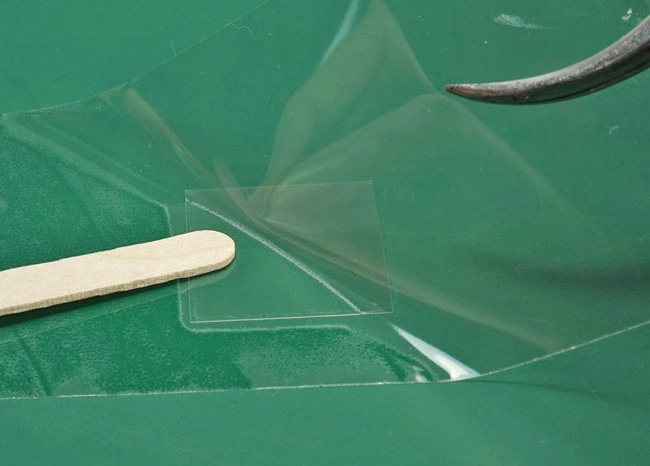
I place the glass on a flat surface, and then carefully lay down a piece of clear packing tape over the glass, starting at one corner and working across the glass to avoid air bubbles under the tape.
TIP: Spray few Windex on glass as agent before you apply packing tape will help you avoid air bubbles.
Question: Hello Luc in your glass you use the tape only on one side or both sides?
Answer: Tape is applied only to one side. This allows the glass to break more ‘freely’ on the other side. Display with the non-taped side facing toward the viewer. Also watch out for small shards of glass that can fall off the tape!
Question: Thanks Luc. Would not it be better if you covered both sides with tape? That also gives some stability.
Answer: I haven’t tried with two sides taped. There is enough stability with the one side taped for most modelling applications, but worth a try to see how it goes.
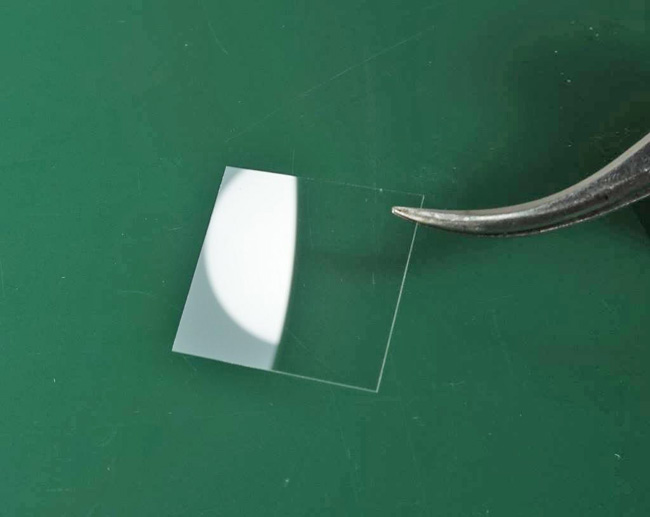
I use microscope slide cover glass which is very thin (0.14 mm) and realistic for scale models. The glass can be cut to size using a diamond tip scriber, but here I am using the full piece. I use tweezers or gloves when handling the glass to avoid fingerprints and dust.
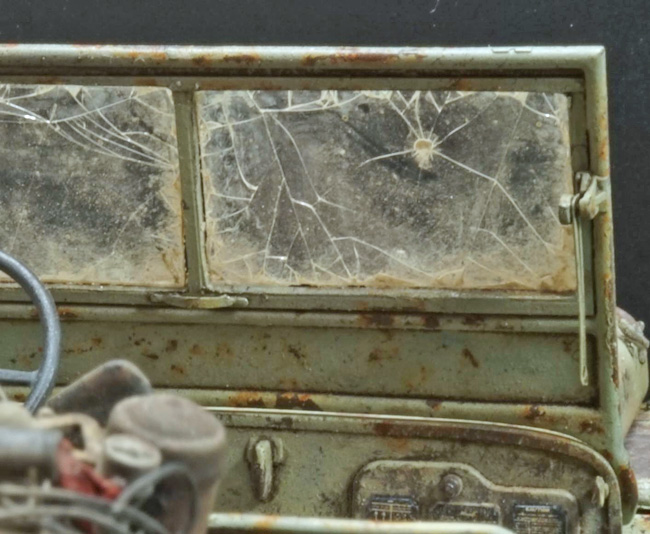
This is how I made a realistic broken glass pane for scale model windows. It is only suitable for applications with flat glass such as older vehicles and building windows.
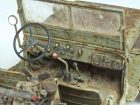
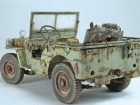
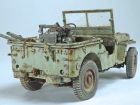
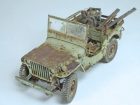
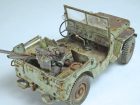
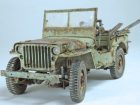
Here are a few more photos of my completed model so that you can see the full effect of adding this feature to your models.
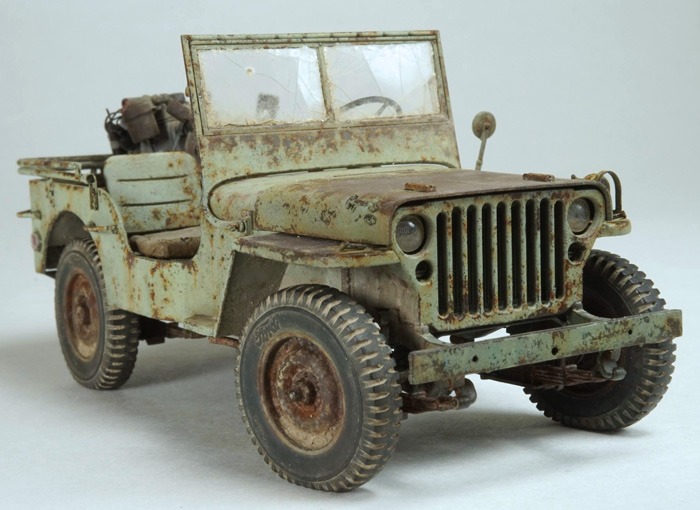
Good luck!
Luc Po.
Gallery
