Riveting
with Geoff Coughlin


Just take a look at this A-10 Thunderbolt II – I just love it! The grubby look and all those rivets and panel lines sticking out and very obvious – how good it would be to create that on your model!
This entry in your SMN Techniques bank is about trying to replicate those obvious rivets on aircraft like the A-10 and of course, many other types that have and do fly on operations.
Inevitably, you will find photos (as I have) of pristine A-10s (usually at airshows where they’ve even polished the gun muzzle to a chrome finish!) and the great thing about modelling the A-10 is that you can pick just about any level of weathering you like and it’ll be appropriate, so the choice is yours!
I’m currently right in the middle of a full build of the huge 1:32 Trumpeter Republic A-10A Thunderbolt II and you can follow that now in Aircraft-Build Now or, if it’s complete by the time you read this, check out Aircraft-Finished Now-Trumpeter.
So how can you enhance the kit rivet detail?
The answer is very simple, even if a bit laborious, but I don’t mind that because the final effect looks great in my opinion, especially on larger scale models.
This isn’t the sort of technique that I would advocate using on smaller scale models like 1:72 or smaller as the effect is way too over-scale.
What tools do I need?
Very few and inexpensive too:
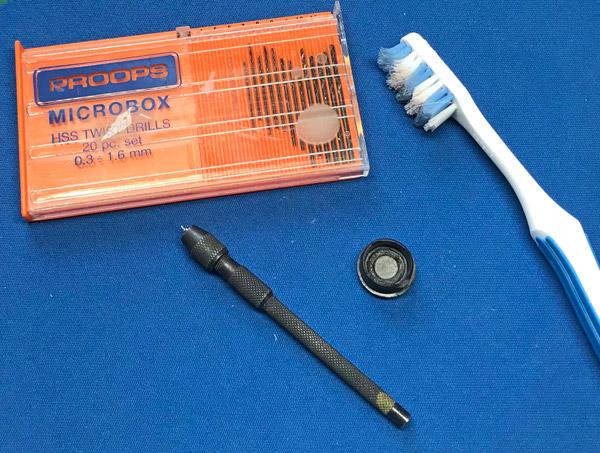
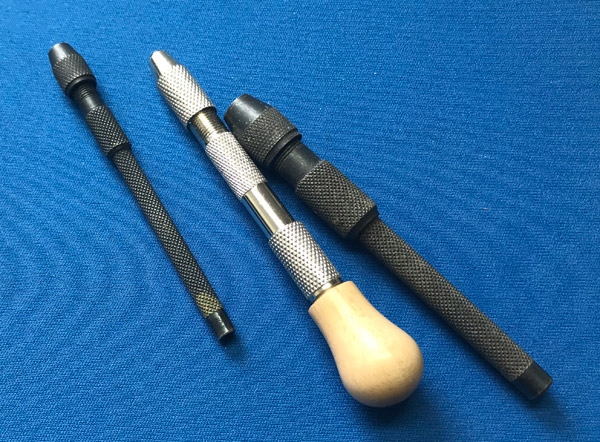
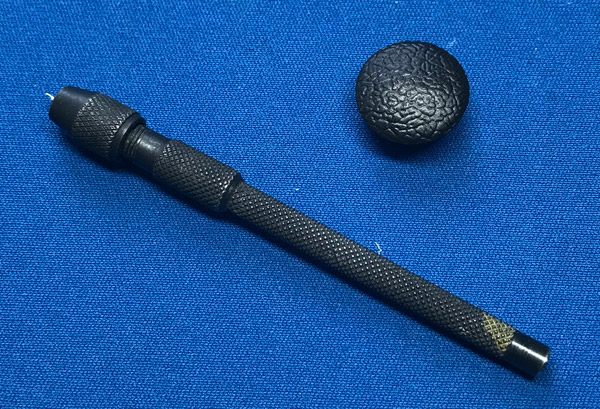
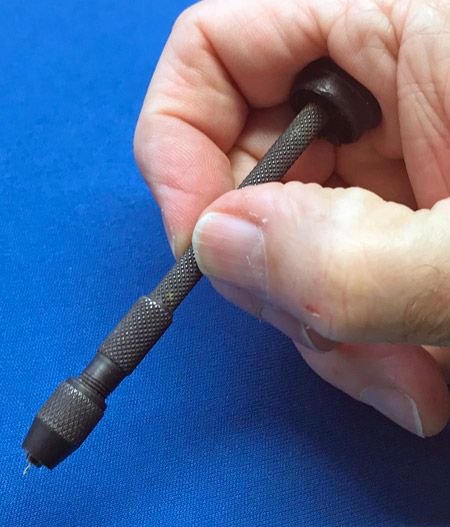
• small pin vice drill – these are very cheap and last a lifetime and you can get them on-line and from many modelling shops. They often come in small sets with interchangeable chucks to take a good range of drill bits
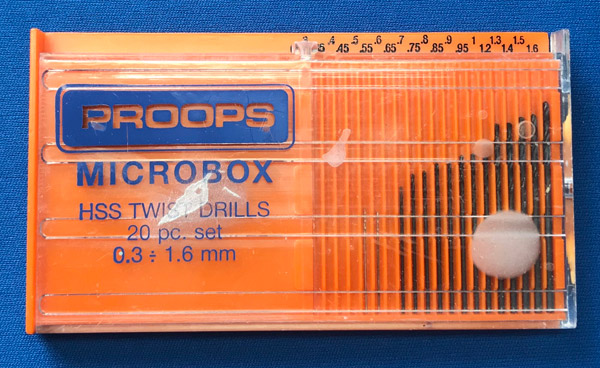
• a set of small drill bits – like the one shown here and again widely available on-line and from model shops and craft stores
• an old toothbrush – for quickly clearing the holes after drilling
• and a very small cup – or something else the end of the drill shaft can rotate in against the palm of your hand. You’ll quickly get a blister if you work for any length of time without some sort of barrier between hand and drill and I use an old screw hole plug that fell out of my modelling chair!
Some riveting tools like the one currently sold by Revell have a nice wooden handle that freely rotates in the palm of your hand although I struggle to get it to take my preferred 0.35mm drill bit that’s a bit too small for the chuck
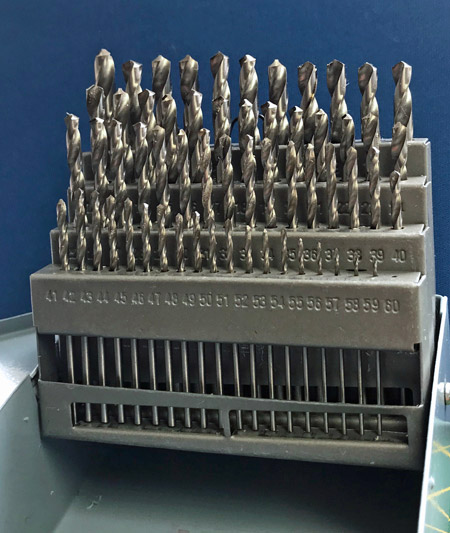
• A larger box of drill bits – you can get a smart box of larger drill bits that can be useful for many modelling tasks and the smaller drill bits are good for opening up holes in kit parts, for example, when you may need to attach optional parts like stores pylons on aircraft models.
How’s it done?
There’s an HD video to follow that shows how I have used one of my pin vice drills to enhance the rivets on my big 1:32 A-10.
The good thing about a lot of newer-tooled kits is that they feature tiny indents to represent the rivets and these in many cases are perfectly fine to leave as is and enhance, or not, with some kind of wash.
For me though, the effect you get from drilling right through the plastic looks better in most cases when you want to really make the rivets stand out. The small indents are perfect to act as a key to secure the tip of your drill bit while drilling out the rivet.
So, let’s see how it’s done…
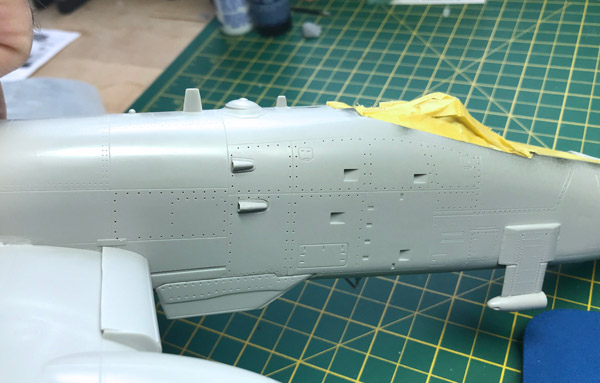
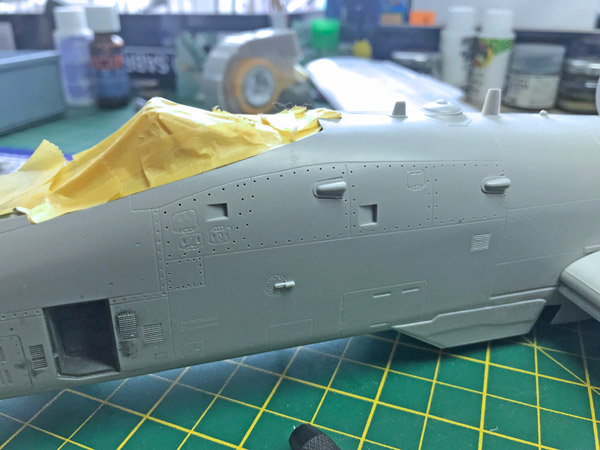
Here are a couple of photos showing how for forward fuselage section looks after the drilling process. Of course, there’s paint and weathering to be done next and you can see the finished effect by looking at my Trumpeter A-10 build.
Good luck!
Geoff C.