More of our Subscribers’ amazing aircraft: Q-R
Galleries: A | B | B-2 | C-E | F | G | H | I-L | M | N-P | Q-R | S | T-V | W-Z
Each submission has a ‘gallery’ of thumbnails which you can click on to see an enlarged image and read the short text describing the model – enjoy!
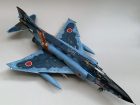
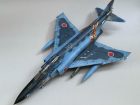
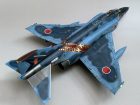
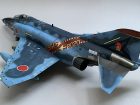
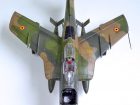
After building an A-5A with the help of a Cutting Edge conversion set several years ago, which required some major surgery (one picture added of that bird) it was a straight approach the time.
The fuselage joints have to be strengthened considerably especially in the rear fuselage, but Trumpeter has flat sprues in the kit which are ideal for this use. Another thing to consider are seams along the fuselage, which have to be sanded.
The Black Box cockpit and the resin intakes fit well and the rest of the built is straightforward. Same with the Decals.
Why Trumpeter added several curious (atomic?) bombs to the kit, is one of these mysteries around Trumpeter. External fuel tanks would have been better!
Jürgen J.
Although the camo painting is very different from your metal finish (see Aircraft-Finished Now-Tan Model), I enjoyed consulting your kit construction advices and videos for this build.
With regards, Christian W.
Thanks Hong Hwan for your kind permission for us to use these pics of your great model. Geoff
Although the camo painting is very different from your metal finish (see Aircraft-Finished Now-Tan Model), I enjoyed consulting your kit construction advices and videos for this build.
With regards, Christian W.
After he spotted one of my builds on Facebook, I received a request from Geoff if I would be interested to post it up on Scale Modelling Now. My answer was of course, yes! So here is my first contribution to the site.
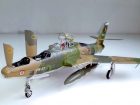
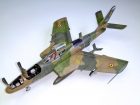
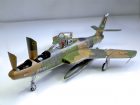
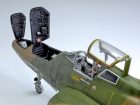
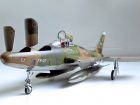
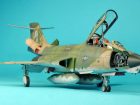
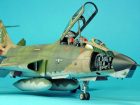
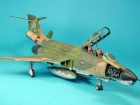
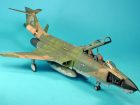
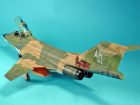
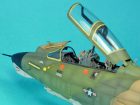
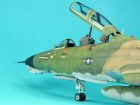
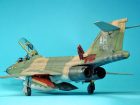
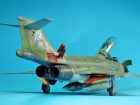
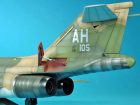
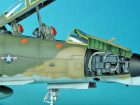
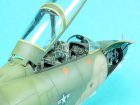
It’s Monogram’s old RF-101B Voodoo in 1:48th scale. I am quite fond of kits who are not shake and bake kits, I like to take old kits and try to bring them up to par by todays standards. But it must be said that the cockpit out of the box is one of the best I have ever seen. The ejection seats are just marvellous!
As most of you will know, Monogram never made kits with scribed panel lines and thus I decided to sand off all the raised detail, with a few exceptions such as the hinges for the avionic bay doors. These are un-rescribeable (did I just invent a new word?). After the re-scribe I riveted the complete plane using walkaround photos from the internet.
I have used the following aftermarket extras / paints with this kit:
– Eduard PE set no. 48394
– Legend avionics bay
– Master pitot tube
– Gunze paints
– Mig wash
I must say the the fit was quite horrible in some places but all was hammered into shape with putty, evergreen plastic and some elbow grease. These things really up your skills in my opinion.
For painting, after I did a panel line pre-shade with matt black, I used the base colours which are recommended for the Vietnam colours (SEA camo). These are H303/H309/H310/H311 which are quite spot on. Then I take a lighter version of each of the same colors to lighten it and spray each centre of every panel in a random manner, so that not every panel has the same look and feel to it. Then I lighten the paint one more time and spray the centre of each panel again, but now I stay much closer to the middle of each panel. And that’s it!
I hope you like my baby and I wish you all lots of fun with this great and creative hobby!
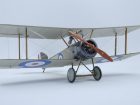
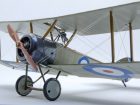
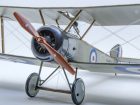
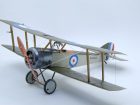
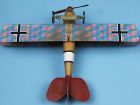
The interior is the starting point, as with most British aircraft of WW1 we find a sea of wooden panels and batons. It’s a good idea to get all the wooden areas painted first, as the oil paint takes a few days to dry, before it is given a clear coat. With the oil paint dry and clear coat applied, the next step is painting all the brass detailing, fitting the instrument decals and assembling the cockpit assembly, some side panel rigging and the addition of some flight control cables is needed.
With the fuselage painted inside, we now joint the two sides together, a nice mile stone to reach.
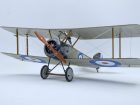
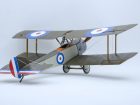
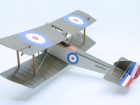
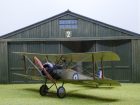
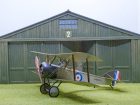
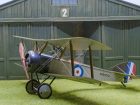
As with most Wingnut Wings builds, a element of forethought is needed, as most of my other WW2 builds are painted after assembly, bi-planes need to be painted as you go, this is due to access when the struts and Wings are in place. I’d decided to complete my build as N-4653, this aircraft saw service on HMS Furious, and later as a turret launched aircraft, embarked on HMS Repulse, a Great War Battlecruiser. This required a doped linen fuselage with a green upper section, I used my tried and tested MRP paints, who have a good selection of WW1 colours available.
With the fuselage painted, a coat of Alclad2 Light Sheen is applied to the green section, at this stage, the decals are applied and a matt coat is sprayed to the doped linen section.
With the wings and struts painted, the top wing can now be put into place, this is a little daunting, but is much easier then people think.
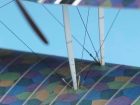
A large number of modellers are put off building bi-planes because of the rigging, it really isn’t as difficult as you might think, I use PRYM elastic, dip one end in a good quality superglue, place in the pre drilled hole, once its set, stretch the line to the opposite hole and with the superglue applied, hole in place for a few seconds, and low and behold, your first wire is done. Just repeat this process to complete the rigging.
The final details are painted and fitted, these include the engine and cowling, all painted with AK true metal. The tail section, and landing gear are installed, the last item is the propeller, which again, is painted using oil paint, with a gloss coat applied.
If you’ve never tried a Wingnut Wings kit, I urge you to give it a go, you’ll be surprised at how good they are, the fit is superb, and the rigging is doable. I’d say the Sopwith Pup would make a good first build, if you can find one.
Andrew R.
This aircraft is from the very early years of jet engines in 1945. The US Navy went for a compromise with a piston engine AND a jet engine. The Fireball was actually in regular service with VF-41 Firebirds in the later 40´s.
The Fireball was a star at various air shows in the US performing a fly by with feathered props.
The kit consists of fairly simplistic plastic parts, about 40 resin parts and two vacu canopies.
The build is straightforward having the short run nature of the kit in mind. So dry fit checks, cutting and sanding here and there is mandatory. Overall the only thing to mention is the TONS of lead needed to avoid a tail sitter. The space between the cockpit and the engine firewall is totally filled with it!
The painting was easy, blue all over. As the bird was in regular service, luckily some weathering could be applied to break the otherwise monotone colour.
The result is a little twin-engine fighter that to me almost looks like a Bearcat…
(PS: One of the pictures also includes the Ryan Dark Shark, I did build in parallel)
Jürgen J.
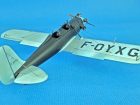
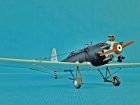
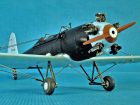
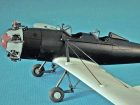
I had intended to finish it pretty much out of the box as a Navy Trainer but got diverted when I saw how great the fuselage looked in black primer and decided to go for a civil version. After a few false starts I settled on this totally freelance colour scheme, which I guess has a bow to the PT22 “Maytag Messerschmitt” nickname.
My inspiration came from reading about the lives of James Bond author Ian Fleming and his fellow MI6 operative Graham Greene in the West Indies in the fifties. The plane is supposed to represent a surplus US Army trainer which found its way from the states to the Caribbean and is registered in the French territory of Martinique (possibly a runabout for a Bond villain?) I was trying for an art deco theme of the sort which continued to be in fashion across all French culture during the 50s.
The plane is painted in Mr Hobby Acrylic, Vallejo Metal Color and oils.
Alan R.
