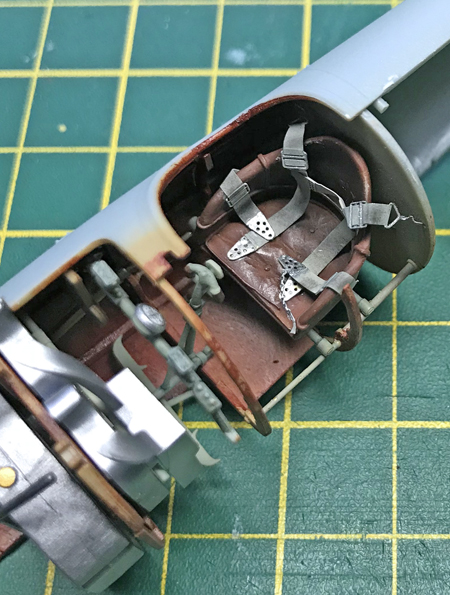
PE (Photo Etch)
with Geoff Coughlin

Target project: Wingnut Wings 1:32 Albatros D.V. This project is currently in Aircraft-Build Now and when finished will move to the Wingnut Wings (WW) pages in Aircraft-Finished Now. The build contains multiple HD video demos for taking a WW kit from start to finish and should help anyone who wants a steer on how to successfully complete one of these great kits :)
What’s the problem we are trying to solve here?
When working with some photo etch (PE) parts they can be stiff and hard to mould into shape. This is especially a problem when you are working in larger scales like 1:48 and above and fitting a seat harness to the pilot or crew seat for example. The belts can be very fiddly and stiff, making them hard to conform to the seat pan and backrest.
Warning!
We’re talking unpainted PE parts…
You can get pre-painted PE belts and others made of different fabrics and materials and what follows is NOT suitable for these materials. What we are looking at here is unpainted ‘bare’ PE parts, like the ones you see here supplied by Wingnut Wings in their Albatros D.V kit…
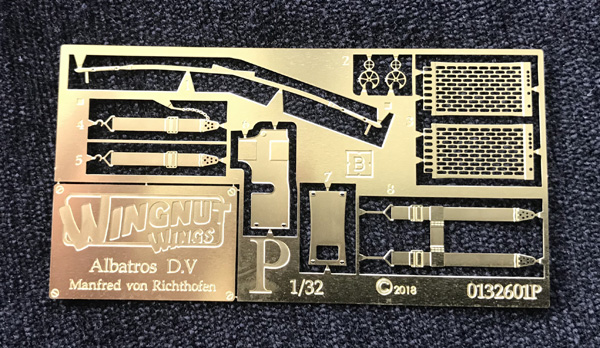
What can be done about it?
There’s a simple ‘fix’ and it involves a process known as annealing. What’s that I hear some of you say? Here’s a short definition from the Wikipedia pages:
Annealing, in metallurgy and materials science, is a heat treatment that alters the physical and sometimes chemical properties of a material to increase its ductility and reduce its hardness, making it more workable. It involves heating a material above its recrystallization temperature, maintaining a suitable temperature for a suitable amount of time, and then cooling.
So how does this work for modellers?
It’s very simple and straightforward – take a look at the videos below to see the stages.
In a nutshell, first you remove the PE part (belt) that you want to soften from it’s fret (frame with all the PE tarts on) using a sharp scalpel blade and cutting onto a hard surface such as a purpose made cutting mat.
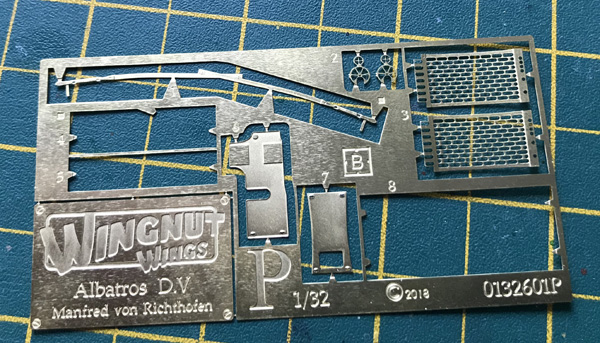
Then you heat your seat belts/harness over a candle flame while holding it with a pair of tweezers. After about 60 seconds you plunge the part into a tub of cold water for a few seconds and then it is cold enough to hold and is now much softer and much easier to bend into more realistic shapes. Importantly, you can mould the belts easily around a seat to represent a harness that is draped naturally over the contours over which it’s been placed.
You then take your seat – in this instance the pilot’s seat for an Albatros D.V bi-plane and bend the shoulder straps and each lap belt to the location you want and remove the belts carefully and mount in clamps ready for painting.
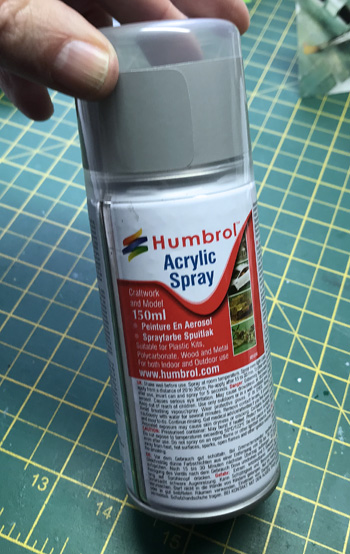
Prime your posed PE belts before painting – I usually use a few squirts of Humbrol grey acrylic primer from one of their rattle cans.
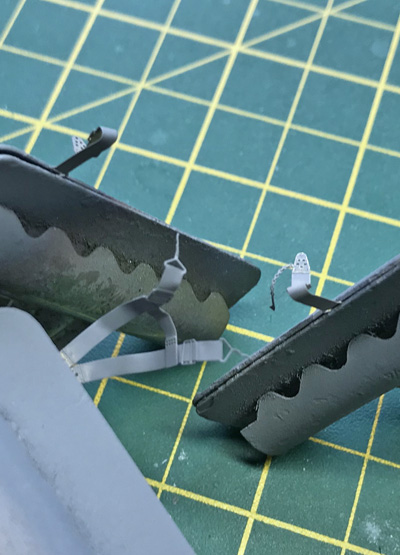
After painting just attach your belts with cyano and leave to dry thoroughly overnight. You can add some subtle weathering at this final stage using pastels and/or a thin wash to make the belts look more ‘used’ and not too bright and ‘new-looking’.
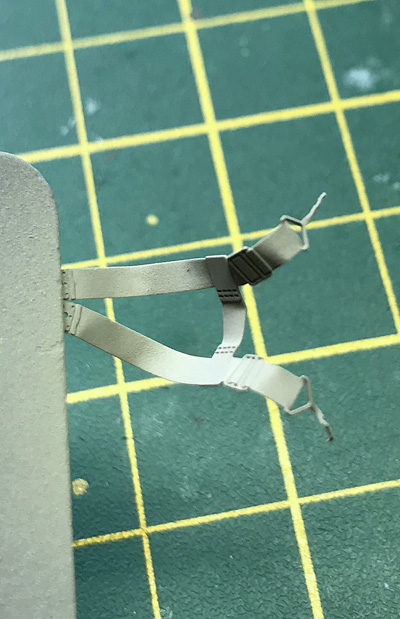
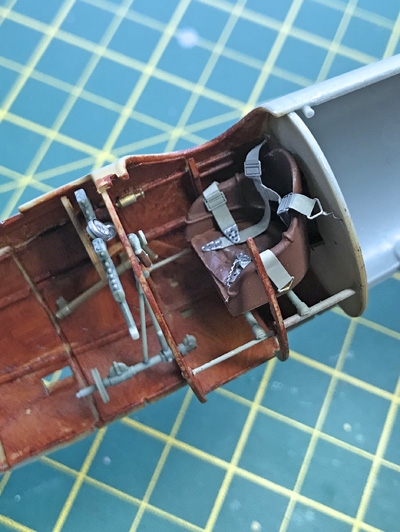
And that’s it. Good luck!
What follows are the 4 relevant videos from the series included in the full WW Albatros D.V build in SMN (see above for links).
Geoff C.
Ask a question or add feedback:
You must be logged in to post a comment.