
with Michael Chilestone
“I see a Hunter and I want it painted black
No camo anymore I want it to turn black …”
(With due acknowledgement and apologies to Keith Richards & Mick Jagger)
Background
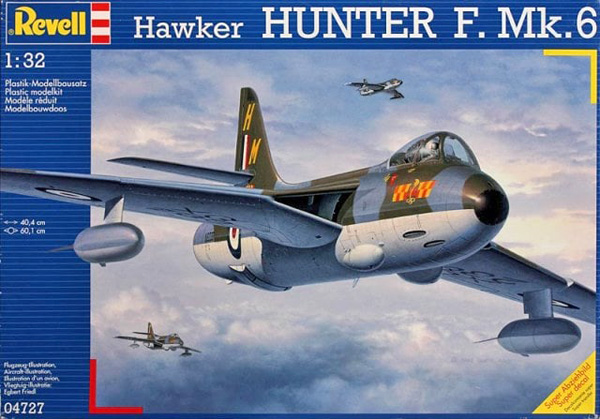
Early last year I was looking for something to start, and decided to pick one of the three Revell 1:32 Hunters from my stash. I went for the F6, and initially planned to finish it using the markings from the box as a 56 Sqn machine, which was based at RAF Waterbeach, not too far down the road from where I live now.
Fast forward a few months; I had the model built and ready for painting, but had shelved it for a bit to work on other things (as one does).
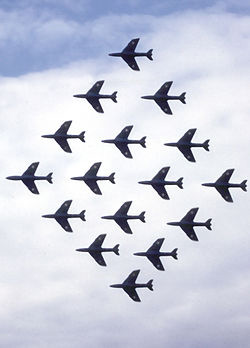
A chance conversation at the October meeting of my model club, Milton Keynes SMC, meant that by Scale Model World I was the proud owner of an Xtradecal Hunter sheet (and a couple of Aeromaster ones too), with a number of interesting alternative schemes at my disposal. Eventually I settled on the 111 Sqn example, in the livery of the Black Arrows aerobatic team. I picked this partly because it was different from the usual standard camouflage; partly because the Black Arrows were based at RAF Wattisham in Suffolk, my home county; and partly because achieving an effective-looking overall black scheme was going to be an interesting challenge.
Building
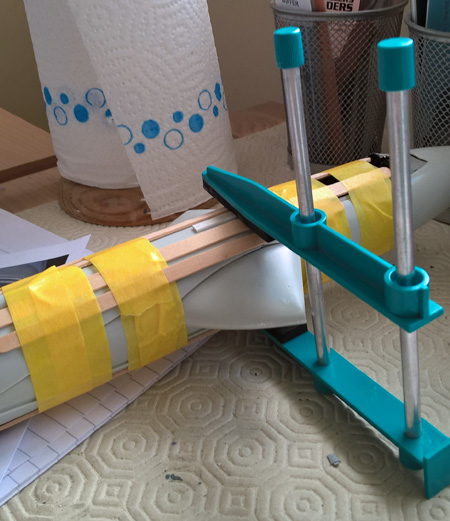
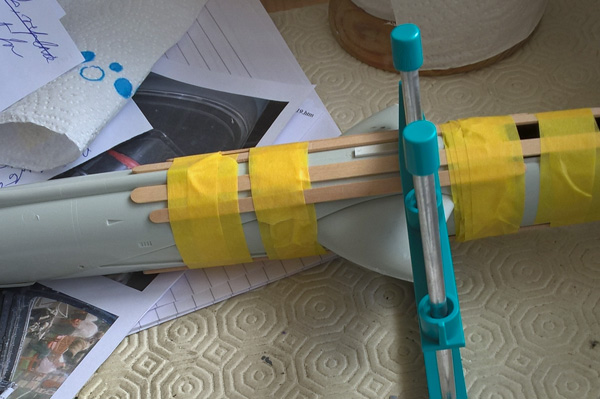
I won’t go into details of the build, as there are already several fine models built from this kit or its stablemate, the FGA9, on SMN. Suffice to say I had no real issues, although the seam between the main fuselage and the nose section did give me some trouble.


I used a True Details cockpit, but given that it is overall matt black (I used Tamiya XF-69, NATO Black, which is actually a very dark grey) as a basic colour, I did wonder if it was actually a significant improvement on the kit cockpit – it was certainly more work to fit it! I also had to modify the Martin-Baker Mk 2H seat supplied in the detail set, as the F6 used the Mk 3H seat at the time. This was simply a matter of removing the leg guards from the sides of the seat pan.
I decided to leave the wing pylons and tanks off: photos show these aircraft were often flown with empty pylons, but there are photos showing a “clean” wing as well. So a little extra filling was needed here, as I’d already drilled the holes for the pylons when I was still intending to do a standard machine.