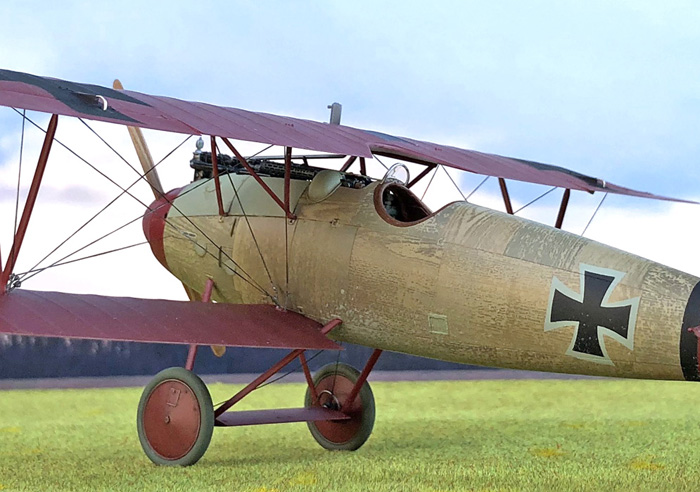
Rigging
with Geoff Coughlin

Initial thoughts…
I’ve been waiting for ages to get the right project so that I can bring you a detailed ‘How-to’ on rigging a WWI bi-plane and what better than one of the beautiful kits from Wingnut Wings in 1:32 scale? The kit is an excellent one if you are new to WWI bi-planes and then maybe rigging one too. The choice is good because the kit isn’t too complex and also doesn’t have huge numbers of rigging wires to replicate.
A few things before we get going…
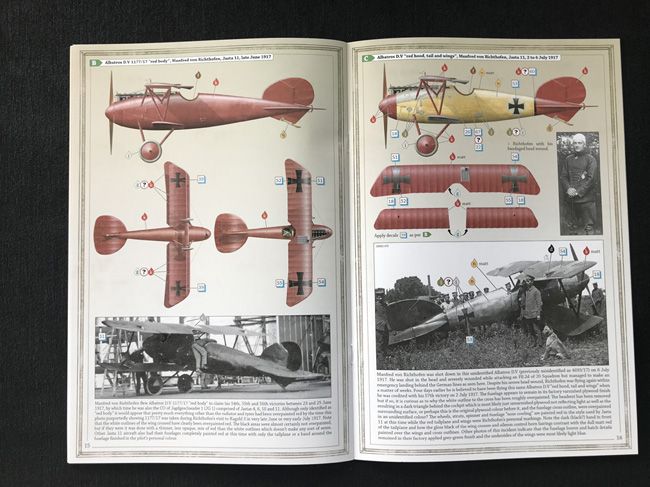
Target project: Wingnut Wings Albatros D.V. “Manfred von Richthofen”, 1:32 scale
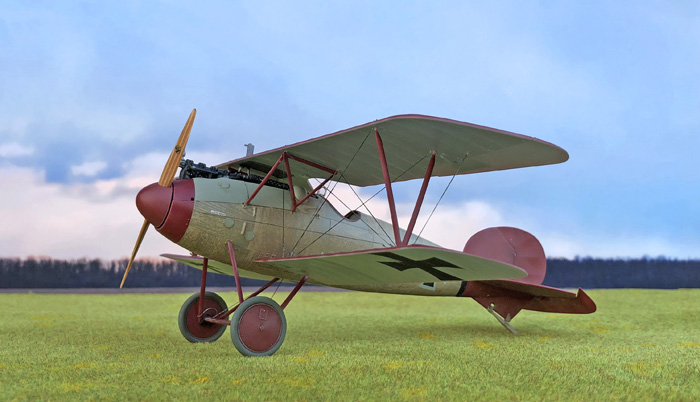
…and here’s how it all turned out… (there are more photos at the end of this piece)
First things first – what follows is taken from the extensive build I have done of this kit in SMN and you can find the full build as usual in the Wingnut Wings pages in Aircraft-Finished Now.
Dave C has done a great little entry too on rigging his Wingnut Wings R.E.8 and you can find that in your SMN Techniques Bank, Model Construction under the sub-heading: Rigging.
Ok, let’s get started…
VIDEO DEMO
Tools and materials you’re going to need…
- thread for rigging – several options shown in the videos that follow
- two pairs of tweezers – this will make tying off your rigging lines a lot easier
- sharp scalpel (new blade time!) – to snip off excess rigging line after tying off
- cyano glue – for securing your rigging lines and turnbuckles
- accelerator/kicker – to set your lines after glueing
- pin vice drill – to open up the marked holes to take the turnbuckles
- compass pointers – great for measuring angles and lengths as you go
- Tamiya masking tape – to hold the upper and lower wings together while they set after join-up
- dark silver paint – to reduce the visibility of the rigging lines. I am using elasticated thread in this project and it will need to be toned down to look like wire after attaching.
References
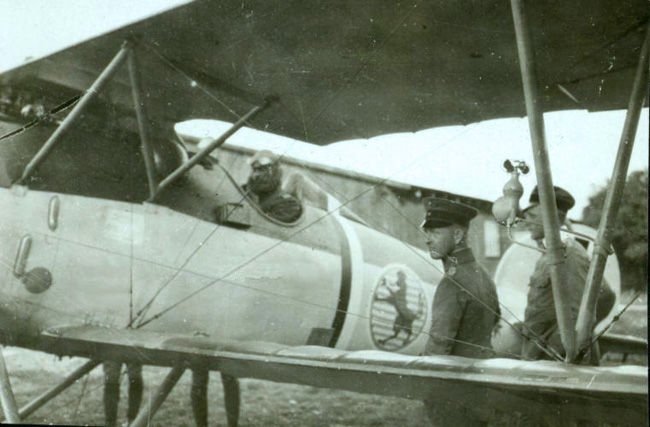
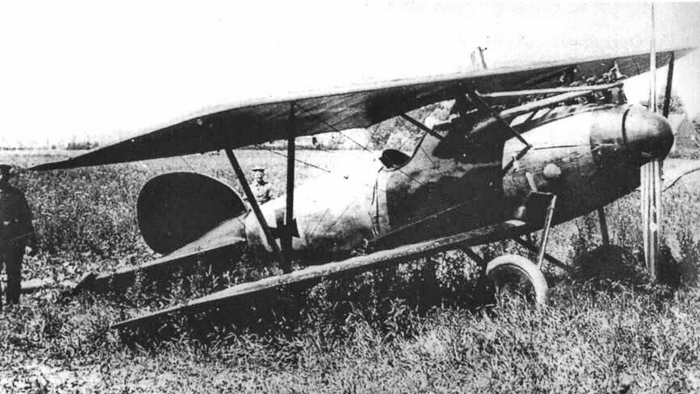
Try and find some photos of your real subject and take a close look at the rigging arrangement.
See if there are adjusters at the location points (these are known as turnbuckles, just in case you didn’t know that). It’s going to be worth replicating these turnbuckles as they add a lot to your finished model, especially in 1:48 scale and larger. I probably wouldn’t bother in 1:72 adding actual turnbuckle parts but just simulate them using thick silver paint?
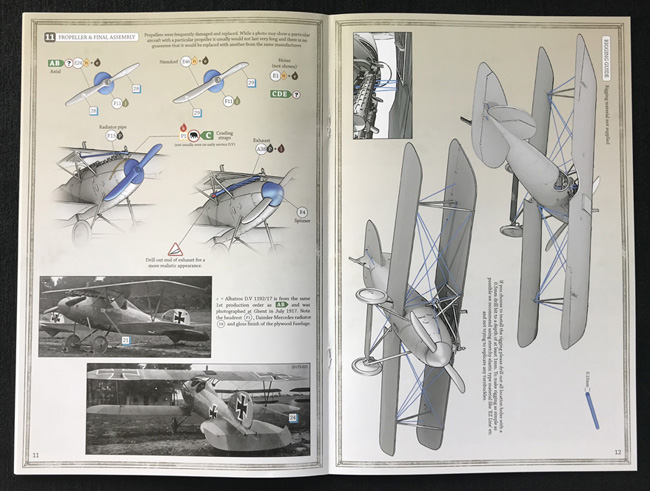
Wingnut Wings (WW) instruction books are simply the best in the business and always feature a helpful rigging diagram towards the end that shows where the rigging wires locate – very helpful.