back page 1 | 2 | 3 | 4 | 5 | 6 | 7 | 8 | 9
Masking up…

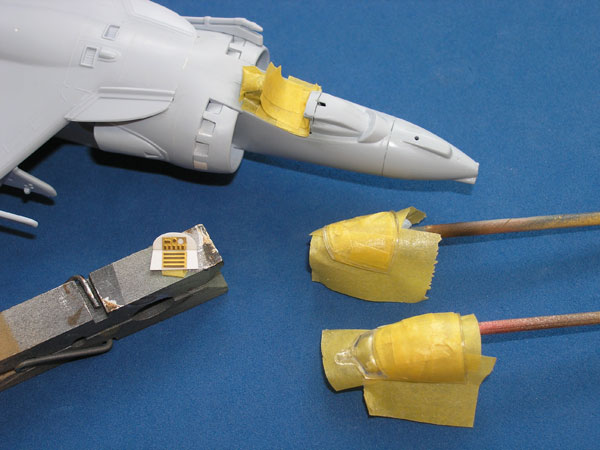
The canopy, rear decking for the sliding portion of the canopy and instrument shroud all need to be painted in a scale black colour. Black is almost always too stark and doesn’t give a realistic dark colour. A good option is to go for something like Revell’s Anthracite Grey No.9. This matt shade is superb and I will paint the cockpit sills in this shade too.
Main camouflage…
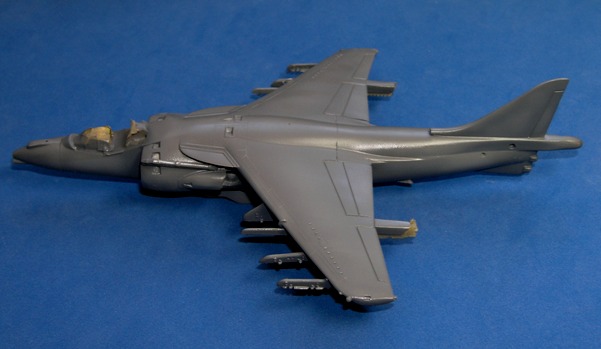
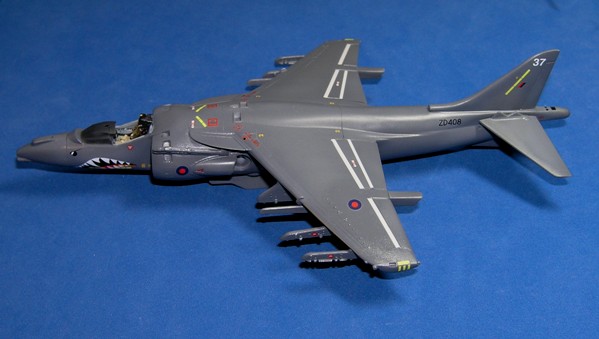
Mark Attrill’s excellent book: Harrier Inside and Out has some great walk-around images of the Harrier GR.Mk.7. The overall Dark Sea Grey (BS 638) camouflage looks very striking, especially when matched with the great ‘Shark-mouthed’ aircraft featured on the decal sheet – very creative Airfix, well done! In Fact, the scheme is a two-tone grey, the other tone being a marginally lighter shade Dark Camouflage Grey (BS 629). To be honest, in my view, when you look at the images in Mark’s book, there seems almost no discernible difference in the greys. For this reason I sprayed the whole thing gloss Xtracolor Dark Sea Grey. In order to provide contrast and a little weathered look, I added a drop of white to the paint mix after the initial DSG base coat and sprayed this over the central parts of the wings and panels on the upper surfaces. The gloss paint provides the much needed gloss surface onto which the decals will be applied soon.


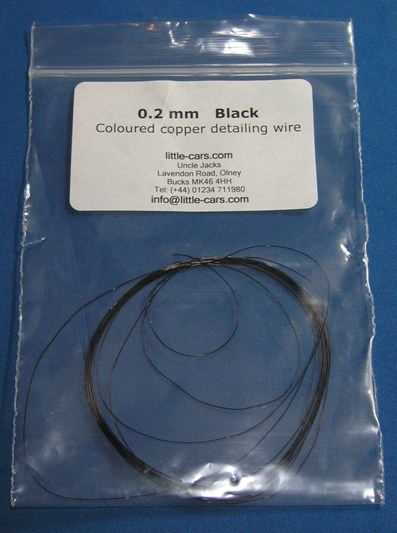
While this was all drying, I turned my attention to the main undercarriage units again. Even in 1:72nd scale, you do need to add some detail to the nose gear leg. It is the most prominent feature on the aircraft and benefits from a couple of black hydraulic / brake lines up the right side. Little cars (www.little-cars.com) supply some superb scale model products and amongst these are a large range of fine coloured wires. I guess mostly for use by auto modellers to detail engines, but they are of course good for many other areas of the hobby. Aero engines, undercarriage units and cockpits to mention a few.

