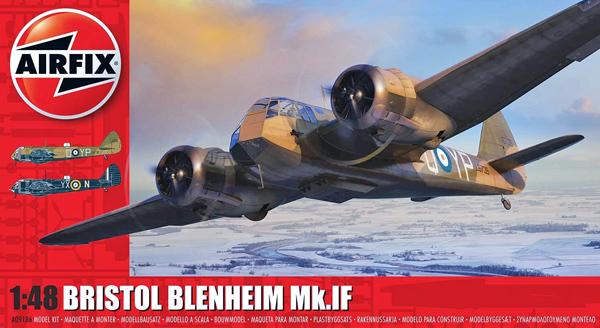
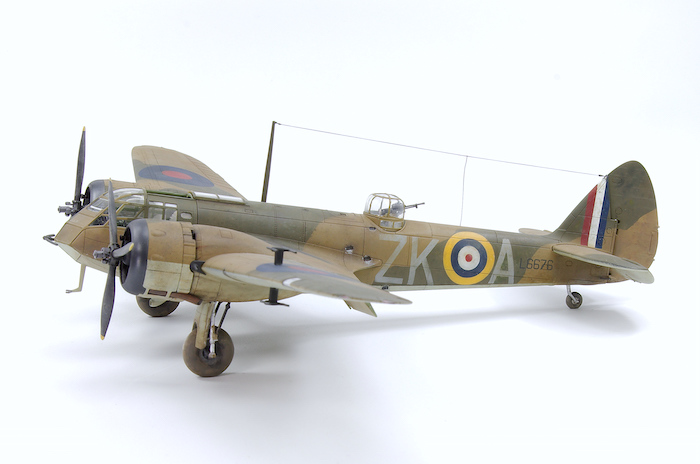
Depicted as ZK-A Flown by Mike Herrick RNZAF No. 25 Sqn RAF September 1940
Feature Article by Calum Gibson
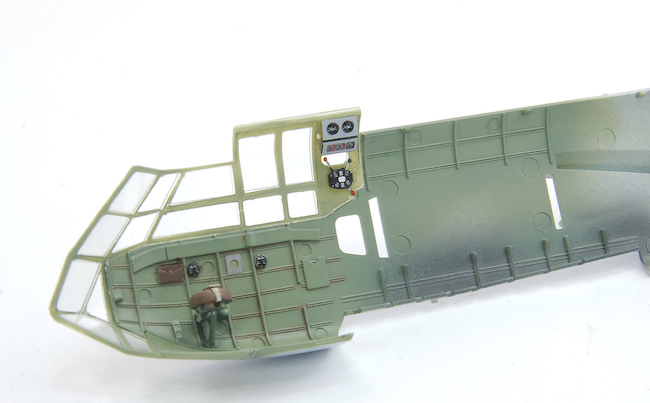
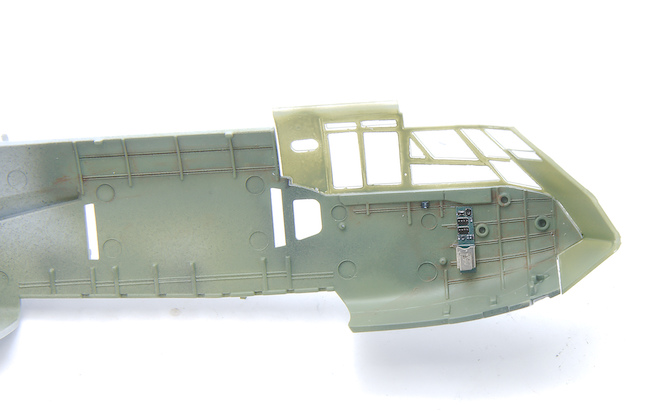
My next project, the 1:48 Airfix Blenheim. Cockpit is reasonably nice from the box but I added eduard Steel belts and the interior PE set. With all that glass at the front some of this will be worthwhile.
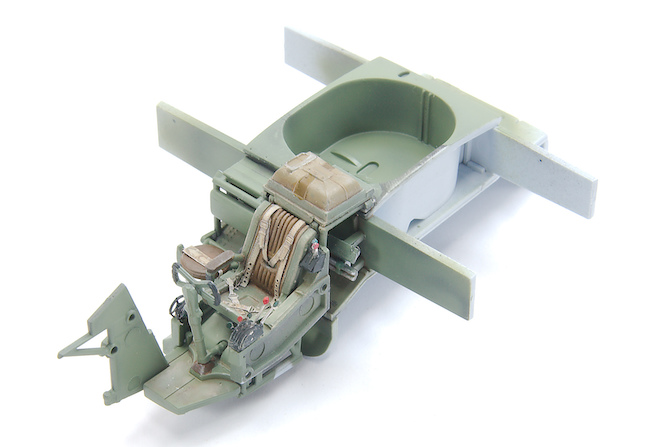
Fit was generally OK. But every part has that typical Airfix mould line that needs cleaning up. You also have to get everything cleaned up and lined up or things won’t fit later on.
I also deviated from the instructions and added the two big nose clear parts now. The thinking was that doing it now I could ensure a good join. Unfortunately this caused issues later on as it was harder to fit the cockpit tub and then to troubleshoot why it was not locating correctly. I’d recommend fitting the clear parts after you have fitted the cockpit tub to the left side fuselage, and then dry-fit the right hand side to that assembly.
Paul Bentham says
Hi Callum,
Firstly, congrats on a great build and thanks for the tips re the cockpit canopy assembly. One question re the aerial wire: what material did you use and how did you fix it? I’ve recently restarted the hobby after a 49 year May off and have a couple of kits on the bench that need both rigging lines and aerial wire and I’m having issues so any tips you can pass on would be appreciated.
Many thanks
Paul B
Calum Gibson says
HI Paul, thanks for the compliment, I’m happy with the build.
As for the aerial, it is ezy line . This is an elastic type thread which I think is for tying fishing flies. The advantage of this is that it being elastic means it won’t break when it’s bumped. It’s fixed with CA glue at one end, then stretched to the other end with another small drop of CA to hold it. You don’t need to stretch it to tight, just so it is taunt.
The Isolators were just blobs of white glue painted when they have dried.
Geoff has some info in the techniques bank on Aerials as well