
Full Review with Dave Coward
Background…
Just before we get on with this review here’s a look at the finished model just to let you see how it all turned out.

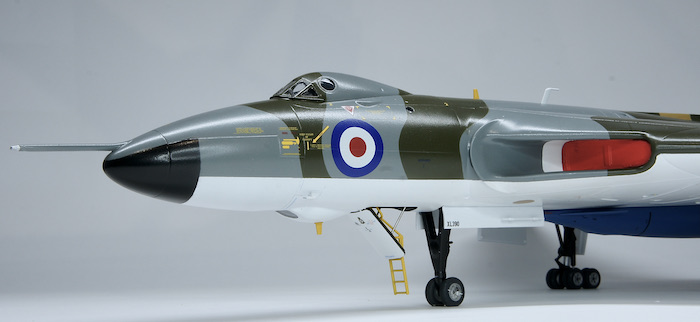
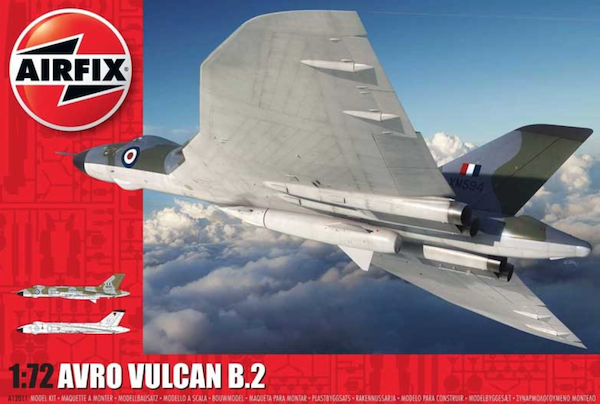
The Editor (Geoff) has already done a full in box review of this kit along with a subsequent in-depth build. He took the option of doing an all anti-flash white aircraft with the bomb doors closed and no TFR nose antenna or AAR probe.
Therefore, when he offered me a chance to build a second kit for the magazine I had to look at something a little different from his option. Initially I did think of doing a ‘Black Buck’ aircraft from the Falklands War in 1982. The kit contains most of the options to allow this including the AAR probe, the nose TRF antenna, the tail ECM fit, appropriate antennae, the correct engine exhaust and a bomb bay with bombs. What I didn’t have were the correct markings and the underwing pylons for the ECM pod or Shrike missiles and their pylon adaptors.
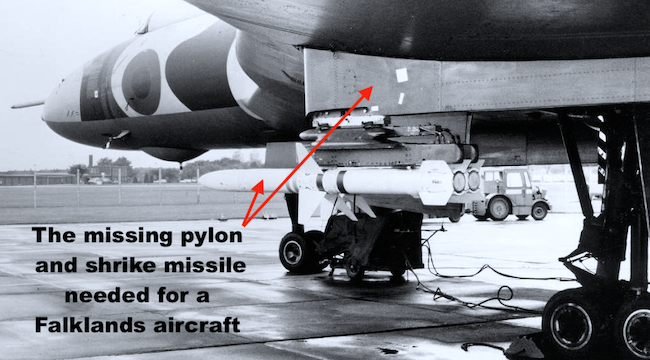

I had a set of decals that covered the markings but the pylons were more of an issue. I could have used some from an old Airfix Vulcan I had in the stash but I wasn’t sure these were entirely correct. If I was to do one of these aircraft I wanted to make sure it was accurate so I’ve decided to wait until Airfix release a boxing for this version as I’m sure they will as the wing have the locating holes for the pylons already moulded in place.
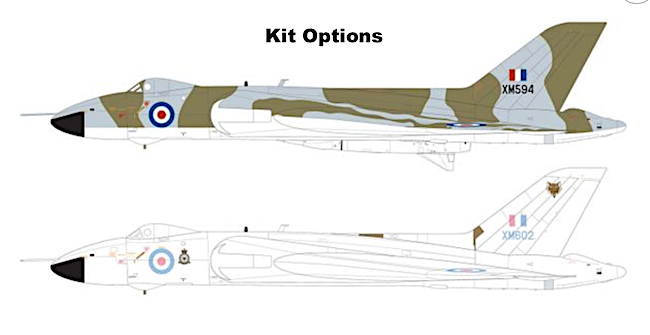
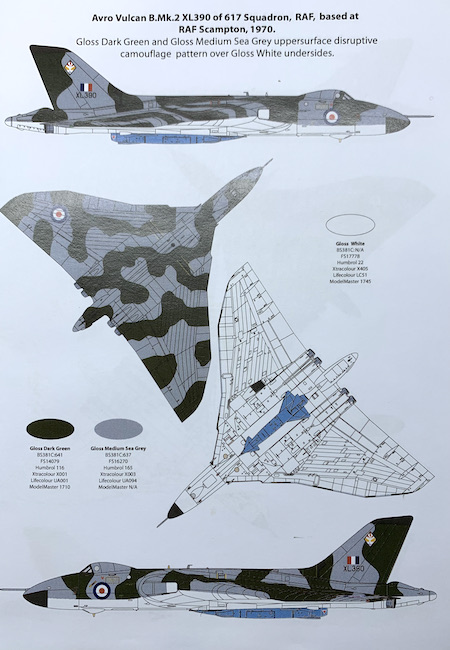
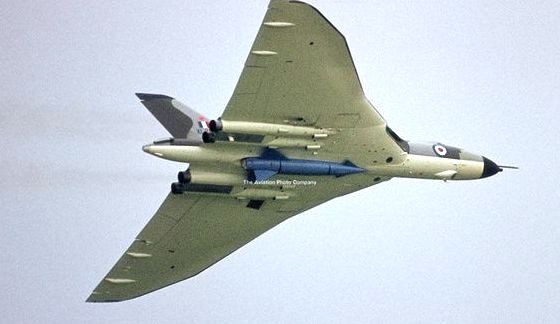
With this decision made I needed to decide which scheme to do. It had to be an early camouflage over white as the second option in the box but this one was a bit plain. Fortunately, the decal sheet I had, covered a nice 617 Sqn aircraft in this scheme with a Blue ‘Blue Steel’ missile (a dummy I presume?). So that was the plan so let’s get on with the build.
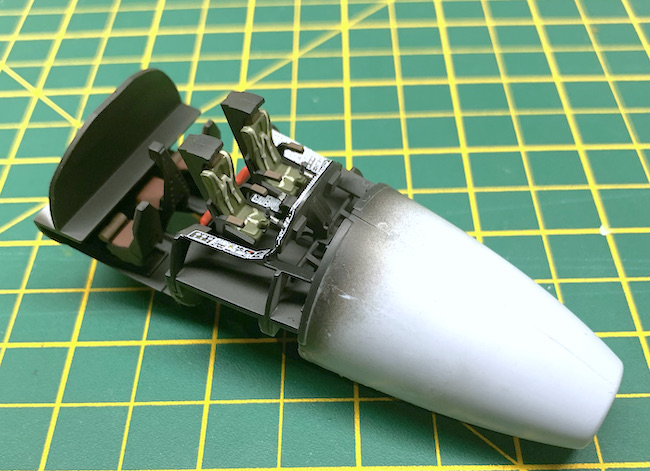
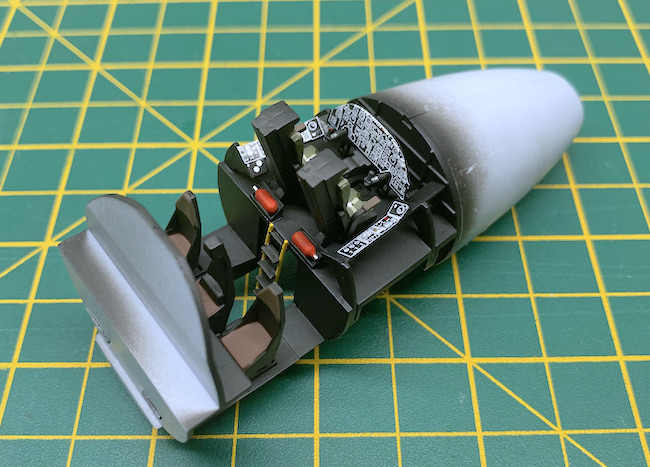
Aftermarket Extras:
• eduard Masks
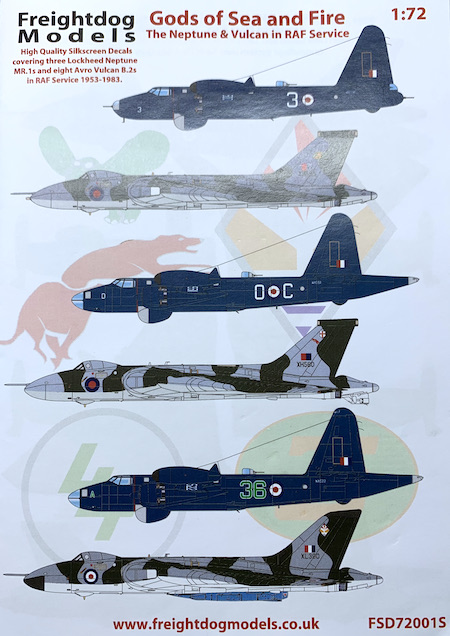
• Freightdog Decals – Gods of Sea and Fire FSD720015
• Top Notch Camouflage Masks.
Paul Ainsworth says
Hello,Dave – A magnificent build of the new Airfix Vulcan.
An absolute credit to you.
If I may ask one question? I see you’ve used Mr.Hobby Aqueous for the camouflage and then ‘glossed’ over with Mr.Color Superclear Varnish which is lacquer-based.
May I ask the drying time/application technique you used to avoid bad reaction between the paint types?
My compliments once again and best regards to you.😉👍
davecoward says
Hi Paul,
Thanks for the nice comments about the kit – really pleased with the end result.
Reference the use of the Varnish I gave the Aqueous paint about 24hrs to fully dry before using the spray can varnish. I used a light coat first and let it dry for about 15 mins and then added another light coat again giving it 15 mins to dry. Finally I added a heavier wet coat to get the deep gloss finish. I had no reaction issues between the paints.
Hope this answers you question.
All the best
Dave
Paul Ainsworth says
Hello,Dave – Thank you so much for your reply which answers my question perfectly.I’ve used the Mr.Superclear Varnish on two builds but that was on top of Mr.Color Lacquers.
Plenty of drying time and light coats are the order of the day.
Your Vulcan build is absolutely magnificent.
Full credit to Airfix as well for upgrading this subject and also releasing the Valiant and Victor.
Keep up your marvellous work and all the best for the New Year!👏😉👍
Stuart Mackay says
Stunning model and workmanship, Dave!