Short Feature Build by Bill Curtis
This is a short build with just a gallery of completed images at the end but there is some very useful build information from Bill on producing a winter-finish – so I hope you enjoy it? Geoff, Editor
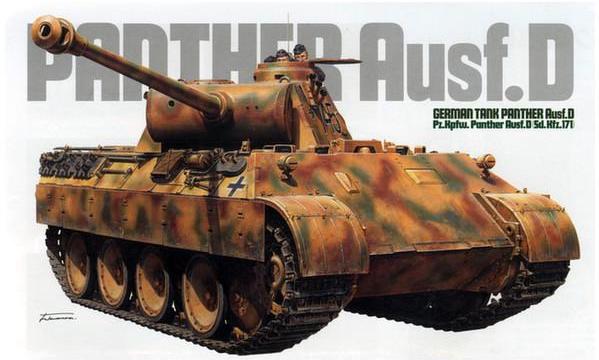
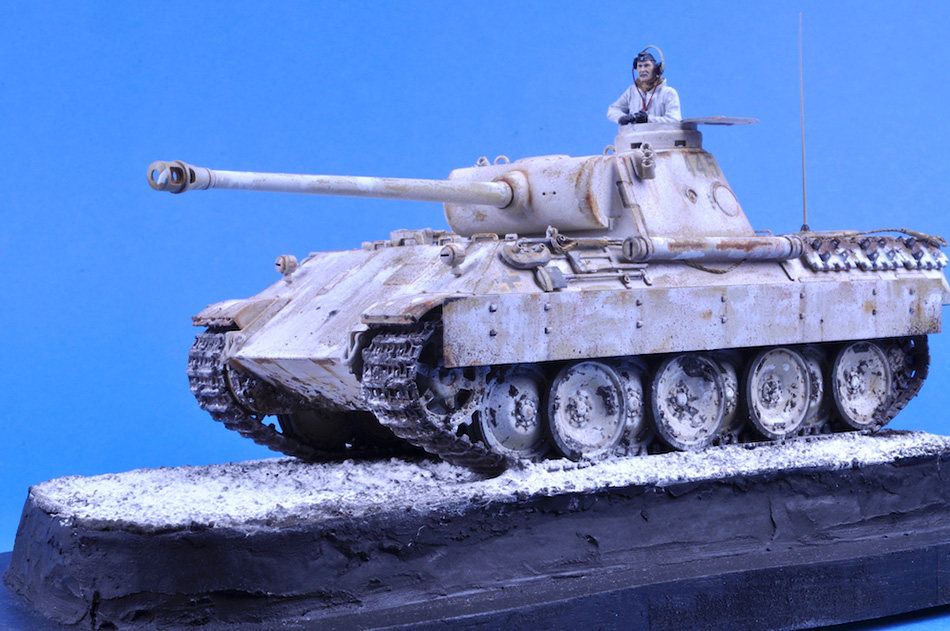
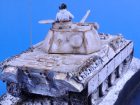
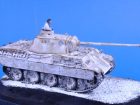
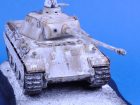
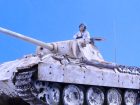
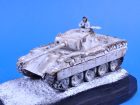
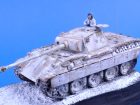
I had been looking around for a different project and hit upon the idea of a winter AFV. After looking at a lot of photographs of vehicles wearing the white distemper used by the Wehrmacht I settled on an early Panther in the winter of 43/44 on the Russian front. The Tamiya Panther Ausf D was already in the stash including an etched brass sets for the engine grill which made the selection of this kit an easy choose for the project.
As with most Tamiya kits the build was very straight forward and the kit instructions were followed with the exception of fitting the aerial, tow cables and the side skirts. A must for all variants of the panther is the engine grills and these came from my spare box.
With construction completed a couple of thin coats of Mr Surfacer 1200 were applied allowing each coat to dry thoroughly. The base coat was applied using AK real colours German army 1943 to 45 Dunkel Gelb RC 060 sprayed in very thin layers building up the paint until a solid opacity was achieved. Gloss varnish was applied in places weathered decals would go and once allowed to dry a coat of semi class varnish was applied.
After this had been allowed to dry for 24 hours using Treseme 3 ultra-fine hold which was sprayed in light coats the first allowed to dry before applying the second. Tamiya XF 2 Matt white paint was diluted with water and sprayed over the model in various thicknesses to assist with the chipping. For a variation of the white a different white, Model Color 919 cold white was diluted with water and sprayed in irregular patterns over the model some thinner than in other places.. A selection of old used brushes was used with warm water to chip the model paint in places where wear would occur on the original vehicle. This was carried out on one panel at a time moving from one to the other following a photograph of the actual vehicle. If this process was carried out I don’t several times than until the desired effect was achieved.
Next came the application of the overall filter, for this Mig ochre for grey sand, applied very thinly so as not to cause pooling around raised detail. This was allowed to dry and inspected to make sure there were no tide marks.
To add more interest to the paintwork Humbrol Matt White 34 was applied in the mapping stage which is applying paint to selected white areas in irregular shapes which were then blended with a round brush. The wheels were also included in the mapping process. Using a good pointed brush and thinned white paint the edges of some of the white painted areas were enhanced to give a 3D effect.
A shell hit was made on the glacis plate by drilling a partial hole and using a sharp blade elongating the hole upwards. Tamiya putty was mixed with liquid glue and allowed to semi set before applying a quantity to the hole. This was allowed to partially set before pushing the handle end of a paint brush into the hole so the putty was pushed out forming a raised surround. This was then allowed to set and once dry painted with metallic colour and some rust tones.
Several AK colours were mixed to give a brown/tan mix which was thinned and then used as a pin wash. This was applied to panel lines and raised detail and once dry another colour was used to various places to add more variety.
Various oil paints were the laid out on a piece of cardboard to absorb the linseed oil which will ensure the oils when used are of a matt finish. The paints were now used in the oil paint rendering method which is basically enhancing detail such as edge of panels and blending colours into the paint surfaces to make it stand out more to the viewer. The spare tracks, tools, aerial stowage tube were enhanced using this method. The model was worked over several times adding more pin wash, streaks, stains and Oils until satisfied with the finish.
The exhaust were painted with Life Color rust paints using a wet on wet to achieve the rusty effect on the exterior and matt black for the interior.
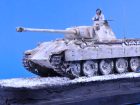
AK’s Muddy Ground Terrain mix (AK8017) was applied to the tracks using a tooth pick and clean up where required with a damp brush. Precision Ice and Snow medium was used for the snow again applied to the tracks with toothpick and brush. Mud was applied to the wheels in a random manner.
The side skirts which had been fitted earlier had been weathered in the same manner as the vehicle.
The tow cables and aerial were added having first been painted and weathered.
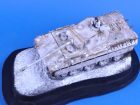
A base was made from wood with a piece of polystyrene glued in place before being covered in plaster which was allowed to dry. The AK muddy ground was applied to the top and when partially dry spare track links were pressed into it to show where the Panther had travelled. Snow was sifted over the mud in a light covering. The vehicle was then glued in place.
Sides of the base were given several coat of a black paint.
A figure, painted with acrylics, was added in the cupola complete with headphones, one side of which was raised above the ear so the commander could hear what was going on in the locality.
After a few days I thought something was missing from the finish. I decided to speckle the tank with tan, brown and rust colours. This was done using a cocktail stick and a brush with diluted paint and flicking the paint first on a paper towel to remove most of paint the using same method over the model.
Conclusion
I had not made a winter finished AFV for many years and found this a pleasant change from other forms of camouflage and maybe in the future a panzer grey tank with a winter cammo scheme could be on the cards.
Bill C.
Gallery

Ask a question or add feedback:
You must be logged in to post a comment.