Feature Article with Richard Allen
Buy this kit now at Airfix
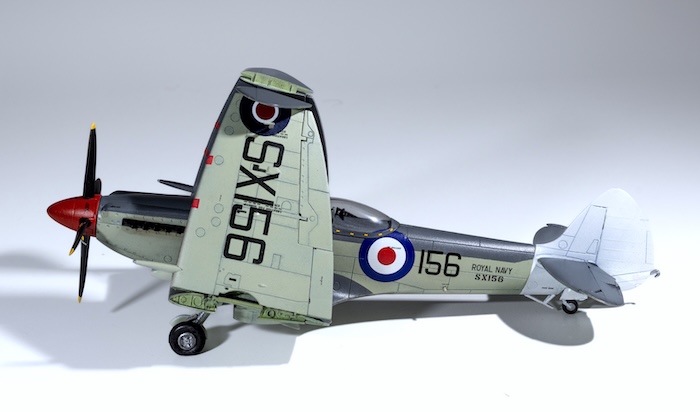
Just before we get started, here’s a look at how it all turned out…
Opening Thoughts
Having primarily been building larger 1:48 kits, such as numerous F-4 Phantoms, I wanted to have a change of tack and do something a bit different. My change of direction coincided with a visit to the Fleet Air Arm Museum in Yeovilton, UK where I was impressed with the numerous aircraft on display, especially a Seafire, and Sea Fury. This gave me the idea of doing an FAA post-war, late 40s early 50s project, and with a Fairey Gannet and Sea Hawk, along with the Seafire and Fury could make a great mini collection.
First up would be the Airfix 1:48 Seafire F.XVII, which has had rave reviews, with a great build review in SMN by Graham Thompson which after reading inspired me to get going! Les Venus has also done a very nice build in SMN.
References:
Own Images from FAA Museum
Scalemates Web Site
Airfix
Scale Modelling Now
airplane-pictures.net
The Plan
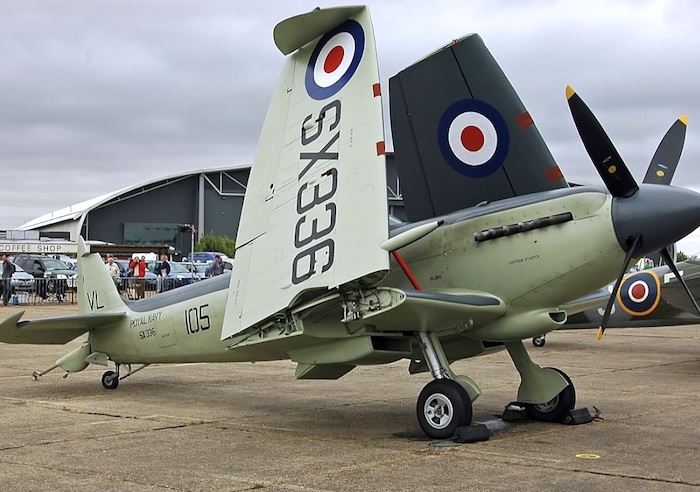
(Photo: Seafire FAA Museum Yeovilton [Own Image])
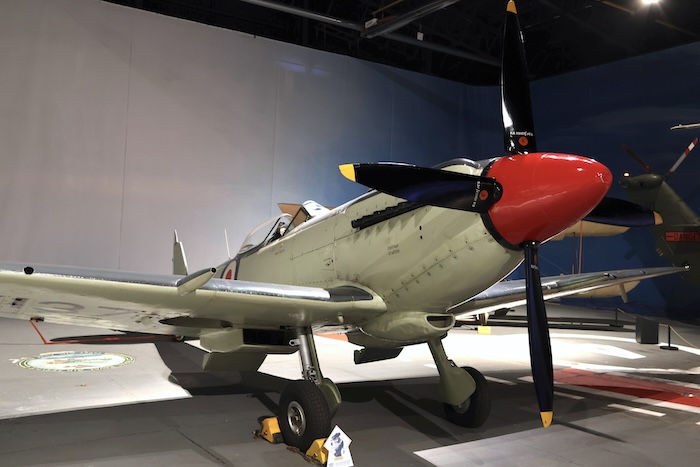
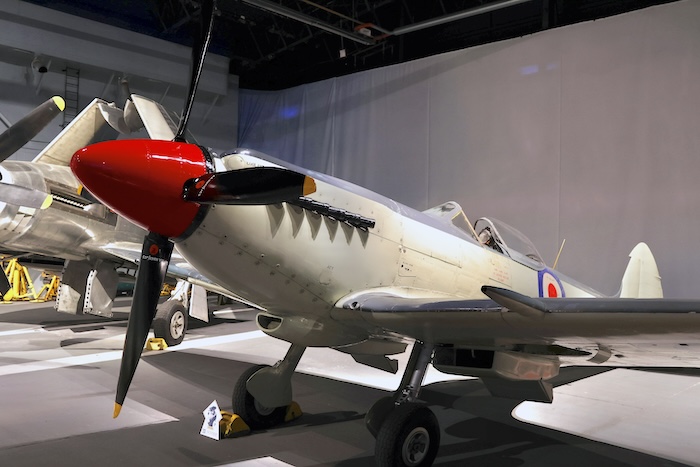
(Photo: Seafire FAA Museum Yeovilton [Own Images])
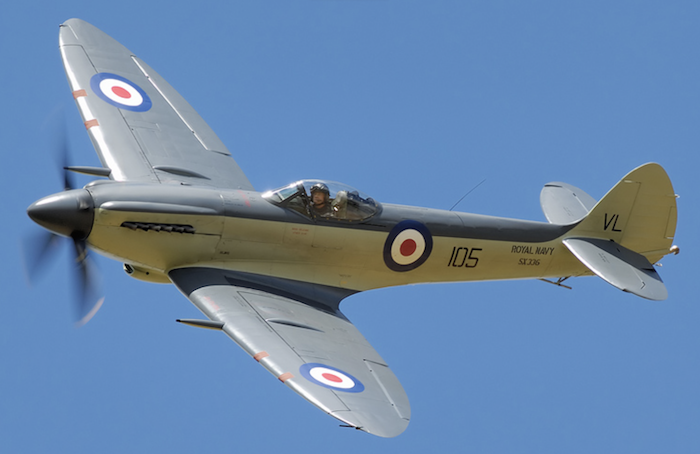
(Photo: Courtesy airplane-pictures.net )
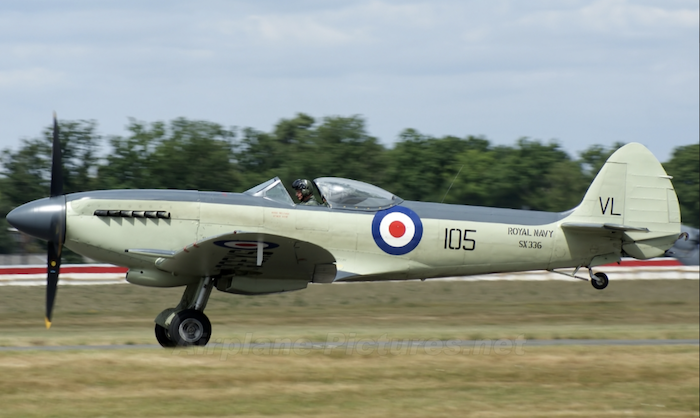
(Photo: Courtesy airplane-pictures.net)
Extensive scrolling through various web sites provides some excellent images of the Seafire, unfortunately with none available of SX156 which Airfix represents as one of the kit options, and the scheme I will use. However, this kit appears many times when carrying out an online search, and provided numerous references for my own build. Additionally, several YouTube build reviews are available on the web, which offer an excellent source of information.
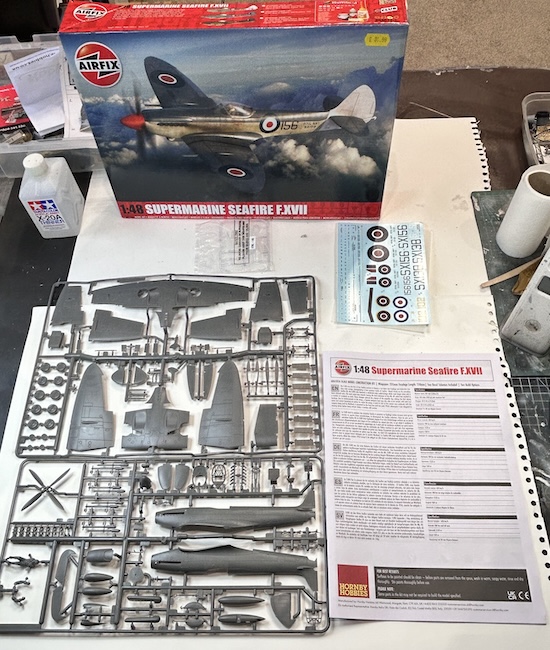
The kit comes in an open top box, fantastic artwork again by Airfix and three main sprues, all contained in one plastic bag. Perhaps Airfix could take a leaf from other manufacturers, and place individual sprues in their own bag? The detail on the plastic is excellent, although perhaps the panel lines are a little deep? Hopefully once painted and varnished this will not be as prominent, Airfix plastic seems quite soft, but hopefully this will not affect sanding down seam lines, and cause too much loss of detail.
Instructions are clear and easy to follow, I much prefer the Airfix lay out to Zoukei-Mura, which I find very clustered IMO. The painting and decals guide is easy to follow, although only Humbrol paint colours are given, no great issues, but a little research needed to translate into, in my case Vallejo Model Air.
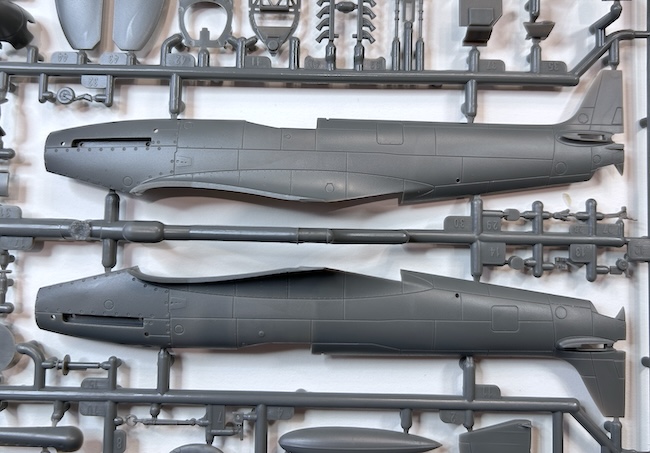
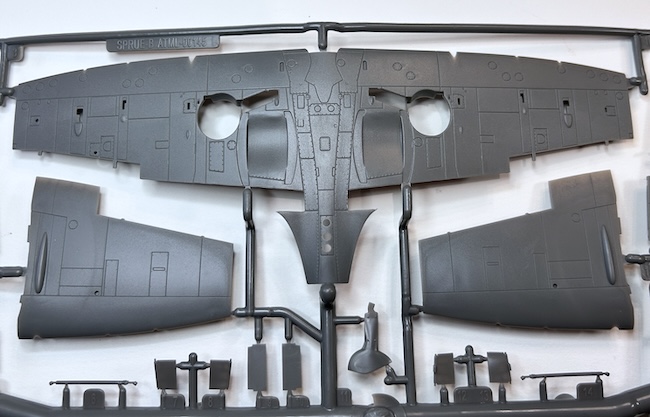
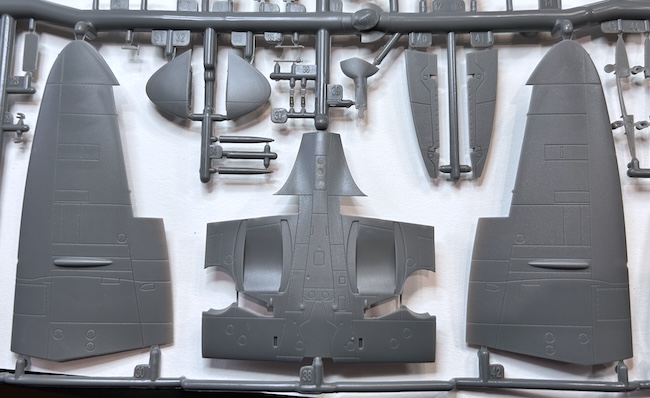
Scheme will be OOB using Airfix decals provided for 767NAS RNAS Yeovilton late 1940’s, this iconic scheme will be carried through with all my intended FAA builds for this project.
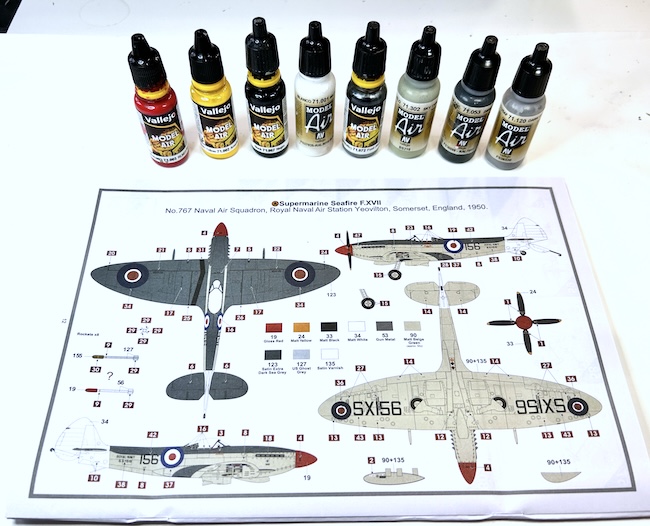
Two options are given for the final build, wings down or folded, I intend to build the kit with the folded wing option, mainly for a different perspective, but also space saving when on display lol.
As per usual I will use Vallejo Model Air paints, I find them consistent and easy to use. Working well with my airbrush. I also use Vallejo primers, and for this model Polyurethane Satin varnish, along with Gauzy Intermediate varnish.
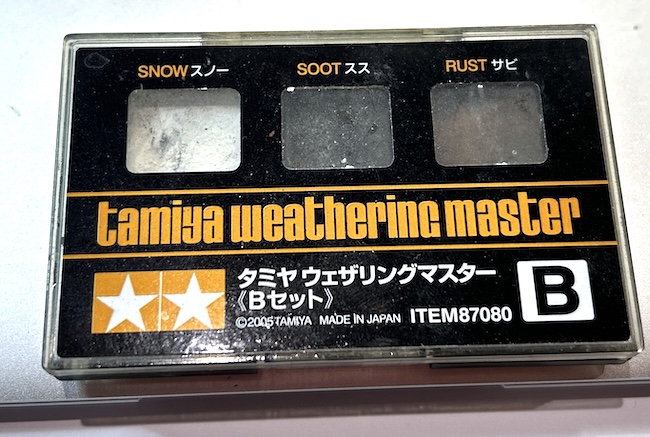
My go-to for weathering is Tamiya Weathering Master and Flory Wash.
As per the norm, the build begins with the cockpit area, Airfix do a good job with detailing, and IMO no extra photo etch is required except seat belts, which are not provided with the kit.
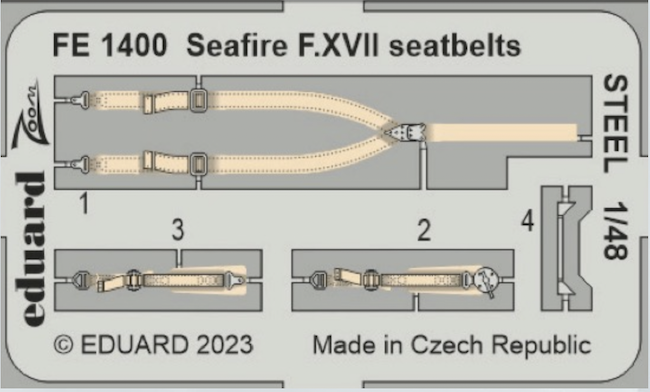
Eduard pre-painted seat belts were sourced through Hannants and look excellent, I used them recently on an Airfix 1:48 Mk Vb, which really lifted the whole look of the cockpit.