Back | 1 | 2 | 3 | 4 | 5 | 6 | 7 | 8 | 9 | 10 | 11 | 12
Managed to catch a stomach bug last week so having hoped to finish then I have now got myself involved in putting more brass work in than I originally intended. There is quite a lot of the stuff still left that doesn’t appear to have a mention in the instructions. There seems to be a set for the 19 radio but for the life of me I cannot see any relation to the set in the turret!
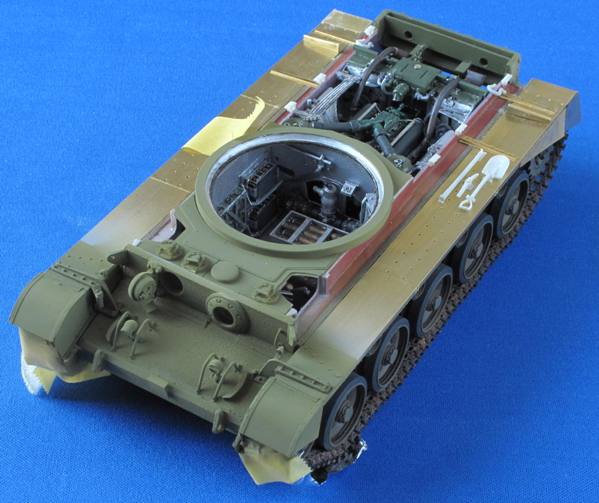
I fixed the front track guards. After that I gave a quick coat of Humbrol 159 which seems to be the colour of British tanks at that time. As I said before it doesn’t have to be exactly right as it is going to be weathered quite a bit.
On this subject, the pics I have seen of the A-34 during the war certainly show plenty of mud but the actual paint itself doesn’t seem to have deteriorated underneath it all. I don’t want to over weather it as the detail in this build is part of the whole plan.
Back to Humbrol which I do not use very often – I thinned it to about 50/50 and the resulting spray was “lumpy” I probably held the spray too far away. Anyhow I managed to smooth it down with a nylon brush.
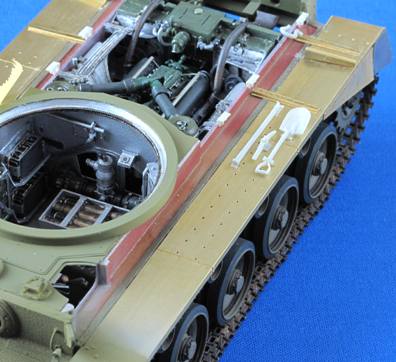
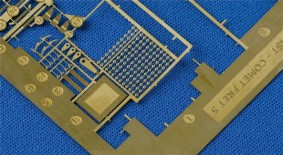
A close up of the track guard all the holes are awaiting the little bolts shown in the brass fret I had not even noticed these before and they are not mentioned in the instructions, hence the slowing down of the pace of construction! Luckily the larger number of holes is concealed by the side boxes so don’t need to be placed in position.
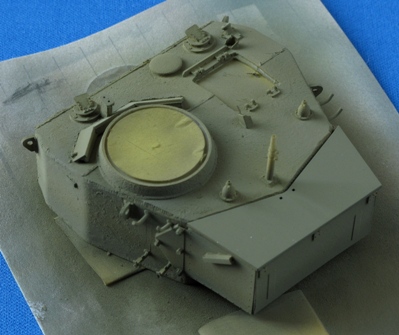 The turret (at this stage prior to cleaning the “lumpy” paint off). The rearmost aerial is not evident in any of the pics I have seen of the tank in WW2 so I am making up what seems to be the correct one – more of that later.
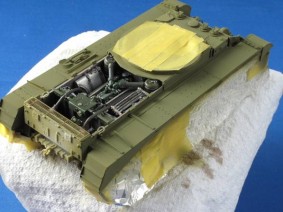
Here it is masked up and the track guards painted (got the mix right this time!) The rear is left pending the positioning of the lights and phone box. I masked the engine with its cover (see pic below). The little bolts not covered by the side boxes are placed in position (ugh!)
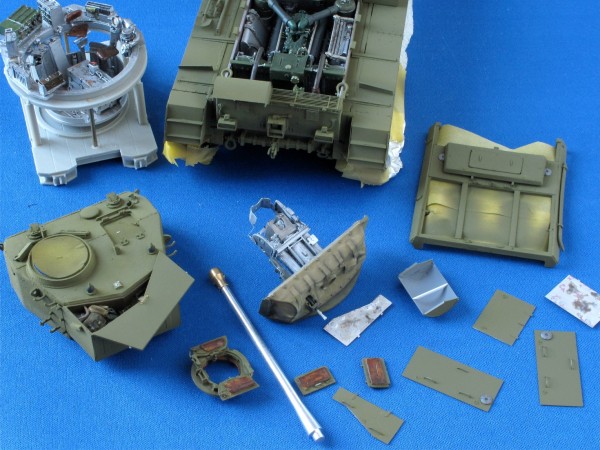
Ready to be put together, finally painted and weathered. All the components that can be assembled after painting. The barrel needs an undercoat to provide a key for the final one. Next the finished product and a summary of the build…