Laying down a base and applying your finish
By Geoff Coughlin (May 2013)

In Part 1
We look at what Alclad2 is and how you may want to use it to create highly realistic and a great variety of metallic finishes to your models.
In Part 2
The object of this part is to look at the main options you have for laying down a base undercoat – this is important although in my experience you can get away without any base for some special effects, if applying very thinly and smaller jobs.
Then we’ll go on to look at how to apply the metallic finish and in Part 3 we can try some variations and options to get special effects including weathering options.
Why lay down a base undercoat?
One reason is that the manufacturer says you should! This is with good reason though mainly because the very thin Alclad2 lacquer metallic paint will adhere better if it has something to key onto. In addition the metallic lacquer can craze the plastic if sprayed directly onto it.
Another good reason is that depending on what final finish you are after, it is better to use a specific base undercoat.
Options for base undercoat
Inevitably many modellers and indeed the manufacturer may have their own suggestions but I have tried and tested all of the following and found they work well. Here are the main options…
Shiny high-gloss finishes
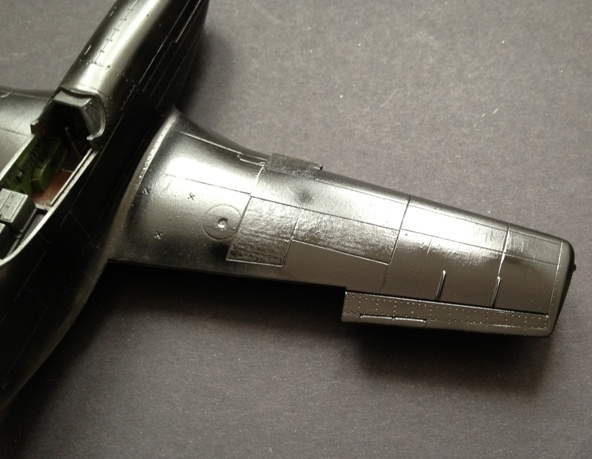
If you want a high-gloss shiny finish near the top end like a chrome-look finish you can use:
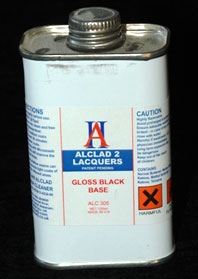
- Alclad2 Gloss Black Base (Black Primer and Microfiller – it’s the same). It comes in a tin and used neat, spraying well at quite low pressure of around 10psi pressure. Build up the finish carefully so that you end up with a nice even glossy finish and set aside to dry
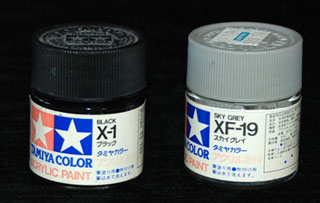
- Tamiya Gloss Black (X-1). Thin with Tamiya thinner and apply exactly as above for Alclad2 Gloss Black Base.
- Alclad2 Honey Primer – Its main use is a primer for the hi-shine finishes just like the Gloss Black; by masking different panels and intermixing the base colours you can achieve different tones to your finished effect.
Bright finishes
- Alclad2 White Primer and Micro Filler – good for bright metallic finished but not as shiny as chrome; as ever it’s worth being clear right at the start what final effect you are looking for because this will dictate what base primer to use.
Standard metallic finishes
- Grey Primer and Micro Filler – the most common primer I use because most of my subjects are aircraft and very few of those have high shine near chrome finishes. If you are into Reno Racers you’ll probably use Gloss Black and Honey much more than me – it all depends on what finish you are after. So I use this grey primer for most Aluminium effects.
Ok, so how do I spray these base colours?
The next few videos will show you how. I notice that Alclad2 have some useful instructional videos available on their website and are worth taking a look at too.
Target project: Tamiya P-51 Mustang 1:48 scale (my faithful test-bed!)
Aim:
On the underside to achieve an Aluminium finish that’s not too shiny just like wartime Mustangs that generally were not very shiny at all looking at the photos I’ve seen. It’s all about personal preference and what you, as the builder want to achieve. Grey primer first and for this I am going to use some Tamiya Grey – the end effect is exactly the same as suing Alclad’s own.
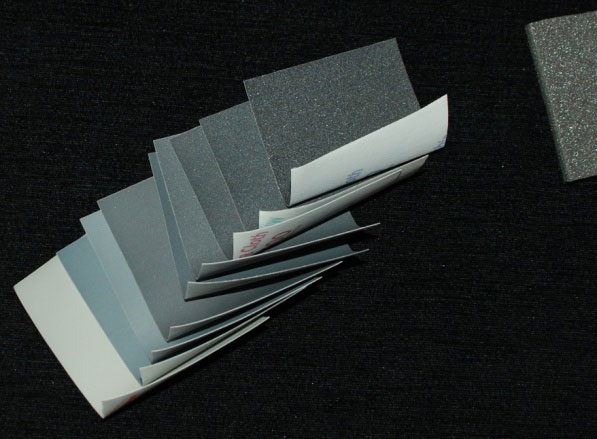
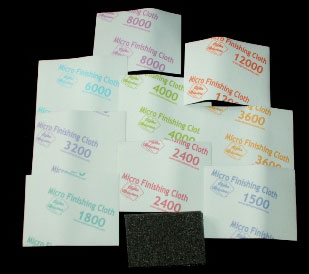
When the primer is dry (allow an hour or so to be safe) I will buff the surface using Albion Alloys polishing pads before applying the fist coat of metallic lacquer – more of that later.
On the top side to create a very shiny chrome-like finish – just so you can see the difference in approach. I’ll use Alclad2 Gloss Black Primer for the upper base coat.