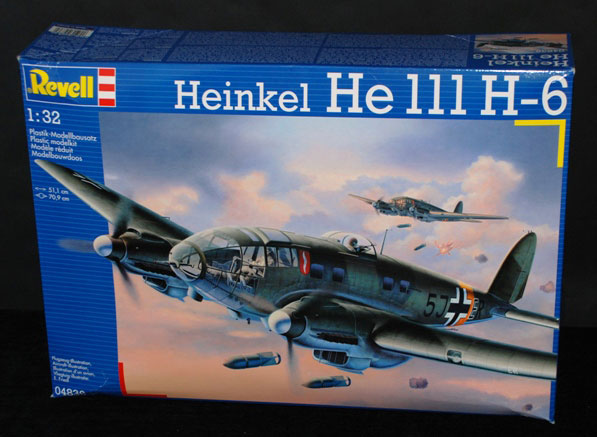
Review by Geoff Coughlin (Apr 2013)
Price: around £59.99 (GBP)
Our thanks to Revell for supplying our review sample. Revell model kits are available from all good toy and model retailers. For further information visit www.revell.eu or email ukbranch@revell.de
Note…
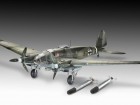
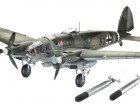
We have already reviewed the Revell Heinkel He 111 P-1 in Here Now; this new release is very similar save for the fact that now you have new decals and a pair of torpedoes. For this reason I have included my comments from the earlier review below plus a few small amendments to save you some clicking!
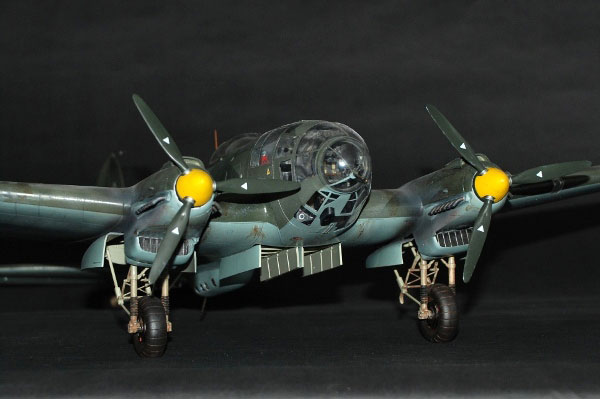
Our full build of the He 111 P-1 by Dave C can be found here.
Background to the Heinkel He 111
At the start of the Second World War, the Heinkel 111 was the most powerful medium-range bomber in the world. With a maximum speed of 410 km/h (255 mph) it was faster than most fighters of the period. Although the He 111 evolved as early as 1932, it was still as a civil project for a fast aircraft for Lufthansa. At this time though, it was still forbidden to build military aircraft in Germany due to the Treaty of Versailles. Heinkel therefore designed the civil aircraft in such a way that it could be mass-produced as a medium range bomber with little effort. After the restrictions of the Treaty of Versailles were lifted in the summer of 1935, work on the military version of the He 111 began in earnest.
Series production started in the summer of 1936 and in May 1937 the newly formed Luftwaffe took delivery of its first He 111 B-1. With the advent of the Spanish Civil War the Luftwaffe found an opportunity to test its new aircraft under actual war-time conditions. Experience gained during this conflict was eventually incorporated into the He 111 during a large modification programme. The aircraft had a fully glazed asymmetric glazed nose section and this was to become a trademark feature of the type. This version received the designation He 111 P and went into mass production in 1938 as the P-1 experience with this model led to the more powerful P-2 which in the summer of 1939 gradually began replacing the P-1.
Initial assessment
The box is restrained in size – fat rather that big but the contents are significant, very significant, because I am holding a 1:32nd scale He 111 in my hands – who’d have thought it? I am rapidly coming to the view that nothing is impossible these days – someone, somewhere just might produce one. how extraordinary, when I wrote these words back in July 2011 a 1:32 Boeing B-17G was only a pipe dream and now we await it’s immediate arrival of that kit in the SMN office.
Sprues and more sprues
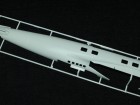
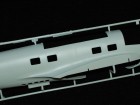
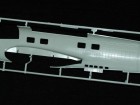
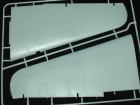
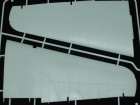
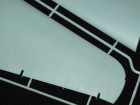
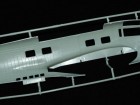
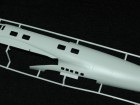
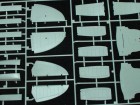
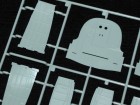
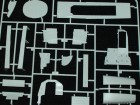
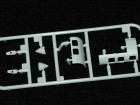
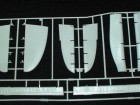
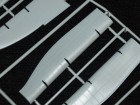
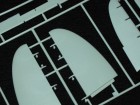
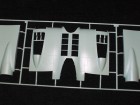
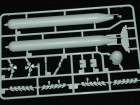
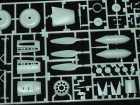
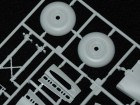
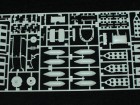
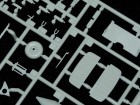
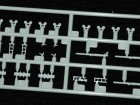
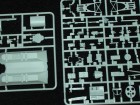
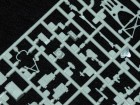
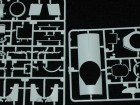
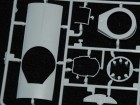
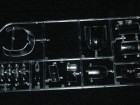
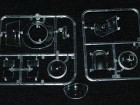
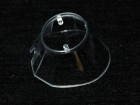
The box is pretty packed with these, light grey sprue frames and the best thing to do is show them to you here:
So, what do you think? Well, overall I’m pretty impressed with what’s inside. The cockpit looks to be very well appointed which is just as well because the He 111 has a greenhouse for a cockpit and you’ll be able to see most of it.
Highlights at a glance:
- Subject choice – very welcome
- Panel line detail – sharp, recessed and no too deep in this scale
- Cockpit detail and detail tooling of fittings
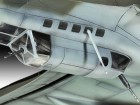
- MG-15s finely tooled
- Raised detail on side instrument panels with decals for main panels. I think the latter will work very well – we’ll see in the build stage
- 8-bomb vertical bomb rack applicable to the P-2 (as mentioned in Revell’s instruction sheet) we will fit this, so you can see how it all works (even if this feature wasn’t applicable to the P-1 – still checking our references to confirm)
- Undercarriage looks accurate and subtle, like the original
- Positionable flaps, tailplane elevators and rudder
- Clarity of clear glazed parts
- Decal options – plenty of variety, given the kit is a P-1 variant.
Things to watch and take extra care with:
- Some prominent ejection pin marks on the insides of the fuselage halves and may prove difficult to remove without causing damage. Some may be hidden reducing the problem, so dry fitting may help find out the ones that need attention
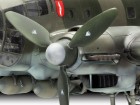
- Some sink-marks at the root of the propeller blades – easy to fill, but a bit of a chore
- Multi-part canopy may be tricky to assemble so take care with this
- Tyres aren’t bulged – given this is a big 1:32 scale kit, I think that these should have been provided
- Seat harness is poor and should be replaced. I won’t get caught twice with this one as I did with the Revell 1:32 Arado; that has a moulded seat belt that isn’t realistic but here it’s very basic, just two vague moulded lines on the seat face. Easily resolved though with scratched items or some from Eduard – especially their pre-painted ones will do the trick
- Split exhaust stacks – they will need to be glued together and care will be needed during clean up but they will assemble hollow and that’s great
- Decals – plenty of carrier film on show, although they are thin and that’s good. Trimming it away will be essential and you may want to go the Dave C. way and try and secure some Montex paint masks so you can spray most of the markings. This could be a worthwhile investment as the kit is very reasonably priced.
Instructions
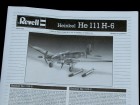
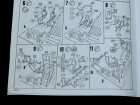
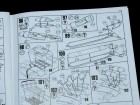
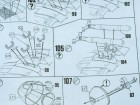
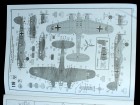
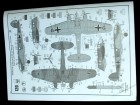
These are in classic Revell style with exploded stages – all 113 of them. Location of parts seems quite clear but familiarise yourself with the symbols for grey and clear parts as well as decals and paint references as it all gets a but busy on some of the smaller sectional diagrams.
I like many other modellers would like to see either other paint references apart from just Revell color numbers/colours or at least RLM colour references, allowing the builder to choose from their own preferred paint range and you get RLM references this time. The camouflage colours are Muster A (or B) designated: RLM 70 Schwarzgrun and RLM 71 Dunkelgrun over RLM 65 Hellblau undersides.
Decals
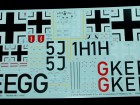
As I mentioned, the choice is quite good, given that both are RLM 70/71 upper camo over 65 undersides.
- Option 1 – Heinkel He 111 H-6 of 7./KG 4 “General Wever”, Stalingrad, Russia 1942
- Option 2 – Heinkel He 111 H-6 of 2./KG 26 Norway, July 1942 flown by Lt. K Hennemann
Decals quality is pretty good as mentioned, the colours are solid with decent opacity and markings are in register. That carrier film is going to be hard to lose in this scale if you apply them as is, so I plan to trim most of it off and, as the instructions suggest, use a decal softener like Micro Set and Sol. A good range of stencils is also provided, so no need to go to for aftermarket supplies here.
Accuracy
I don’t have a lot of references for the He 111 (unlike just about everything else Luftwaffe!) so we are reduced to what I have and the Mark 1 Eyeball. It certainly looks right from most of the angles I have tried. After a dry-fit and taping this is unmistakably a Heinkel He 111.
Conclusion
Well I hope that this Here Now in-box review says enough for you to make your buying decision. The package is clearly well worth the money in my opinion and there is going to be a lot of modelling fun and pleasure for your buck. I suspect, as with the Airfix De Havilland Mosquito, it’s not so much the project build that’s the issue, simply where on earth you are going to put it. Personally I love the idea of having that problem – it’s a 1:32nd scale He 111 for goodness sake – what more could we ask for? Well, how about that DH Mosquito in 1:32, why on earth hasn’t anyone seen the sales potential of that one? We wait…
Highly recommended
Geoff C.

