By Bill Curtis
Have you ever been browsing through the shelves in a model shop and a kit has sprung out at you saying “Buy Me”. This had some impetus as my local model club was holding a competition called Fights of Fantasy, and I thought this would fit the bill nicely.
Hot footing it home I had a good look at the kit and realised it was a snap together kit and I thought that should speed things up. Well this proved not to be completely true but more of this later. The parts had pronounced parting lines which had to be cleaned up but this was not beyond anyone’s ability to correct.
The assembly followed the instructions with the cockpit being painted black before assembly and the instruments dry brushed with a very light grey. Some easement of parts were required to get a good fit and then Tamiya Extra Thin glue was used to fix the parts permanently in place.
The cockpit canopy was masked with tape and using a cocktail stick to push it into corners and along edges before cutting with a new blade.
Everything was now given two coats of Mr Surfacer 1200 light grey primer and put aside to completely cure. The canopy was then fitted.
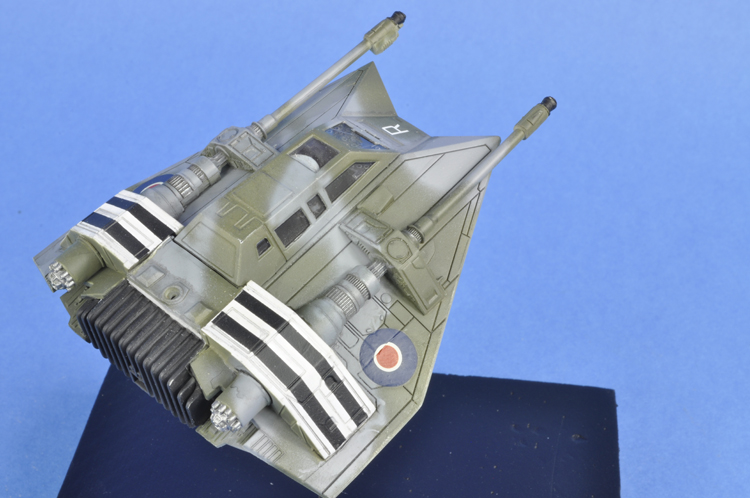
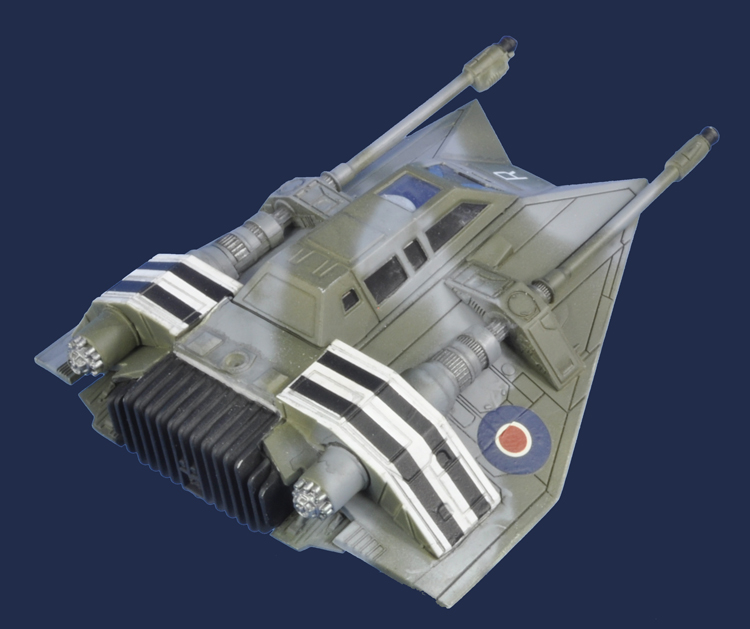
I now thought what colours to use and just thought the white /orange scheme was not for me. After considering a modern camo scheme, a WWII German? I finally settled on Green/ Grey upper surfaces and Sky Blue under surfaces – RAF, perfect!
I started with the underside and put it aside to dry. Next the engine unit was masked off and painted a black colour. The top surface was now given two coats of a medium grey and then this was allowed 2 days to cure completely. I picked a green for the second colour and decided to free hand spray this with a tight almost hard edge.
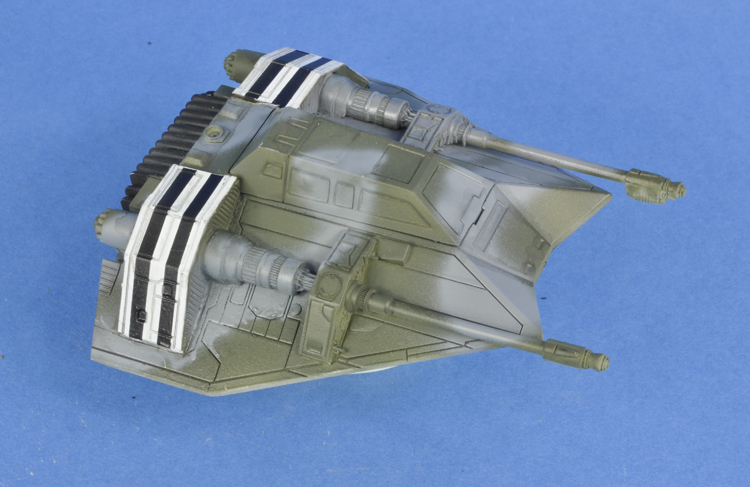
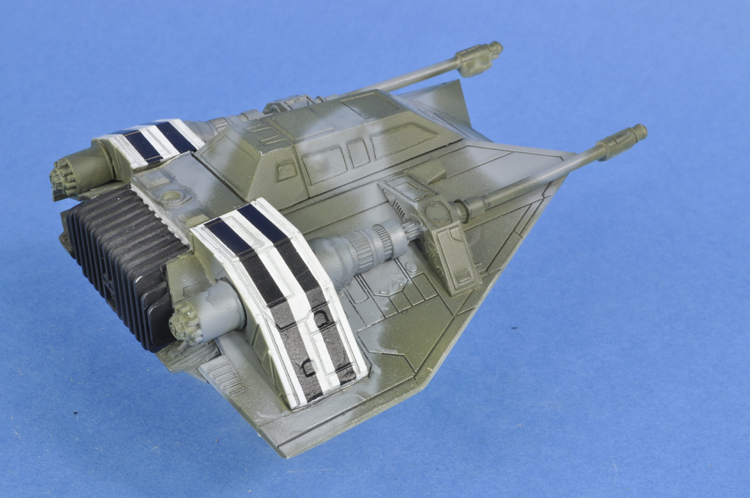
I decided that to add some colour to the model I would give it some black and white invasion markings and this was achieved with masking tape on the upper and lower surfaces.
Detail painting was carried out with a brush using black for the weapon front section and I left off the rear section of said weapons and painted the rear section with steel.
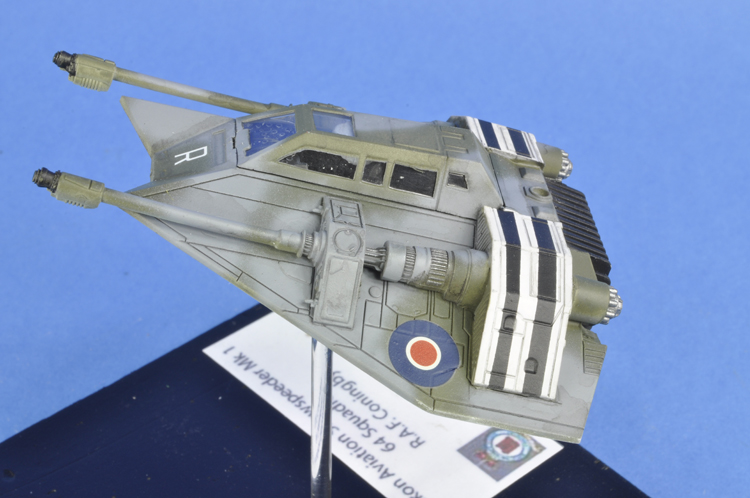
A coat of gloss garnish was applied overall and when dry the decals were applied with Micro Sol and Set. The next operation was a black panel line wash on the upper and lower surfaces. This was then followed with a coat of semi gloss varnish.
At this juncture the masking on the canopy was removed but I left the rear window covered. This finished the model.
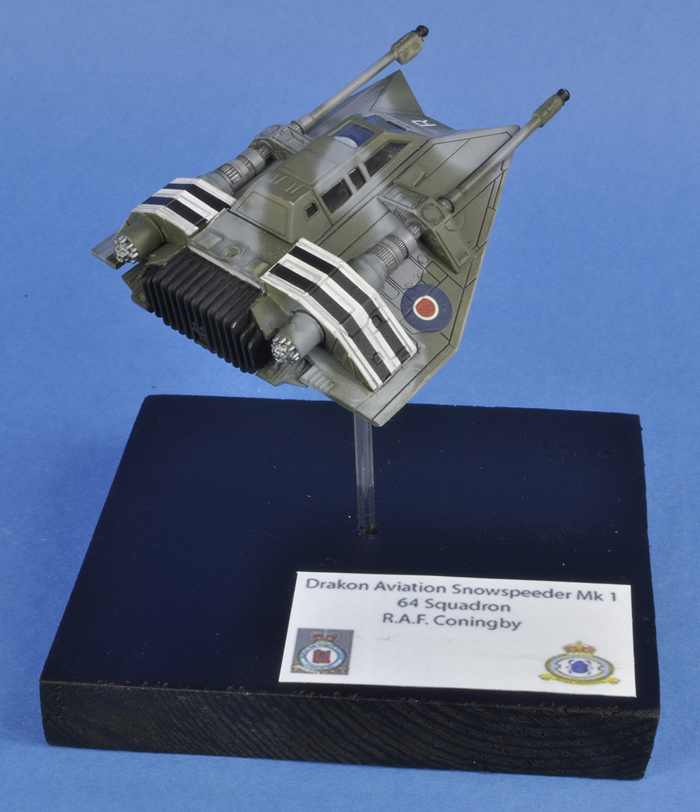
The base was made from a piece of wood a hole drilled into its centre, painted black, into this a piece of clear plastic rod was fixed with superglue. A hole had been drilled into the base of the Snowspeeder which was then fixed with superglue at an angle.
A label was made on the computer with and stuck to the base. This completed the job.
It was nice to make a model that has no restraints and the colour scheme could be done as I wanted without reference to photographic material – all adding to the fun of this light-hearted project. Try it sometime… you’ll have great fun along the way :)
Bill C.
