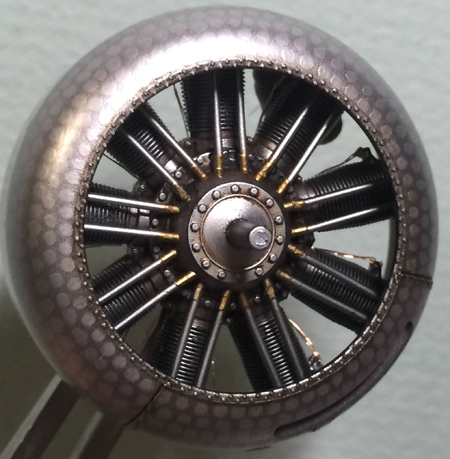
Metallic Finishes
with Bucky Sheftall
A note from Geoff…
Really pleased to bring you this short piece from Bucky S – he’s found a way of realistically creating that ‘hammered’ metallic effect you often see on WWI biplanes.
Bucky is the first to admit this isn’t really his idea:
“As for credit, please note that I have cobbled the basics of the technique from others’ (Bob Pearson, plus someone else on LSP some years back) work I have seen online over the years.”
The results speak for themselves and so this entry in your TB will at least give you another option to try – good luck!
The Sharpie Technique
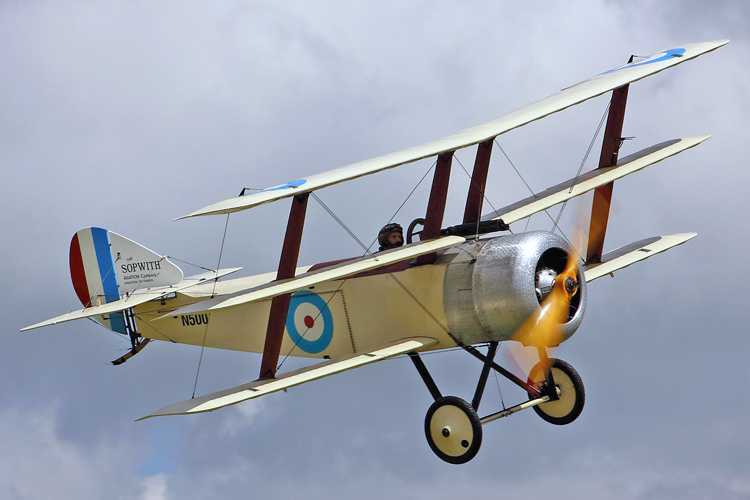
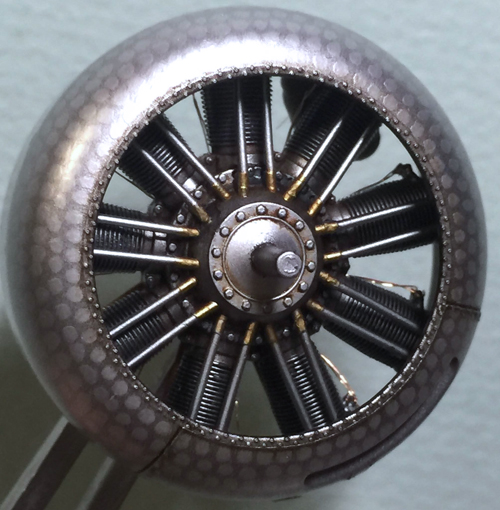
The principle behind the technique is the exploitation of the semi-translucent quality of a silver overspray over a pattern of highly contrasting light and dark areas – in this case, silver dots on a gloss black background to produce an illusion of an aluminium surface into which circular patterns have been machined/polished, giving the surface varying qualities of lustre/reflectivity. (see the photo above of the Sopwith triplane in flight – you can see what I mean).
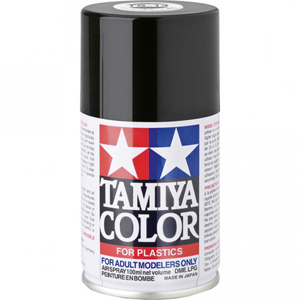
For my base gloss black, I decanted and airbrushed Tamiya TS-14 – very tough, hardy, high gloss stuff – after thinning it with Gunze Levelling Thinner.
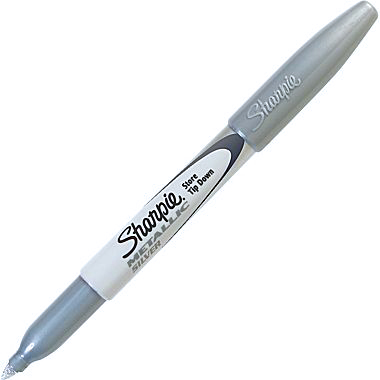
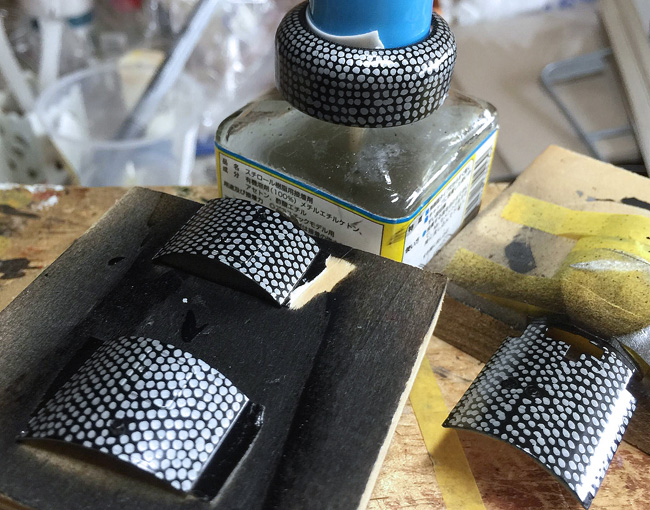
After that thoroughly dried, I applied the silver dots in a tight, regular pattern (referring to period photos of Sopwiths with this type of aluminium work) over the black gloss surface with a Sharpie Metallic Silver pen (which is sold in a set of three with one each Gold and Bronze/Copper pens). This is tedious, tedious going, but patience will pay off – as will some practice runs on plastic scrap to tighten up your pattern. You must be precise with your dotting but also quick, as the Sharpie ink flows quite quickly, and if you keep the pen pressed on your surface too long the ink with pile up and dry into a little mound (which you obviously do NOT want).
After I had determined this to be dry (only a few minutes), I cloth-wiped a layer of Future over everything to protect the Sharpie ink – which I suspect is some kind of enamel – from the silver lacquer overspray to follow.
For this overspray, I used decanted and airbrushed Tamiya Bare Metal – the lacquer metallic spray paint Tamiya released, if memory serves, concurrent with the release of their 1:32 P-51 a few years back. It is an excellent product that gives a very realistic AND durable aluminium effect.
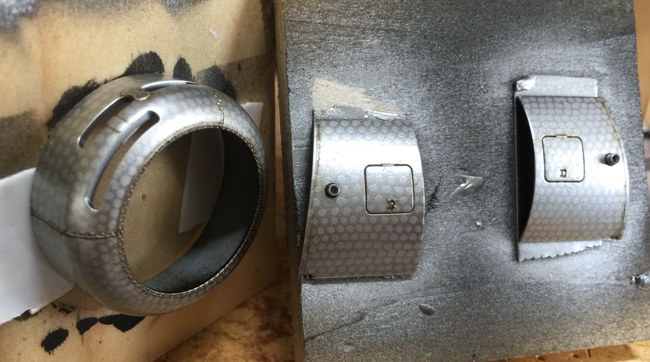
As with my TS-14, the Bare Metal Silver was also thinned with Gunze Levelling Thinner, then applied in very light translucent coats on the target surface, repeating until I began to get the effect I was looking for.
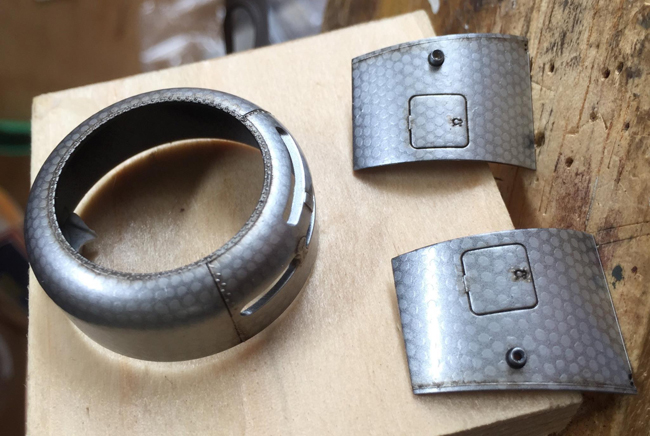
After this dried thoroughly (i.e., didn’t smell like lacquer thinner any more), I gave it another cloth-wiped layer of Future, and finally, a pinwash of Van Dyke Brown artists oils thinned with odourless turpentine (very forgiving stuff) around the bolts and panel lines.
Variations on this technique have been making the rounds of the various WWI modelling sites for a few years now. If I remember correctly, I first saw it on a Triplane by Bob Pearson.
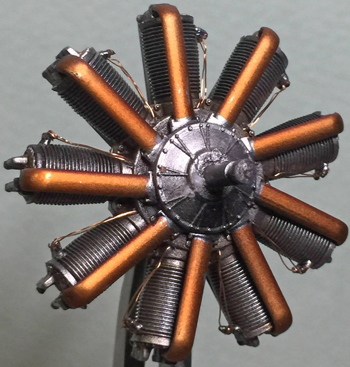
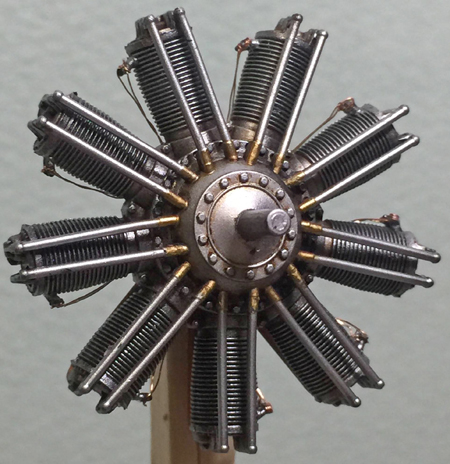
Here are a couple of photos of the cylinder racks and the completed effect.
Good luck!
Bucky S.