Review by: Adam Brown
Our thanks to Airfix for supplying our review sample.
Take a look at… Summary, gallery and pdf…
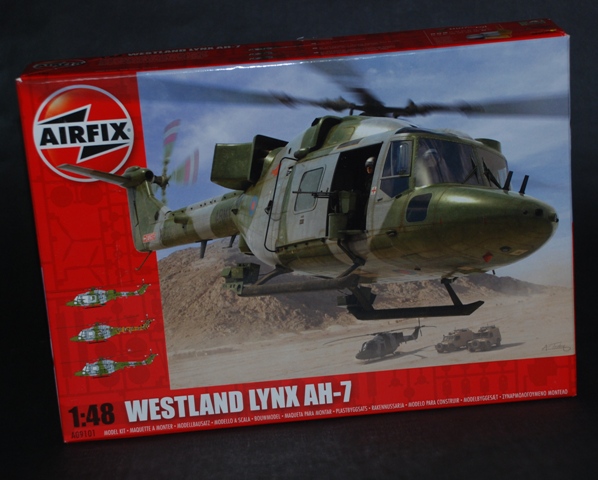
The Westland Lynx AH-7; this agile and beautiful machine oozes coolness and, as a small boy growing up in the 80’s, delivers a massive ‘wow’ factor.
Now the time has come to build this eagerly awaited Airfix release and boy am I excited!
Firstly, the instructions provide you with 3 Lynx machines to choose from….
A: Army Air Corps, Afghanistan 2006
B: No. 671 Sqn 2 (Training) Regiment, Army Air Corps, Middle Wallop 2005
C: No. 847 Naval Air Squadron 3 Commando Brigade, Royal Marines Armoured Support Group RNAS Yeovilton 2005
As the Royal Marine helicopter provides the option for a TOW (Tube launched, Optically tracked, Wire-guided) missile armed variant, this is the option I would go with.

Cockpit and cabin
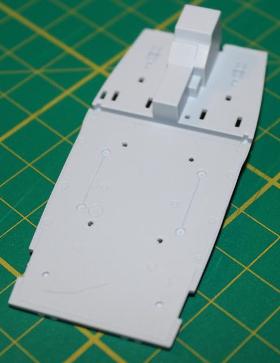
The first job is for the drill to make the holes for the troop seats in the rear cabin, and here you can choose which direction you want the seats to face, either facing forward or to the side.
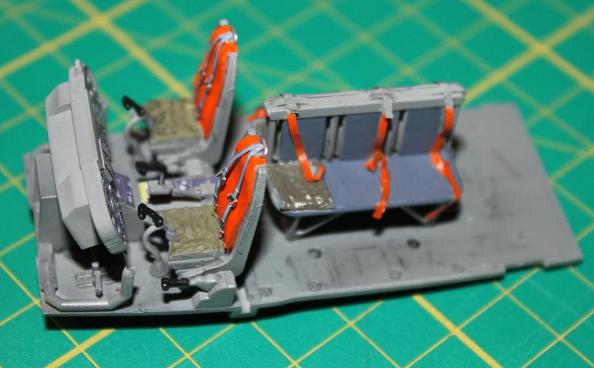
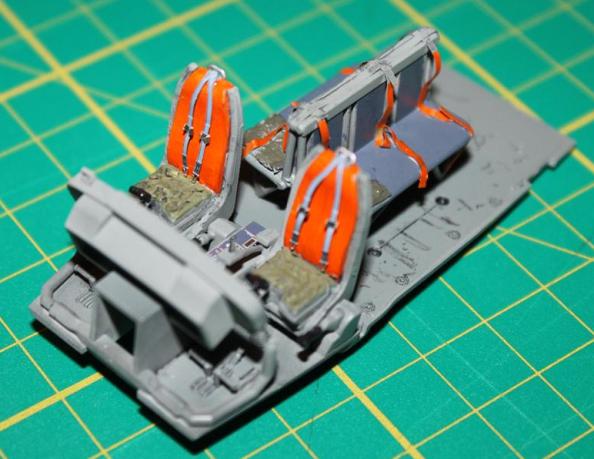
I then built up the rest of the cockpit area and I must say that Airfix have impressed me with the detail out of the box for the Lynx; but then decided the moulded on seatbelts had to go, so I scraped them off and added a thin layer of putty to the seat pan to represent padding for the Pilot/Gunner, as I plan to add etch belts once painting has taken place.
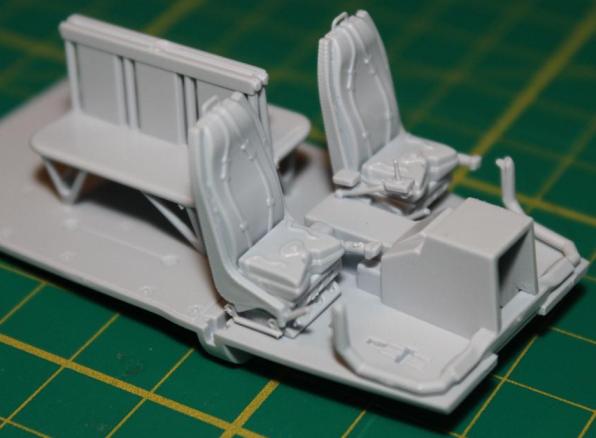
I decided to add a little extra detail to the rear seats so after looking at some pics on the net, made some seatbelts from 1mm masking tape and positioned them on the seat assembly. I then assembled the front seats, and these are the standard crew seats not the armoured versions that are also supplied in the kit but not used on this bird.
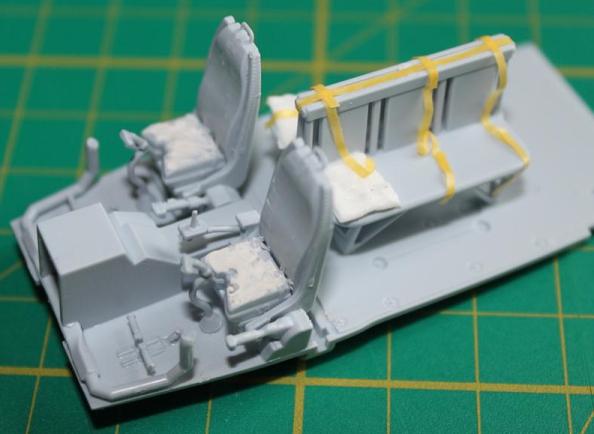
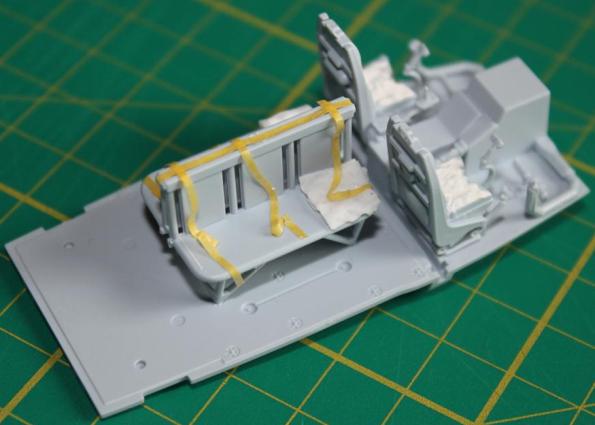
I sprayed the cockpit and troop compartment with XF-69 Nato Black but aimed at the areas of detail, kind of like a pre-shade to add some depth when the top colour is added.
I used XF-25 for the interior colour, then painted all the belts in the rear compartment with a nice fluorescent orange by Vallejo (70733).
