Short feature article by Graham Thompson
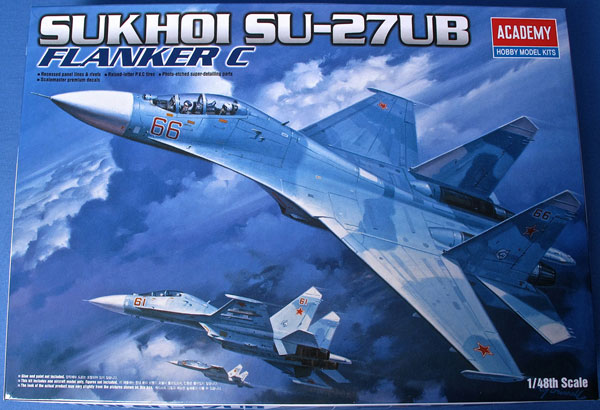
Right from the off I knew this will be a fairly basic build. If you are not familiar with the kit, I put together a Here Now in-box review of the Academy Sukhoi SU-27UB Flanker C 1:48. I said in the review that although it was obviously going to be a big model for the scale although the parts count is quite low. I don’t mind the kits that are not over engineered so long as they are well designed, fit well and look the part when built and I knew this would fit that criteria.
So let us kick off.
Canopy seam
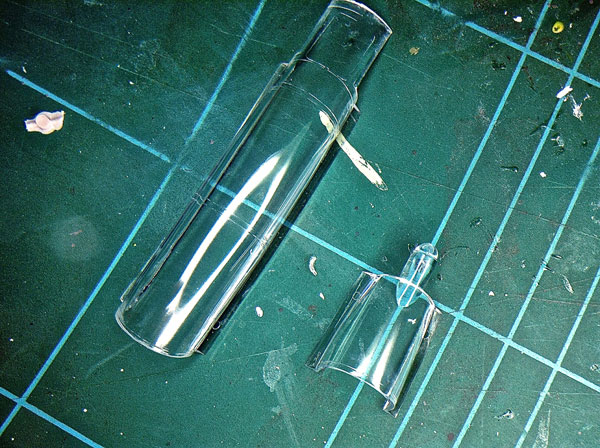
Traditionally, aircraft kits start off with the cockpit and if you follow the instructions, this one is no different. However, the previous aircraft build to this had a poor fitting large cockpit canopy and after many hours building and painting the kit, I totally messed up the canopy which ruined the whole model. Being a bit paranoid still, I decided to check out the canopy on this one first and my heart fell when I saw a pronounced centre seam running the full length of a long canopy and the windscreen.
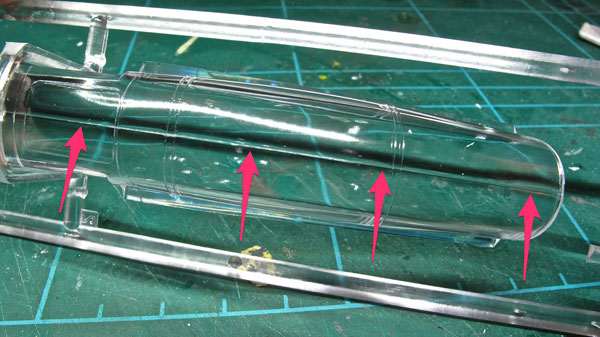
Fortunately, an article appeared in the Scale Modelling Now Techniques Bank came to my rescue and, with some trepidation, I taped off the surrounding area and started sanding.
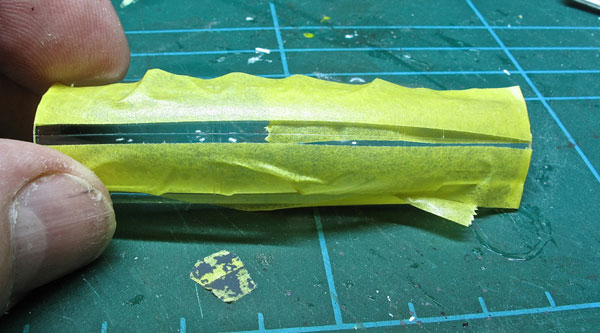
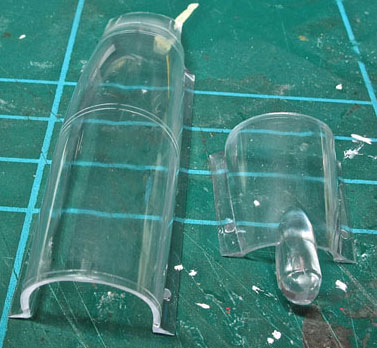 …fifteen minutes later, I swear I didn’t breath throughout, I had sanded down the line using finer and finer grades until I was using polishing cream from Micromesh to get the last of the scratches out
It was then dipped in Johnsons Klear and placed on kitchen towel to wick the excess off and it was left overnight with a plastic tub placed over it to prevent dust falling on it until the next day. When I finally removed the cover, I was amazed how well it had come out.
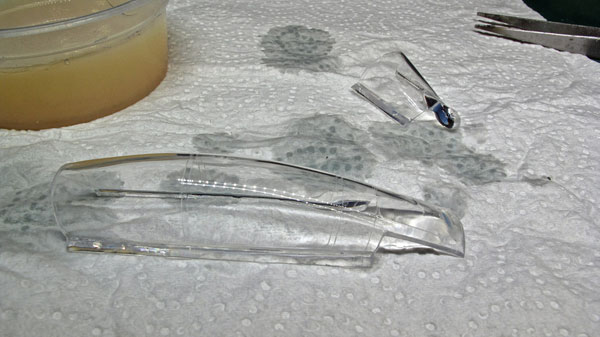
If you get one of these canopies then trust me, don’t panic, read the section in Techniques bank and watch the videos, get the right materials together and give it a go. Seriously, it is easier than it sounds so long as you are careful.
