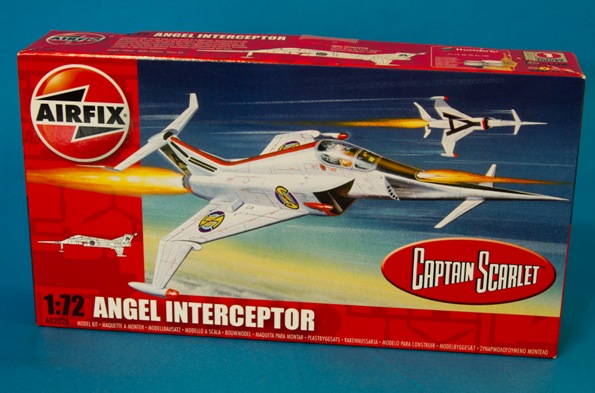
Review by: James Vaitkevicius
A bit of background Sci-Fi
The Angel Interceptor was a hypersonic aircraft used in the Gerry Anderson super marionation television series Captain Scarlet, first shown during 1967-1968. The fictional speed is 3000 mph (Mach 3.9) and were flown exclusively by female pilots, “The Angels”, with code names of Melody, Symphony, Harmony, Rhapsody, and Destiny.
The pilot seat could be inserted from below, so that exposure to high altitude and response time are minimised. Armament consists of a main cannon and two batteries of air-to-air and air-to-ground missiles.
The kit was first released in 1968, re tooled in 1980 as a “Snap-n-Glue” kit but in recent years was quite hard to find, apart from the odd one appearing on E-bay, usually at a high price. Airfix re released this kit late last year, answering the calls of the Airfix faithful; how does this kit stand up to the new moulds that are being released by themselves and/or other manufacturers? This will not be the longest of reviews, it is a small kit with only 5 instructions and although being a starter kit of sorts, will also appeal to the older generation who grew up on the Gerry Anderson age of programmes such as Fireball XL5, Stingray, Thunderbirds and of course, Captain Scarlet.
Opening the box
On opening the box, we are greeted with twenty three (count them all!) parts, thins should not take too long to build (famous last words that!). Within five minutes, I had cut the majority of the parts from their sprues and cleaned them up with a scalpel blade. So far so good eh?
As this is a snap-n-glue kit, the main body, wings and tail are dry fitted in place and glued in place with liquid cement.
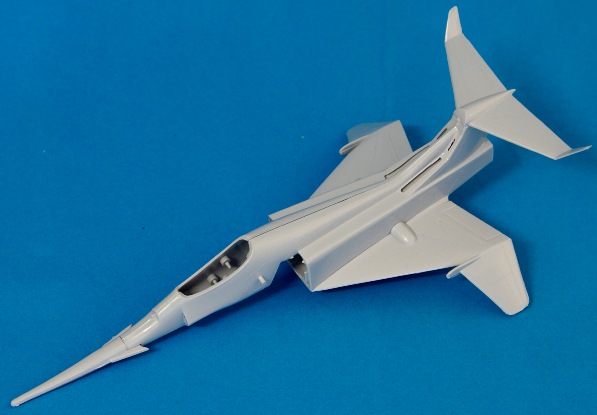
I do have to say that the fit of the kit is less than desirable. There are problems with the fit of the rear wing sections leaving a small gap between the fuselage and the wings, the intakes are a nightmare to fit and there is loads of sink marks in this area. With this in mind, we turn to the Squadron Green Filler to sort out these problems. There is also a lot of flash that needs to be dealt with but this can be solved with a sharp scalpel blade and a bit of care and attention.
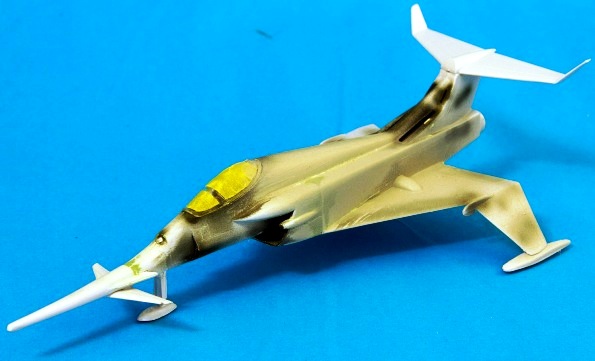
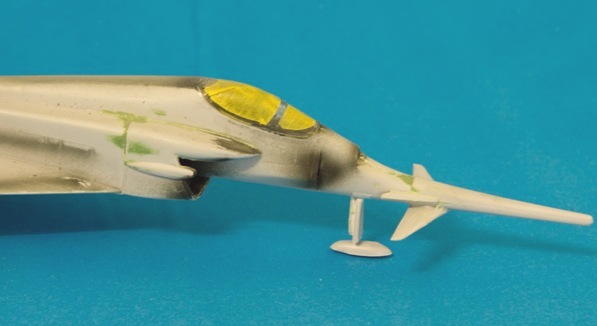
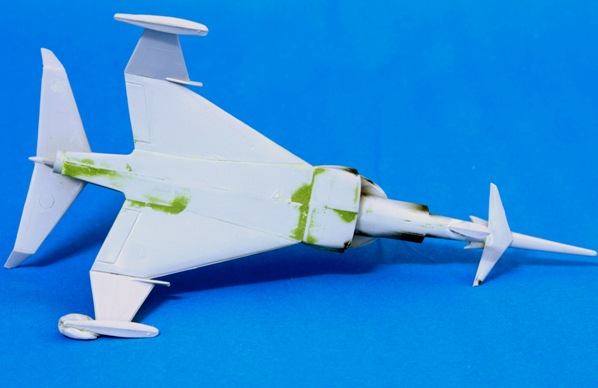
As you can see above, the kit has had the main areas now resolved. On a more positive note the canopy section fits perfectly to the fuselage and before it was sealed, the cockpit was sprayed Tamiya XF-69 NATO BLACK and the canopy fixed on with Micro Kristal Klear. I have not bothered installing the pilot in this model, mainly as I hate painting pilots at the best of times, but also because the pilot supplied is a WWII male pilot and not a female in a white jump suit! I am sure there will be more patient modellers out there who will perform surgery out there and put the right bumps in their place, but this is not one for me!
Primer and Paint time
Paints Used:
- Tamiya Fine Surface Primer (Grey)
- Gunze H316 (Gloss White)
- Tamiya X-7 (Gloss Red)
- Tamiya X-1 (Gloss Black)
- Tamiya X-69 (NATO Black)
- Tamiya X-11 (Silver)
Once the filler has fully cured, the canopy on the airframe was masked up and the whole airframe sprayed in Tamiya Fine Surface Primer. I really like using this stuff, and I know it is expensive but it is too good not to use. This is followed by three light coats of Gunze H316 to finalise the main airframe colour.
Now comes the trickier parts. Due to its size and shape, the Interceptor is not exactly the easiest of shapes to mask off, so patience and various sizes of tape are required to mask the canopy and spray in Silver, The intake, and gun ports sprayed in Tamiya XF-69 (NATO Black), the anti glare panel on the front of the nose in Tamiya X-1 and finally and the most difficult part, the spine, and intake in Tamiya X-7 (Red), all of these were sprayed and later cleaned and finally touched up with the Gunze White. I can actually say the process described in this paragraph has taken ten times longer than actually gluing and filling the aircraft! Once this has been carried out, we are now ready for the final section, the decals.
Decals
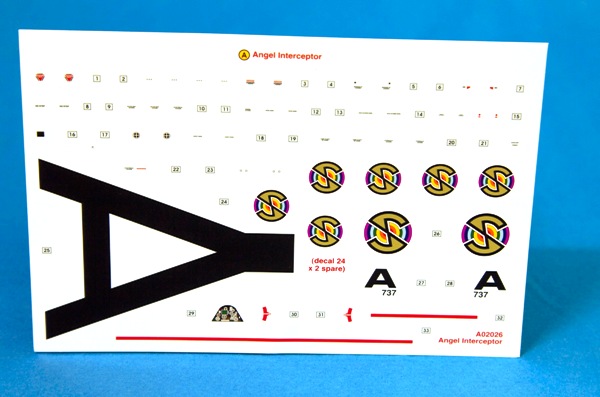
Printed by Cartograf, like most of the new Airfix kits, these look on the decal paper superb to use. I can also confirm that these were simply brilliant to use here applying and adhering well and were thin with no real carrier film showing on the finished model. I really cannot remember if the original models had that many stencils on them, but then again I was young when the programme was shown! Either way, it is a clever move as it gives the more experience modellers scope to make the model that little bit more interesting and gives the younger or more in experienced modellers the choice to include them or not, as, to be honest the red stripes and “Spectrum” insignia’s are enough on a model of this scale.
Once these were dried the airframe was finished in a Semi Matt Varnish, the superb Alclad2 Lacquers (Semi Matte – ALC-312). If you have not tried these or are still using Johnson’s Klear, I would suggest using these Lacquers; they are just so easy to use, give an excellent finish too!
All that is left is to mount it on a stand and add a little bit of weathering and it’s good to go, or as they say “Spectrum is Green!”