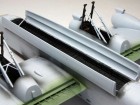
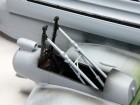
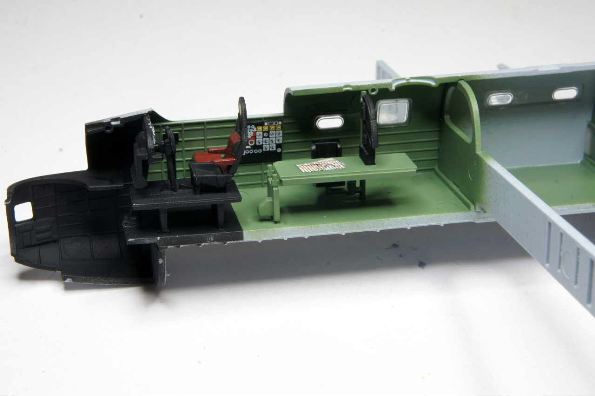
The build starts with the cockpit and quite nicely detailed especially for this scale. Good use of decals is made for the pilot and engineer instrument panels and a nice touch is the maps on the navigator’s table. One thing that would have been nice though is some decals for the seatbelts, if you want these you will have to make your own or invest in a PE aftermarket set.
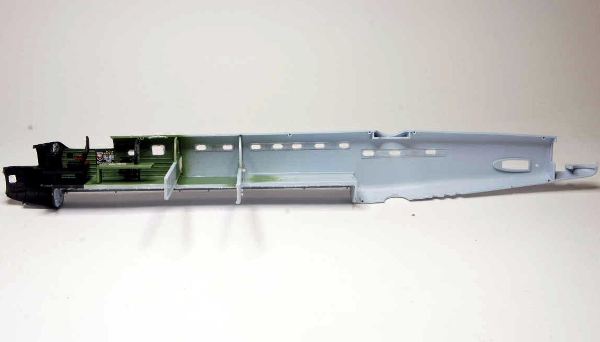
Fuselage and top panels
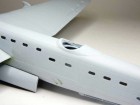
The fuselage sides can then be put together and the top wings added. The fit of these parts is very good and very little filler/sanding is required. My only criticisms here are the emergency escape hatches on the top of the fuselage and the fuselage windows. The hatches are moulded on and are easily damaged when you sand down the top seam.
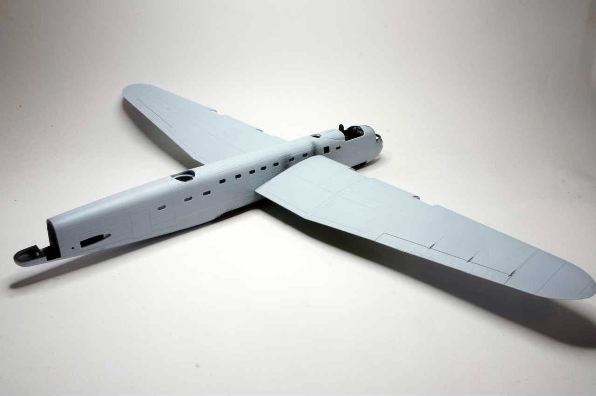
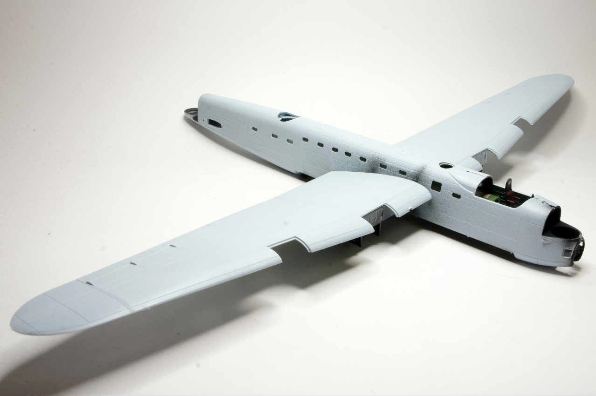
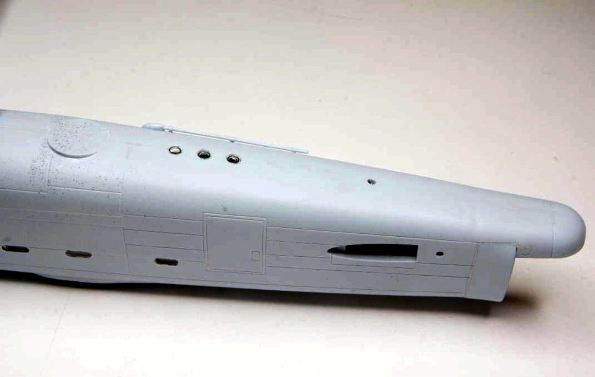
The hatch windows are also moulded in plastic when they should be in clear Perspex so I sanded both hatches away and I will replace them with plastic card later. The fuselage windows are added before you close up the fuselage and although this isn’t a problem in itself the masking of these can be awkward. There are a couple of solutions for this. If you check your references many airframes had the windows painted over and a lot didn’t even have them fitted. If you do want them I would in retrospect not fit the kit windows and fill the cavities with something like Micro Krystal Klear at the end which will give a nice rendition of windows.
Win and undercarriage
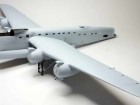
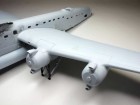
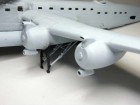
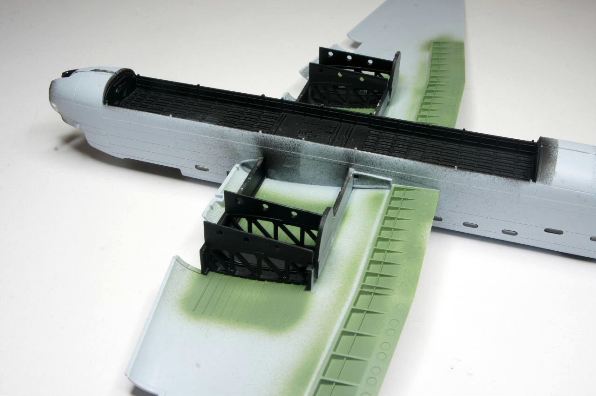
The construction sequence of the wings is quite unusual in that you attach the wheel wells to the spars that locate through the fuselage; you add the top and bottom wing to these spars. What this means to the modeller is you can’t leave the wings off until the end of the build but this isn’t a big issue especially with the Lancaster paint scheme as I’ll explain later. The only other thing to be aware of is the main undercarriage struts have to be fitted at his point so you will have to be careful that you don’t damage them whilst you handle the model.
Engine nacelles
The next step is to add the engine nacelles and these are what really set the B.II apart from its Merlin engined cousin. The nacelles fit reasonably well but a little filler, sanding and rescribing will be required in the region of the upper wing inserts. You can also add the bomb doors at this pint along with the undercarriage doors as these will all be painted black as I did but in retrospect this wasn’t as good an idea as I thought as I kept on knocking them off later on!! The upper turret fairing needs some filler to fair it into the fuselage but nothing too serious. Again I thought I was being clever and added the front and rear turret fairing with the plan to add the painted turrets at the end, not such a smart idea as I later found out as the turrets will not slot in – some `persuasion` will be required if you follow my lead here so I’d advise you follow the instructions and fit the turrets before the fairing – you have been warned!!
