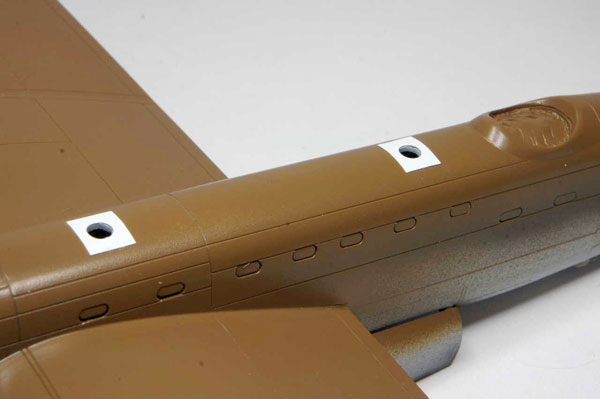
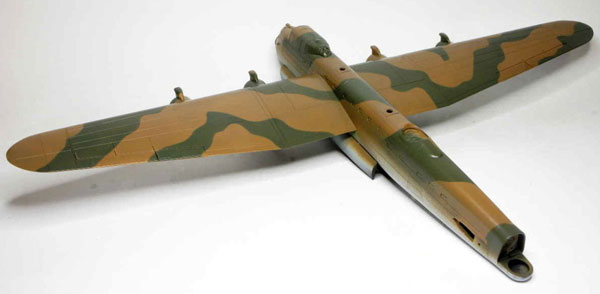
It was now time to start the painting but you will have to mask the canopy up first. This is quite a laborious task and if masking is not your thing I’d seriously consider buying a set of aftermarket masks. I`d already laid down the Earth Brown before I realised I’d forgotten to reinstate the escape hatches. These were cut out from thin Evergreen card and the Perspex window openings drilled out in both the card and through the top of the fuselage – the windows themselves will be added at the end using Krystal Klear.
More masking and decals
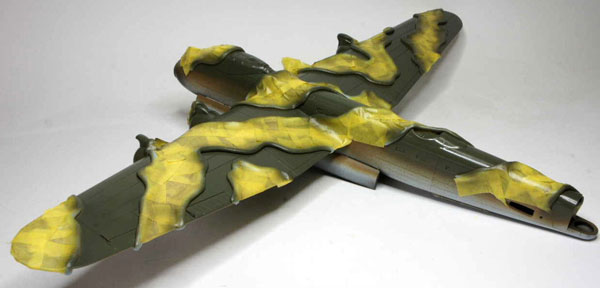
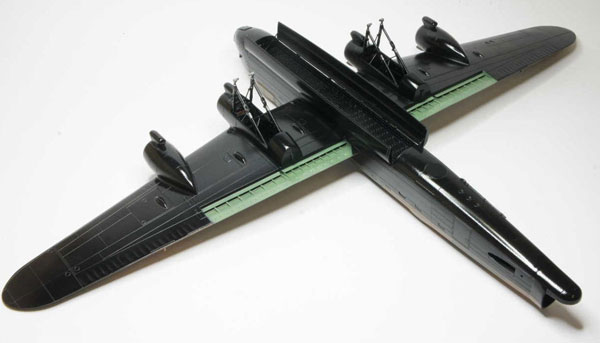
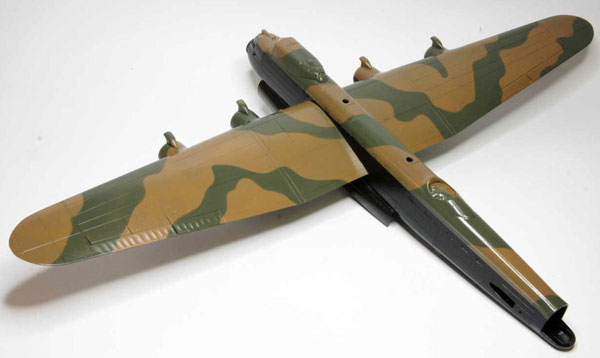
The camouflage pattern was masked off using rolled Blu-Tack and Tamiya tape and the dark green added. Once dry the masking can be removed and more masking is required before adding the black. Once the paint was dry a couple of thin coats of Klear were sprayed to get a glossy base for the decals. The kit decals were used and performed very well with no silvering and once dry these were again sealed in with a coat of Klear and a final coat of matt varnish was added.
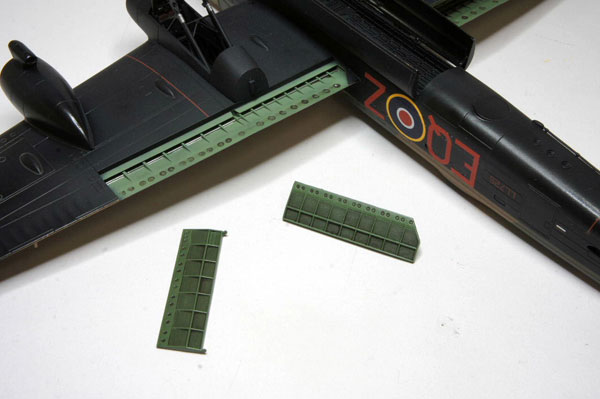
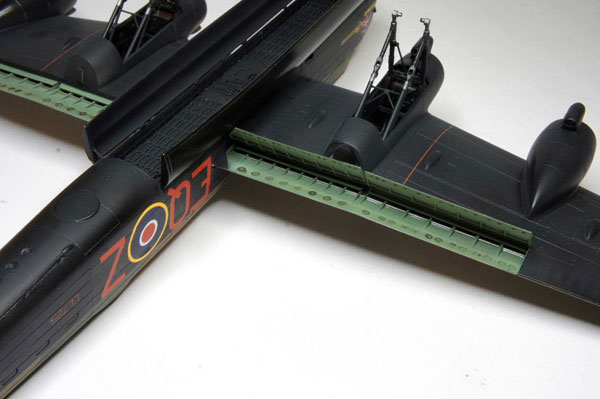
The kit has the option for extended flaps and these fit really well in either the retracted or extended positions – as you can see on my completed model, the flaps are added in the extended position.
