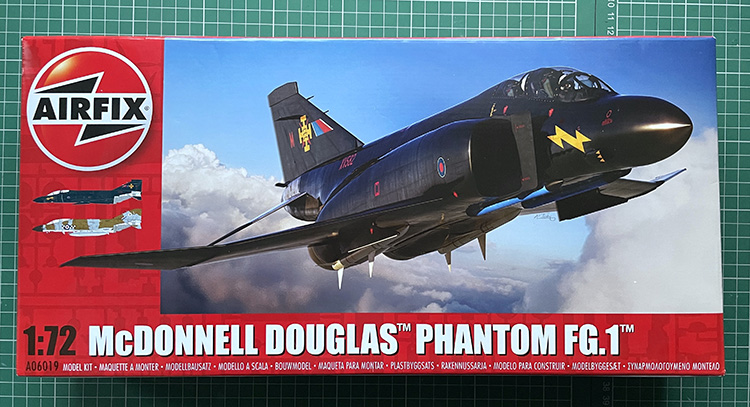

With Geoff Coughlin
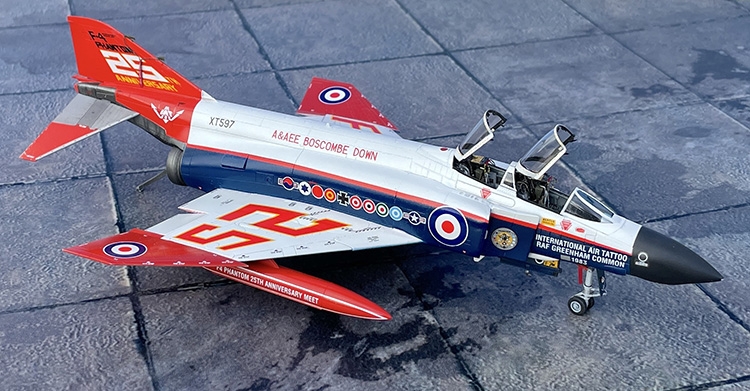
And here’s a quick look at my finished model…
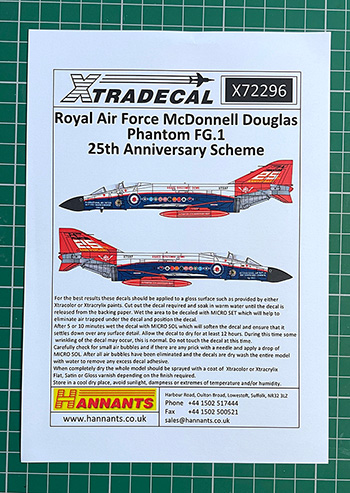
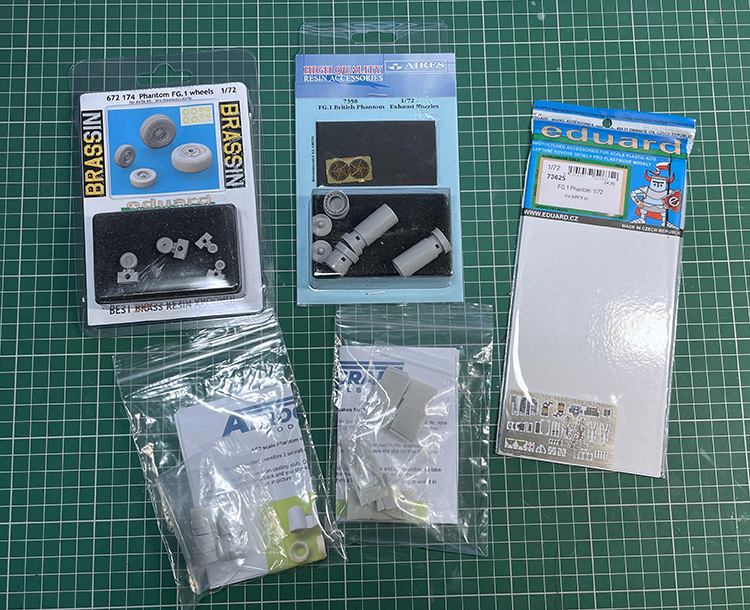
Accessories used:
- Xtradecal sheet (X72296)
- Brassin resin wheel set (672174)
- Aires resin FG.1 British Phantom jet exhaust (7358)
- eduard FG.1 Phantom pre-painted photo-etch cockpit detail set ((73625)
- Aerocraft resin intake splitter plates with dorsal grills.

CHECK OUT GEOFF’S E-BOOK:
Building the British Phantoms Vol.1
Full Information and Buy Now – download it from KLP Publishers
A stunning 366 page eBook with colour illustrations
Geoff Coughlin — with the aid of a host of contributors — guides you through the specifics of building the FG.1 Phantom in Royal Navy, Fleet Air Arm, and A&AEE service. With six kit builds, 20 colour profiles, chapters on the Evolution and Key Features of the FG.1, along with an extensive 61-page Walkaround section, this book is an essential resource for anyone wanting to build this particular version of the British Phantom.
Background
My plan for this build was simple – try and add as much detail and finish this Phantom as if I were making one in 1:48 scale. Not as easy as I initially thought but great fun for sure and definitely a modelling challenge and you can decide how successful I was, or not, in achieving that goal! (See above photo)
Taking a look at the real aircraft, XT597 is a fantastic subject given it’s red/white/blue scheme and add to that it’s 25th Anniversary markings applied for the International Air Tattoo, RAF Greenham Common in 1983 – it’s a winner!

Interestingly enough, it had completely by-passed me that XT597 has a very different nose cone fitted that has a flatter underside and is broader too. Although XT597 looks very forlorn in the following photos, the aircraft is being preserved and restored as we speak which is very good to hear. I’m very grateful to Michael Storey for sharing these images with us – take a look at that nose profile.

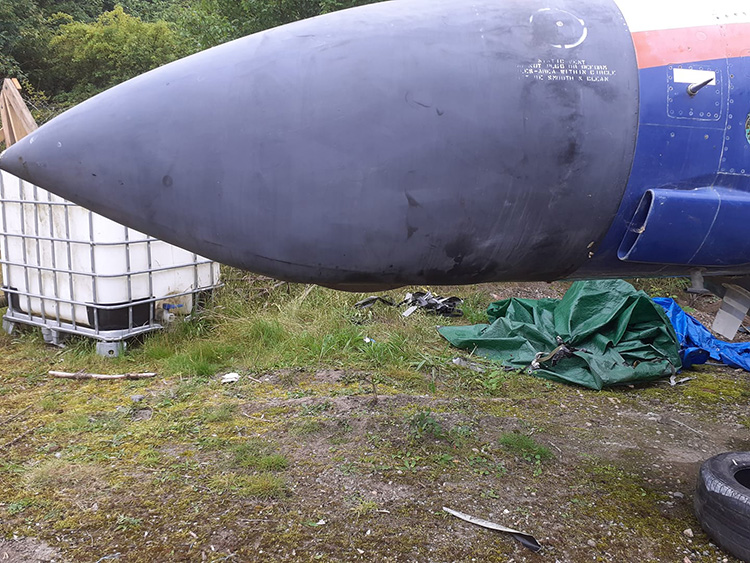
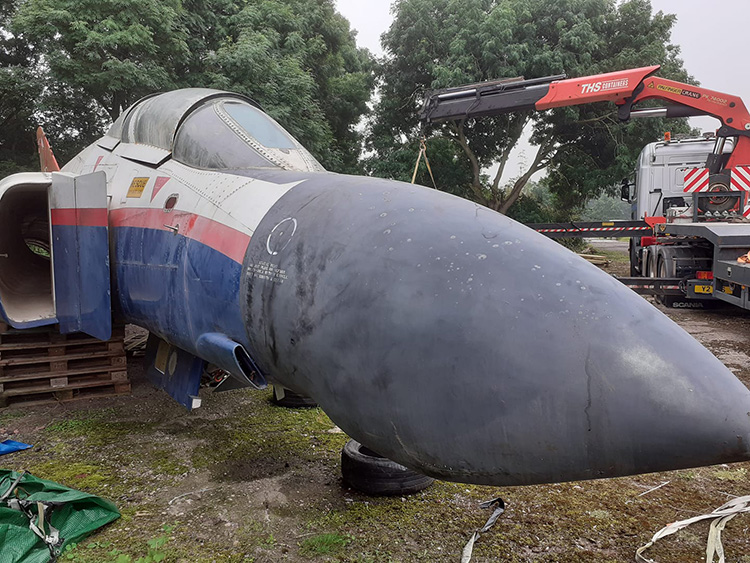
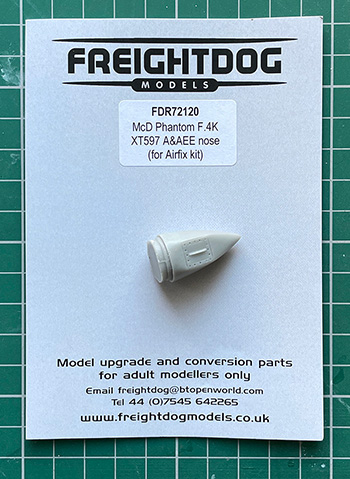 You have two choices with the Airfix kit, buy a resin replacement from Freightdog Models (FDR72120) or adapt the kit part, which I did do in the end having been very careless with my razor saw! The resin replacement is ideal and is recommended. I should have realised earlier in the build that a different nose was required and so remember to do your research (I’m normally better than that!!).