Construction
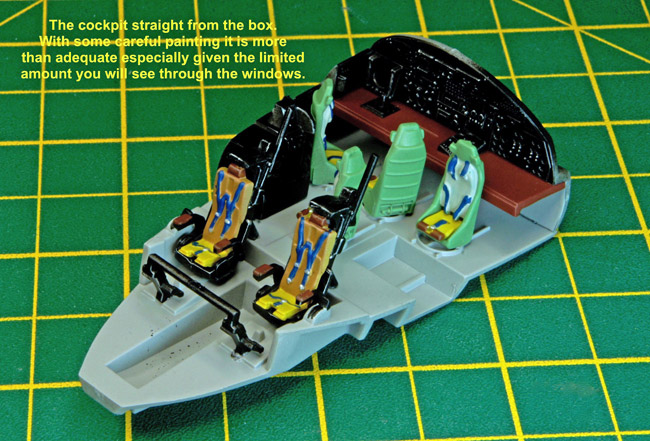
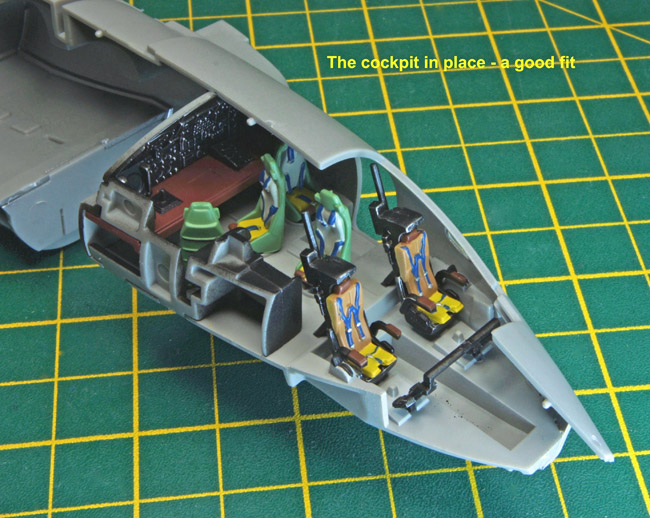
The kit starts with the internals and the first part of this is the cockpit. This is nicely detailed with decals for the pilots’ instrument panels and raised relief for the rear crew instruments which can be picked out using dry brushing. The seats have moulded on seat belts which is fine in this scale. What I would say is don’t spend that much time going to town detailing this area as very little can be seen through the canopy glazing or the open door if you choose that option. Eduard do produce a very nice colour PE set for the interior but I honestly think it would be a waste of money – my tip, just stick to the kit detail.
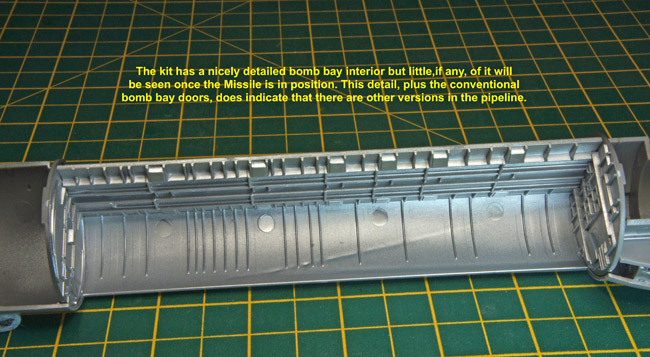
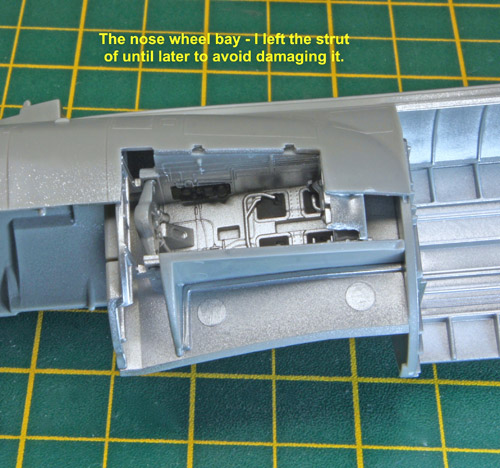
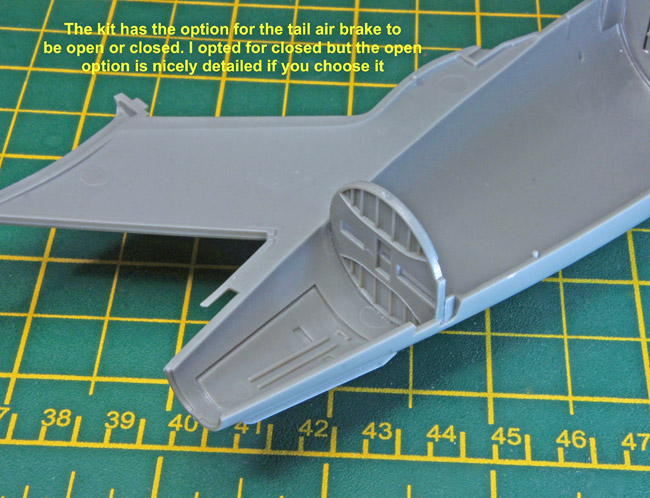
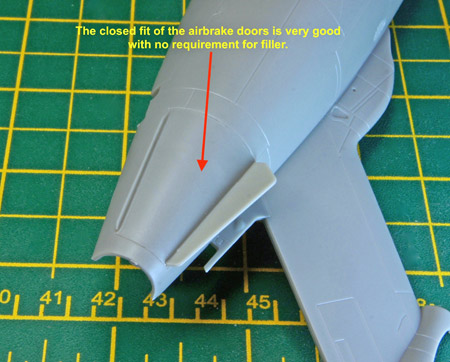
The rest of the interior consists of a bomb bay, the nose wheel bay and the airbrake interior. The bomb bay has some nice surface detail bit none of this will be seen once the Blue Steel Missile is in position. The kit does include standard bomb bay doors which aren’t mentioned in the instructions; is this an indication of a future release or just Airfix giving you the option of a standard bomber version? I didn’t add the nose wheel strut at this early stage of construction as I knew I would break it! in James’s build he has extended the tail airbrakes but I wanted to keep the sleek lines of the airframe so I chose the closed option – I’m glad to report that the doors fit perfectly and there is no requirement for any filler.
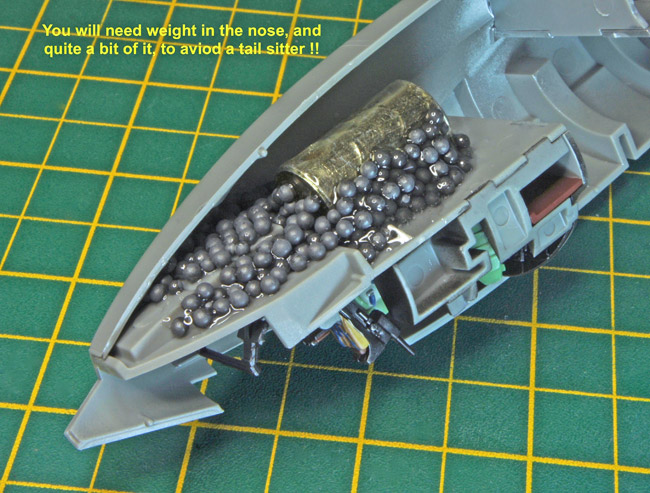
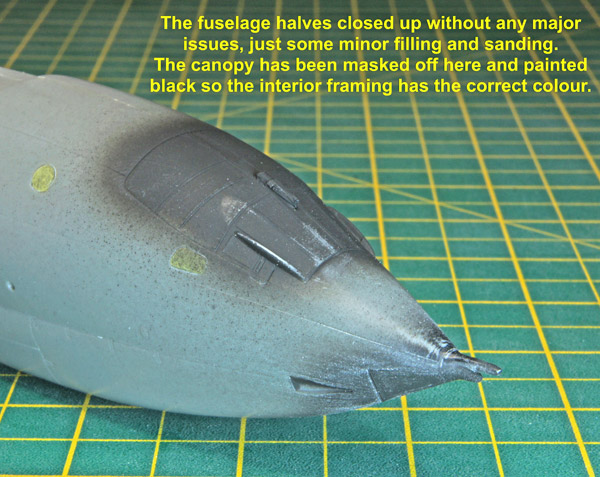
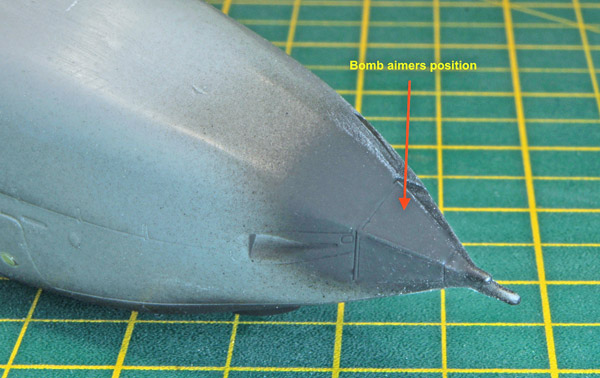
You will need to add quite a bit of nose weight to the model to avoid it tail sitting, fortunately there is plenty of space in the nose to get this weight in. With all the interior in position the fuselage halves can be joined – again I’m glad to report that there are no problems here, just some minor filling and sanding. The canopy glazing can also be added which is a good fit. I did invest in one of Eduard’s pre-cut masking sets mainly because I was being lazy!
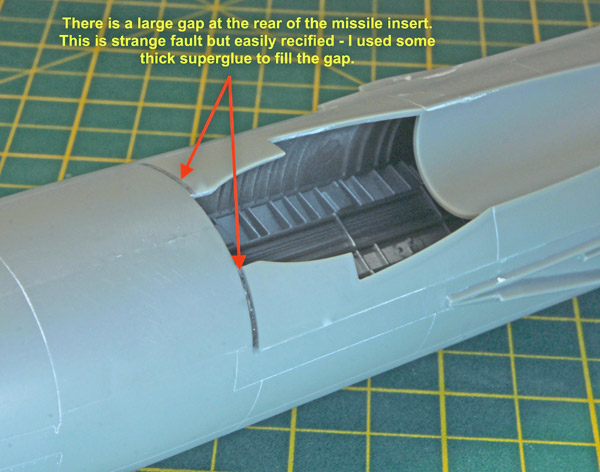
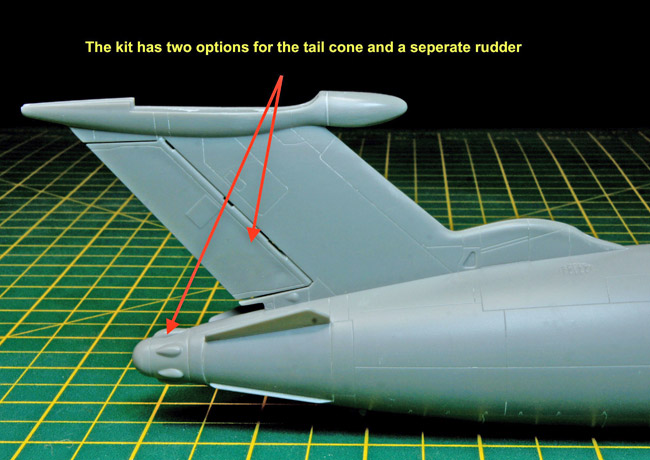
One strange error I found in the kit was a rather large gap at the end of the missile insert for the bomb bay. This is easily filled in, I used some thick superglue that was sanded to shape once I had hardened it with activator (kicker). The kit has two options for the tail radome, check your references for which one is applicable to your chosen subject.
