Wing and intakes
Now for the fun part the wing and in particular those rather complex intakes.
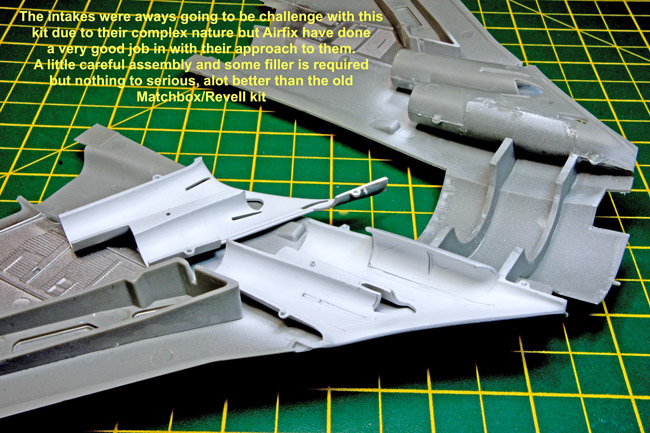
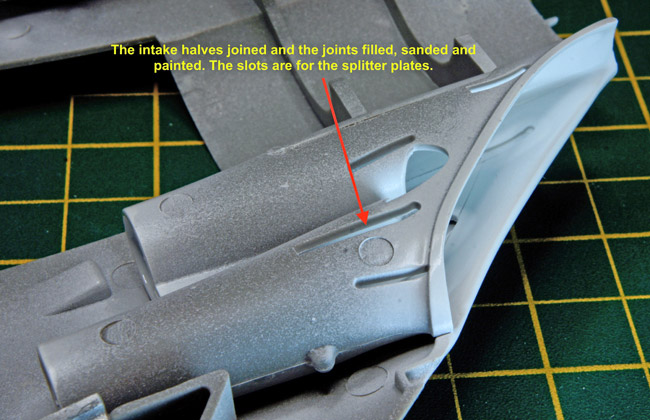
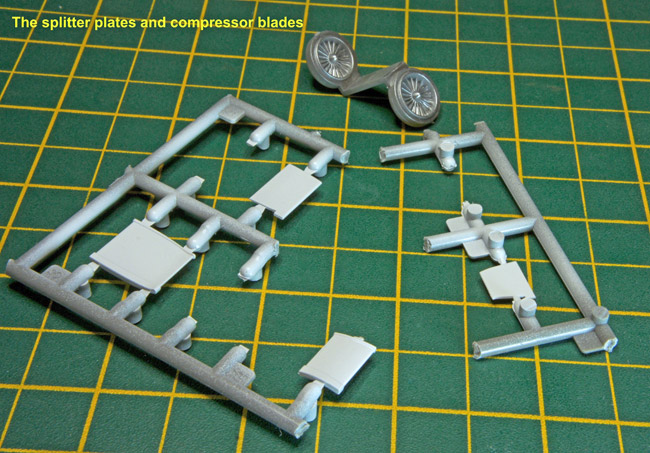
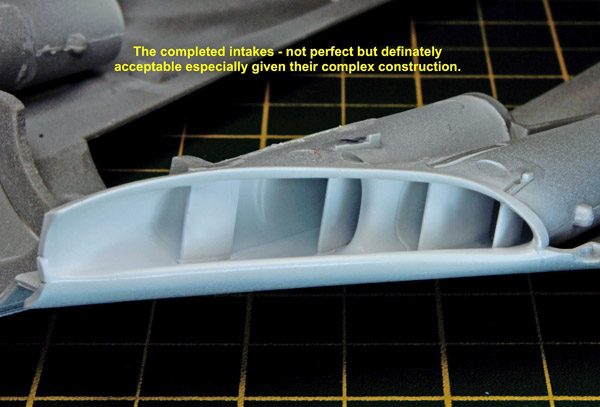
These were always a major issue with the old Matchbox/Revell kit but Airfix has taken a rather novel approach to the construction of these. Firstly, you build the intakes from an upper and a lower section plus a front side section. Some filler is needed along the internal seams but the absence of the splitter plates makes sanding the filler flush an easy(ish) job. The intakes can then be sprayed white. The splitter plates are painted up separately as are the compressor blades for the front of the engines.
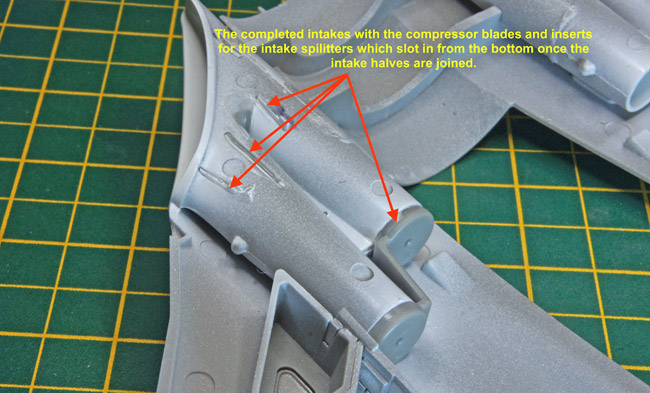
The splitter plates can then be slotted into the slots in the lower surfaces of the intakes and glued in position and its worth then giving everything a coat of white to blend everything in.
Finally, the compressor blade end plates can be fitted and that’s it done. Whilst this isn’t perfect it’s a country mile better than the old Matchbox kit intakes. One observation from my build that I would do differently on a future build is I would build the intakes up before attaching them to the wing – I attached the upper half of the intakes to the upper wing and built them up from there, doing it the other way will make them easier to work on.
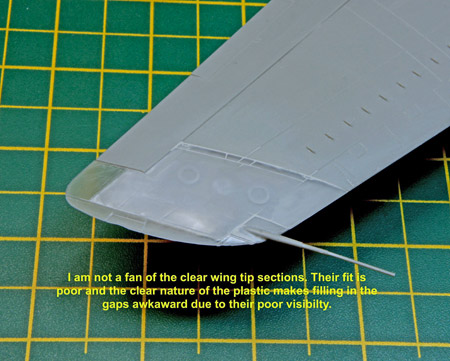
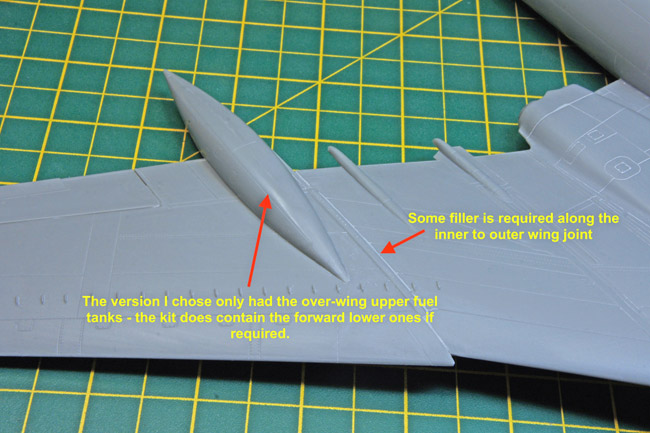
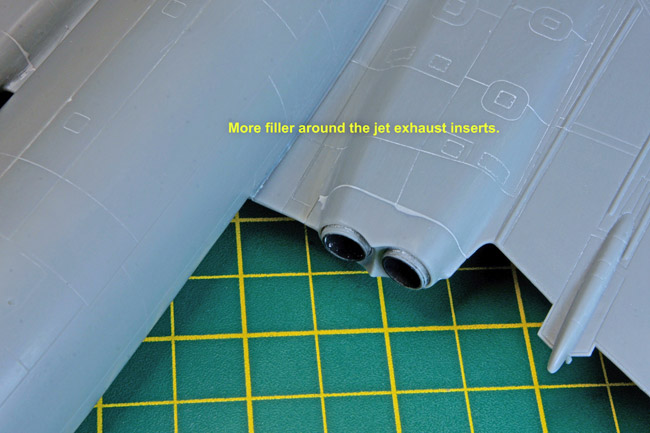
The rest of the wing can then be built up and attached to the fuselage. One thing I wasn’t keen on were the clear separate wing tips. Whilst I get the separate wing tips (the later tanker version had shorter wing tips) I really disliked the clear plastic just for the sake of the small wing tip navigation lights. The clear plastic makes it very difficult to see any gaps and steps in the joints and I also find it quite difficult to sand. Otherwise the wings build up reasonably hassle-free with just some filler being required here and there.
