A unique scheme
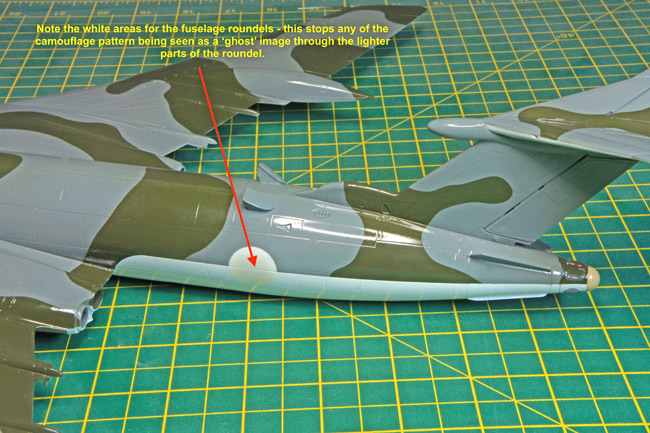
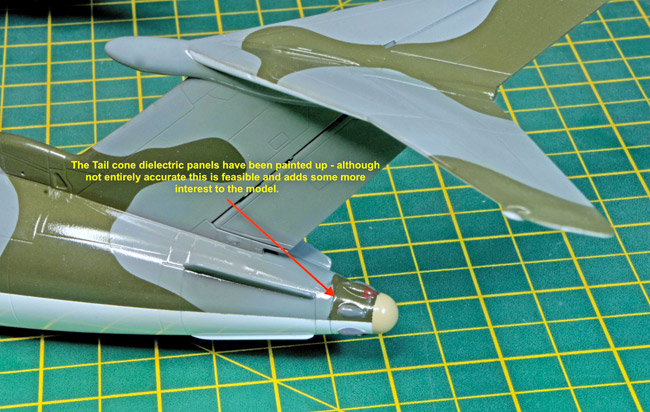
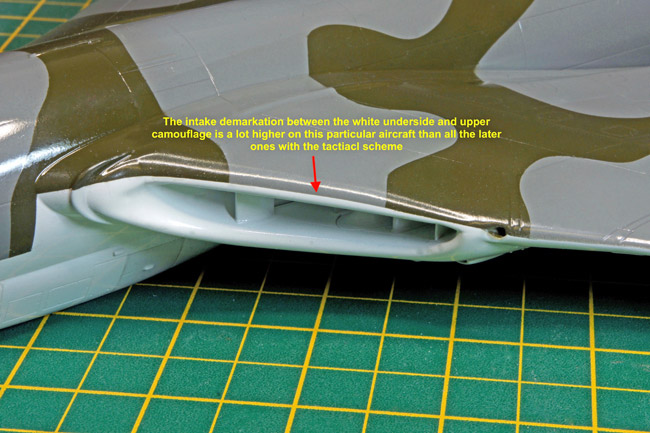
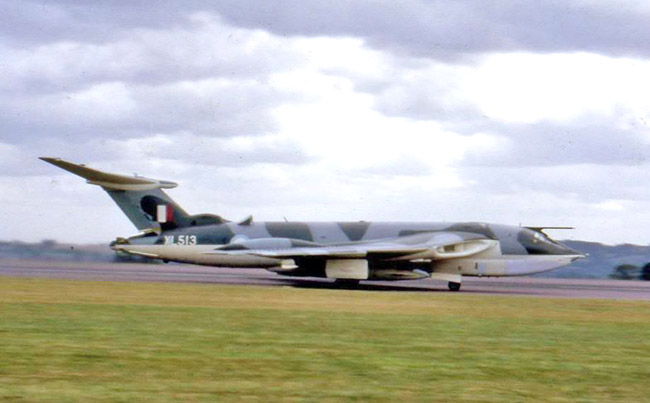
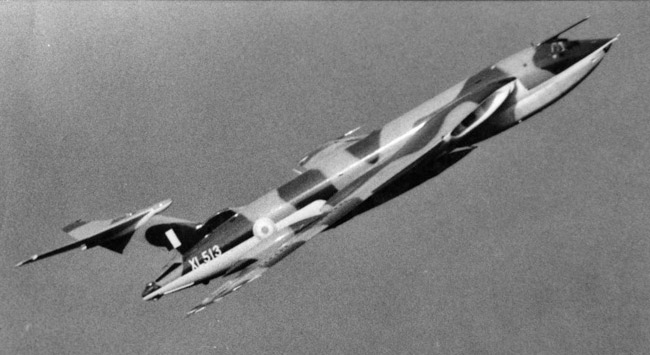
This is a big model so quite a bit of care needs to be taken whilst handling it in the painting stages. My chosen aircraft was a one-off and unique in its finish. XL513 was the first aircraft to have its all white anti–flash finish replaced by the new tactical scheme comprising of a white underside and a hard-edged green/grey camouflage pattern on the upper surfaces. Compared to later aircraft the demarcation between the white and upper colours was high up on the fuselage and intakes and didn’t wrap around the wing leading edges onto the lower surfaces. It also retained its anti-flash fuselage roundels on the fuselage and had white serial numbers on the rear of the fuselage – on later aircraft these were black.

Painting
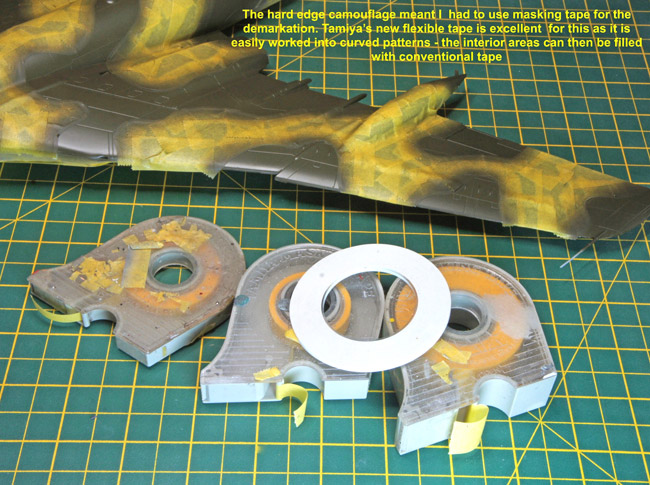
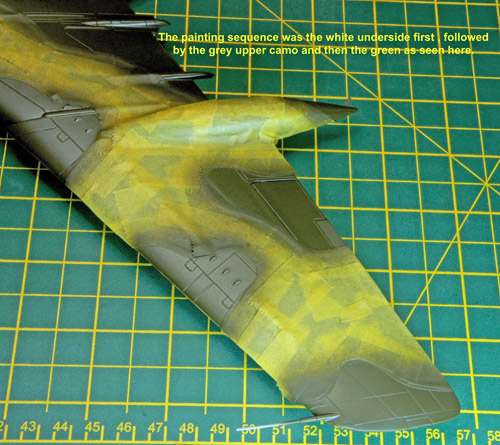
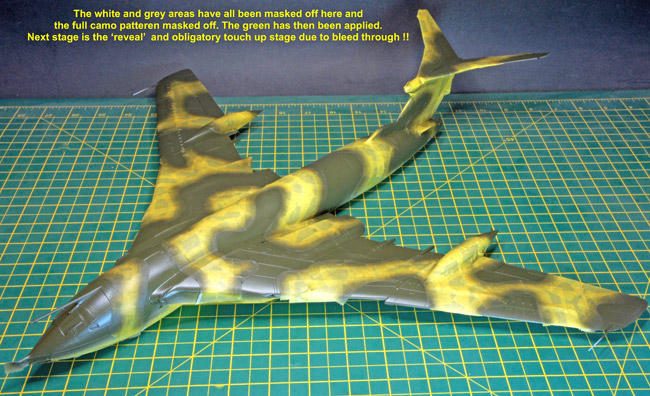
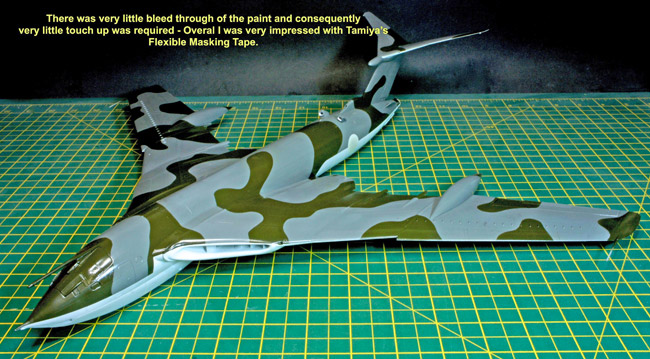
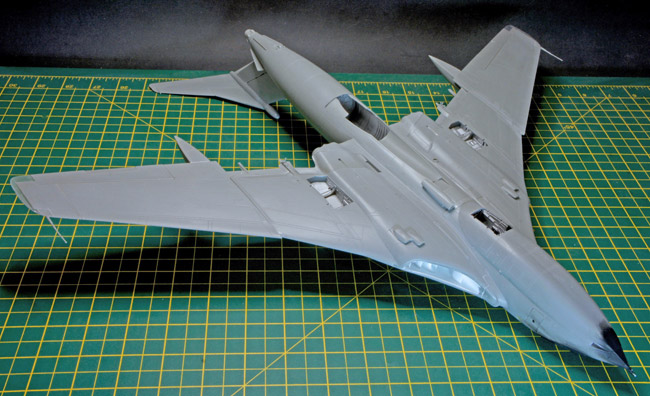
I initially primed it with Tamiya Fine Grey primer and sorted out some minor issues before spraying the lower surfaces white and masking these off when dry. Next came the upper camouflage and this started with the grey. Next the camouflage pattern was masked off using Tamiya’s new flexible masking tape to get the pattern and filling in the gaps with their standard tape. This flexible tape is great for hard edged patterns as on these aircraft and I highly recommend it. The green was then added and when dry the masking is removed to reveal the finished article – some minor touch ups were required but overall the masking process was a success.
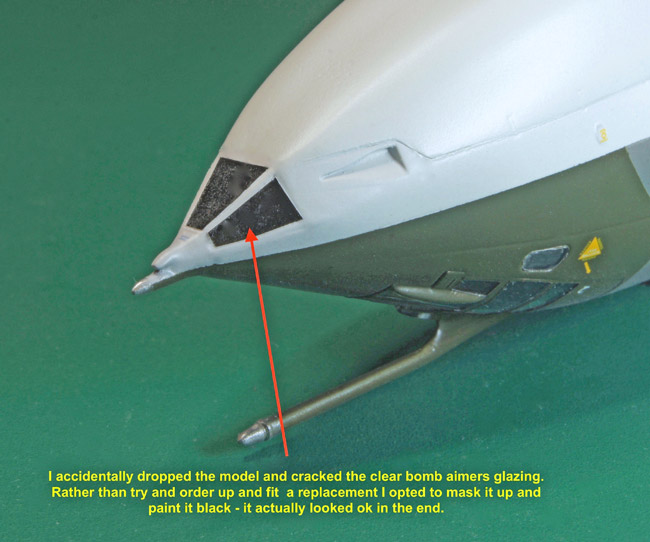
I did have my obligatory “oh bu**er” moment when I dropped the model and knocked the nose pitot off and smashed the bomb aimers glazing. I could have tried to order up a spare from Airfix bit opted to glue it back together and paint it up black, this actually worked quite well in my opinion. Everything was then given as gloss coat and left to dry for 48 hours before applying the decals – on a mo.
