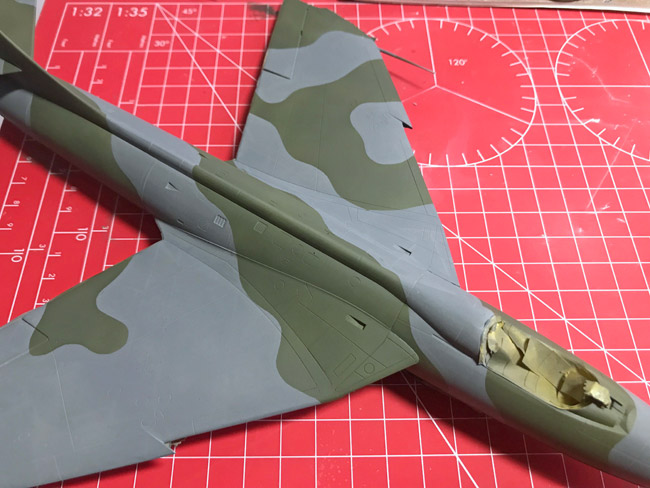
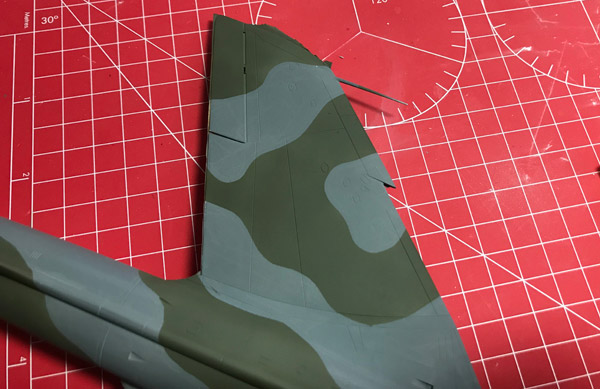
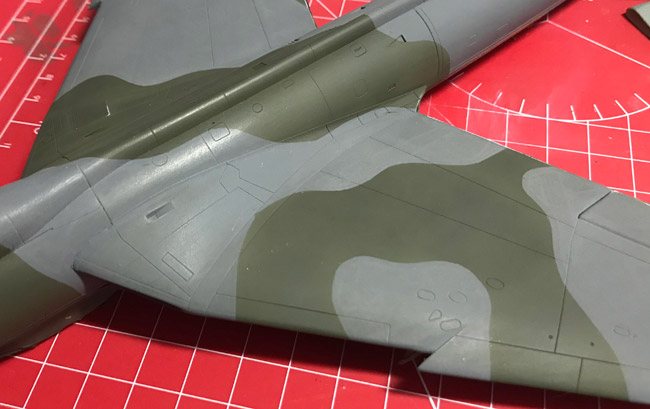
Tamiya colours for the upper camo
In preparation for the camo paints it’s good to mask up the clear canopy with Tamiya masking tape (what else?). I just cut thin strips and bend it to shape around the framing. Now just spray the interior grey colour (XF-85 Rubber Black) first as this is what will be visible from inside. You can speed things up by giving a quick blast with the hairdryer and you’re ready to lay down the Dark Sea Grey (DSG) next.
Why Tamiya acrylics? The main reason is that later I’ll be using an oil wash (one of the AMMO of Mig Jimenez Panel Line Washes) and that works well over acrylics. Tamiya paint also cleans very easily using a rattle can solvent cleaner in my airbrush – quick and easy :)
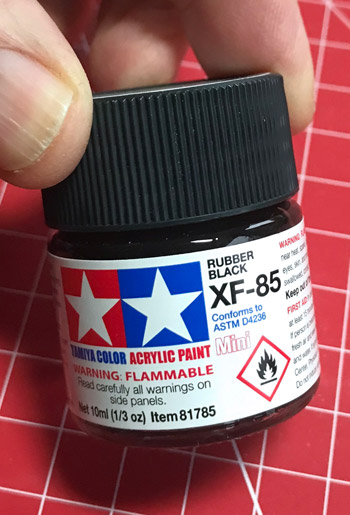
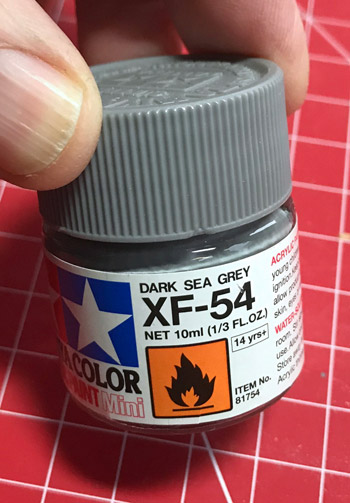
The DSG goes on very smoothly when mixed with their own thinner, mixed up to about 50-50 paint to thinner: I look for a consistency of semi-skimmed milk (seems to work for me!).
Leave for an hour or so and blast with a hairdryer and you’re ready to rub everything down with some Micromesh 12,000 grade polishing cloth. This stuff is great and gets rid of the very fine dust that makes the surface dead flat straight after spraying.
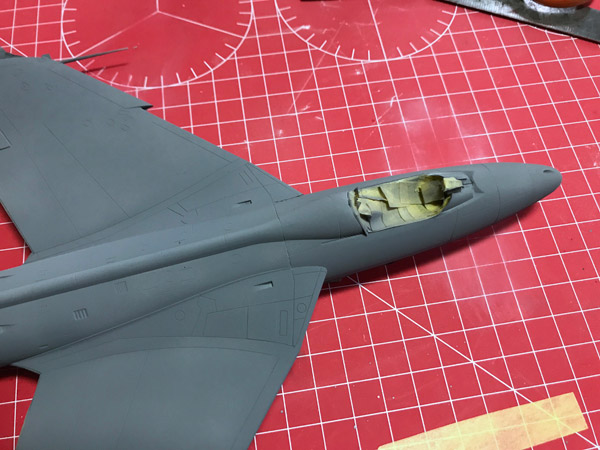
Then just mask out the camo pattern using the great colour drawing in the box and thin strips of Tamiya masking tape. The tape bends nicely if you cut it thinly enough (about 1mm).
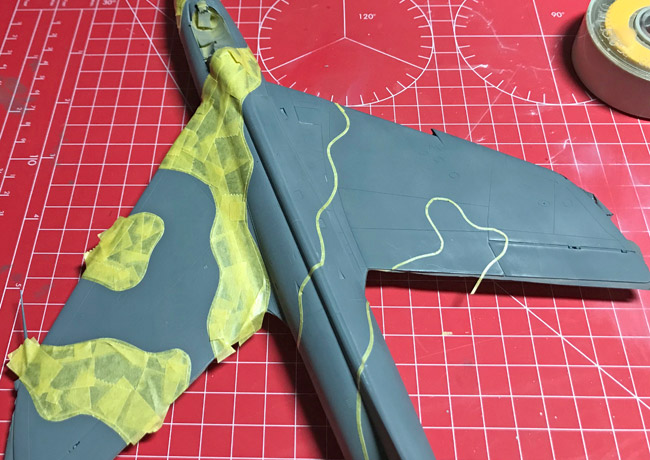
Tamiya RAF Dark Green (XF-81) is next and that went on beautifully.
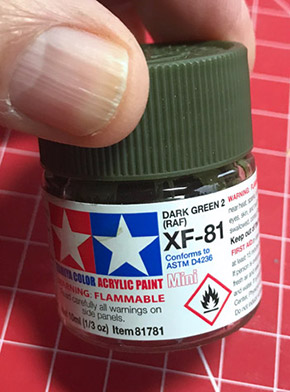
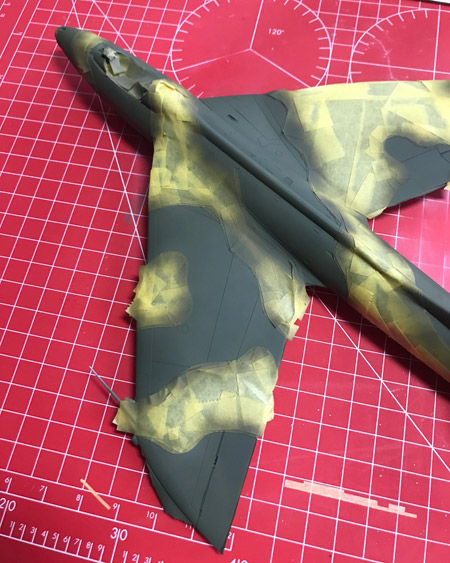
Same process again, wait an hour or two and blast with a hairdryer for a minute or so. Then out with the Micromesh (MM) cloth and work the whole surface. The advantage of doing this is that the cloth removes any possibility of a ridge between the camo colours that can come with masking a hard edge using tape. I couldn’t see any ridges but that doesn’t mean there weren’t any and the MM cloth means any decals will sit perfectly flat and not show any ridge beneath.
