Feature Article by Julian Seddon
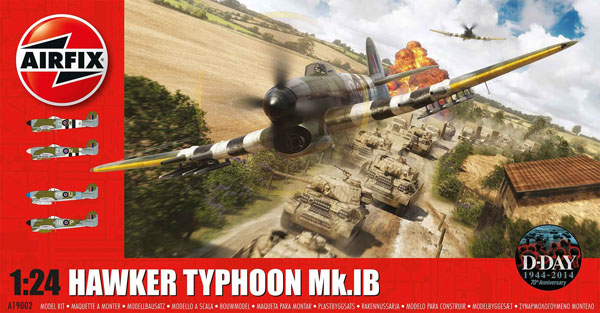
Just in case you missed it, we have a full Airfix Hawker Typhoon Mk.Ib 1:24 Here Now box review of this awesome kit so you can have read of that.
Geoff’s review shows just what an incredible achievement this kit is. The aftermarket manufacturers are going to be pushed to improve on this.
Now for me one or two of the obvious problems that I found when the kit is unpacked.
- The plastic is pretty soft (mostly a good thing, as it won’t break so easily when handled) so there is quite a lot of warpage on various parts, particularly the frame. This is not difficult to sort out but it does mean that all the fixing has to be very accurate to ensure the shapes are true
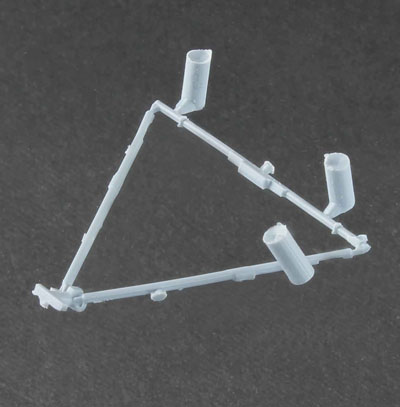
- There is flash, mould lines and ejector pin marks all over. The flash and lines need a lot of cleaning up. The ejector pin marks, I am only cleaning the obvious ones.
 The part shown here is typical and it is not large. Not a lot of flash on this one but there are no less than 7 points where the plastic is channelled into the part. Some of these are on the delicate, thin, hence breakable, sections of this part. Clean up is a long business with so many parts like this.
That is enough of the gripes. We are looking at a step-change in plastic kit production. The general standard of moulding is so good that the kit does not need to include any brass or resin extras.
References
I am using Brett Green’s book, which points out some of the more tricky points encountered when he built it. With Marcus Nicholls and Chris Wauchop contributing this is the go-to book on this kit.
As no Typhoon looks much different to another I have not invested a lot of money in photo reference books. There is quite enough information available on the internet and there is a walkaround reference set of photos in your SMN Photo Reference Library here on this page.
The instructions
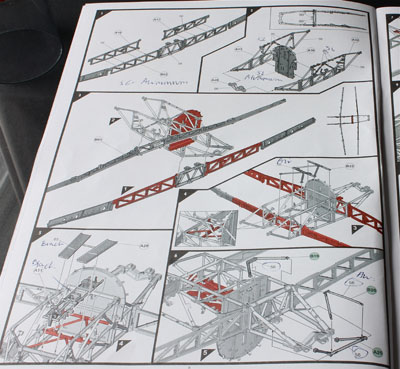
Page 1 sets out the method in use here
The whole booklet, which, excluding decals, is 38 pages long, has 226 stages of construction and is illustrated with CAD images. It seems to me vital to follow the instructions and dry-fit as much as one can before applying cement.
The complexity of the assembly makes it imperative to paint before you start. There are a lot of parts to glue and many fixing points, these all have to be cleared of the paint to give a good surface for glue.
