Full Review with Mick Stephen
Something for the weekend
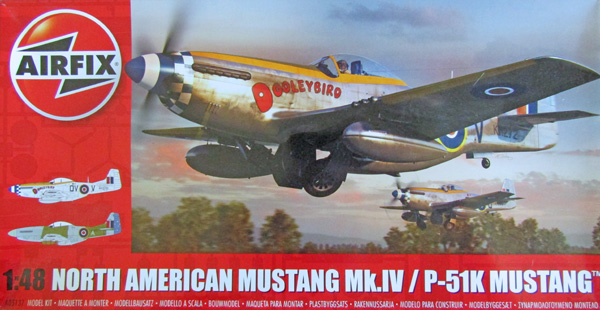
Just once in a blue moon the workbench is bare, awaiting the next big project to arrive and this is the case today. A quick scan of the stash for something quick and dirty, quickly focused on the Airfix 1:48 Mustang Mk.IV kit.
I will not waste time on reviewing the kit contents as this is well covered by Geoff in a Here Now reviews (here and here), as well as a superb comprehensive build up of the kit in Finished Now. I believe it will suffice to capture the major stages of this build alone and where I made some changes.
I built one of these for a group online 48hr speed build just a few weeks back, where the rules allowed only OOB, no aftermarket, no air brush, sort of a reversion to school day skills. To ensure participation I had ordered two kits from separate sources and luckily one at least arrived on time. The second kit came with eduard cockpit photoetch, exterior details and seatbelts to enhance the finished model.
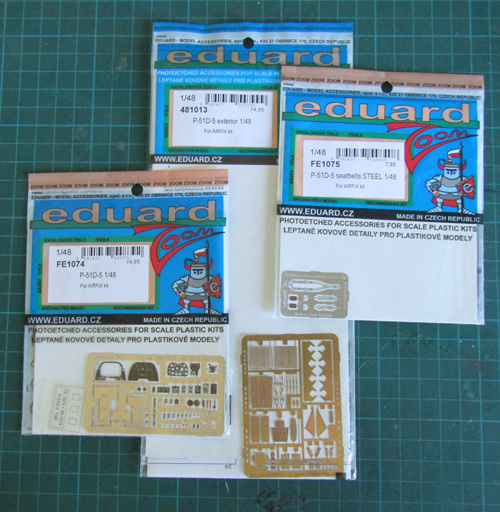
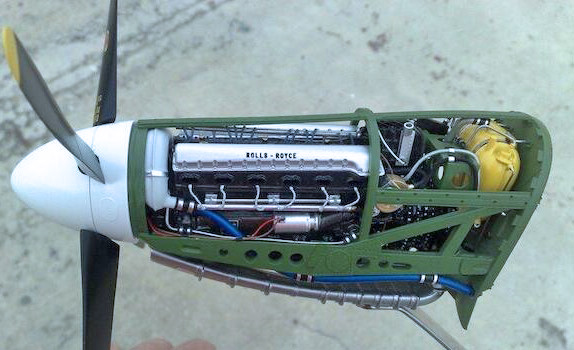
I had built the first kit as ‘wheels up’ in the NMN finish, the intent was to have the 2nd build in the alternative camouflage kit scheme and freestanding. However, there is something missing, I really want to see that glorious Merlin Packard engine exposed in some measure, what to do?
There are some very nice resin aftermarket options for the required engine and framework and accompanying gubbins, but that would mean a further lengthy wait and defeated the point of a quick and dirty weekend build to fill the gap. Returning to the stash I noticed the Tamiya 1:48 Lancaster supplies two Merlin engines as an option to display, given I had no intention of exposing these, the decision was made. In comparison to an aftermarket highly detailed product, it would at least fulfil my needs with a little bit tweaking.
Here is what I am looking for, or as close as I can get it…
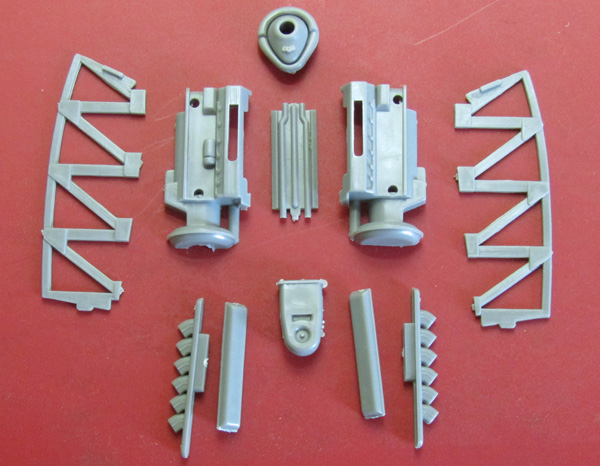
Here are the parts from the Lancaster kit that we have to play with, I included the nacelle mounting frames as potential use in the framing, but in the end scratch built the lot.
Deciding to expose one side only and the upper cowl, it was not difficult to identify where cuts had to be made on the fuselage half, just following the panel line and retaining the front end behind the spinner. The forward mounting block on both fuselage halves is removed entirely.
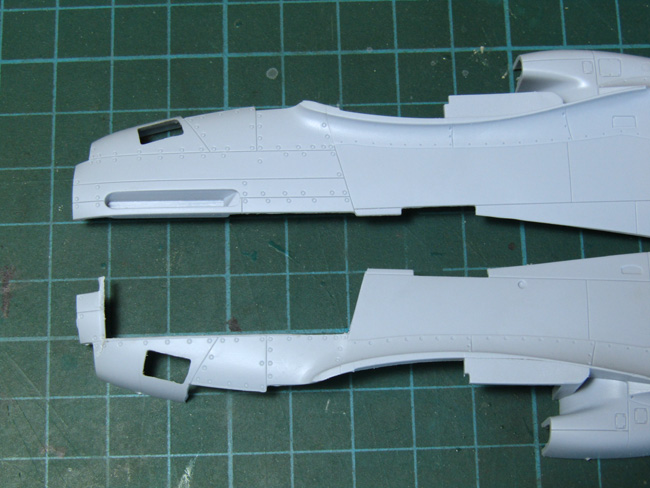
Next step was to add the lower framing which is mainly obscured below the lower panels and so doesn’t need much more than the lip extending above the panel edge. Using stock U beam maintains the depth of the framing, but on the other side I represented this with flat plasticard strip. On the opposing fuselage half the intruding exhaust recess is cut back to be flush to the outer portion.