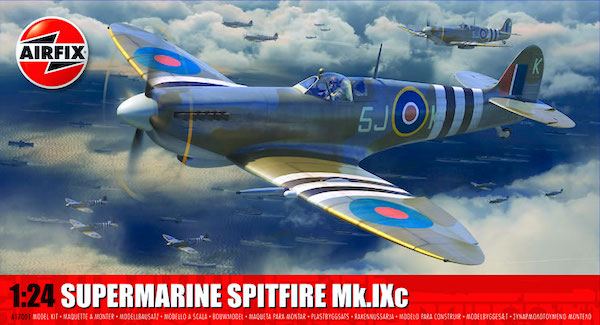
Full Review with Julian Seddon
After about two years of rumour etc. at last it has arrived!! What a stunner! Have a look at Geoff’s In-Box Browse and others on the internet to see how good it is.
I shall be showing the parts as I go along so I am not going to review it here – I will just get on with the construction!
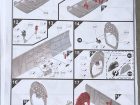
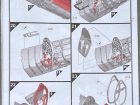
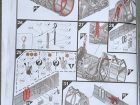
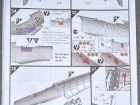
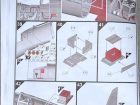
The instructions
The first few days have been a familiarisation and preparation period. I plan to build plane A.
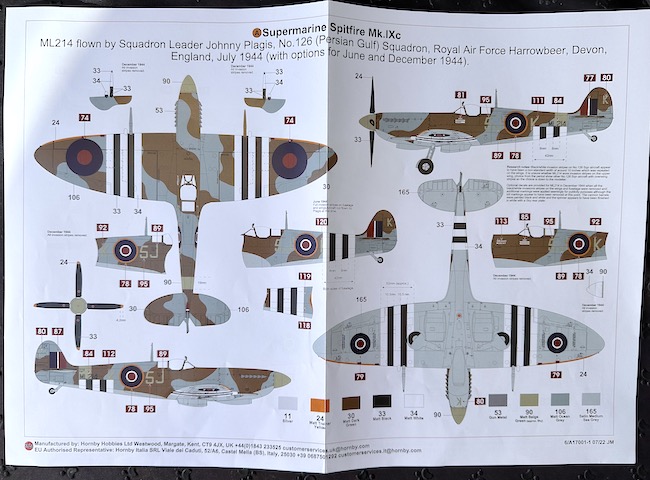
I will come to the month depicted and whether to put the invasion stripes on the upper wings, as I progress, although I would have thought that they would be. I’ve also gathered several reference photos.
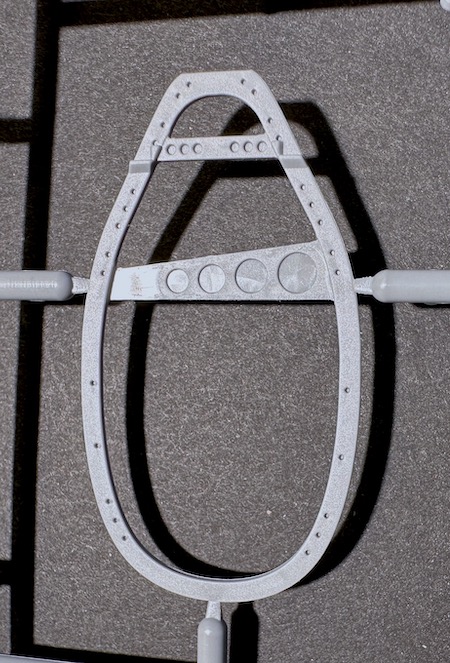
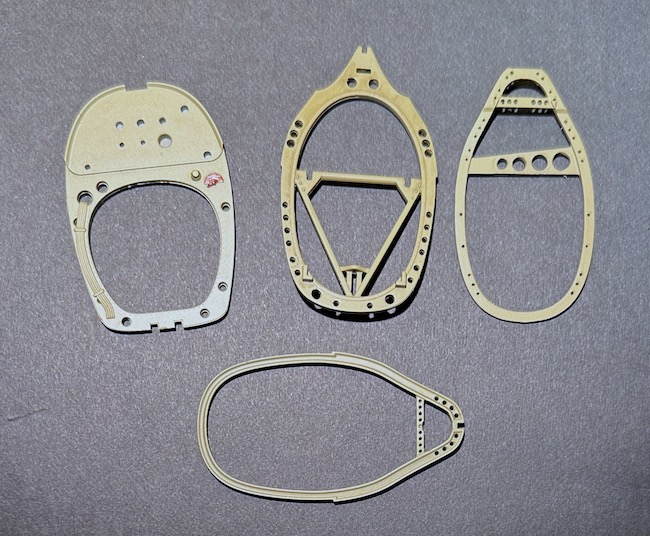
I started by drilling out the frames – they are supplied as shown below but I think that just filling the “holes” with black paint would not be convincing
The result is far more convincing and I am sure it will make your model lighter !!
The next task, and the longest, was decaling the instrument panel. This was in the sprue as two transparent parts. If you like painting the instruments by hand then the one shown below is supplied
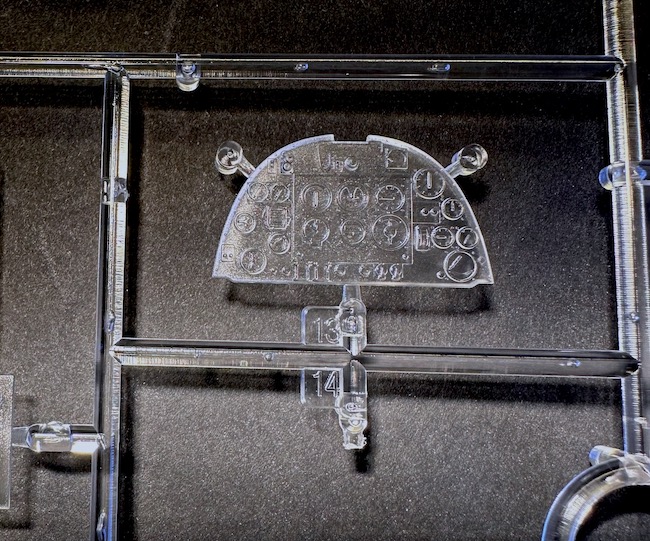
If not, then the transparent part is blank in the instrument recesses, and, after painting it black, you set each decal into its recess. It is best to paint the panel gloss black so that the decals bed in without too much teasing. It is still a long job!
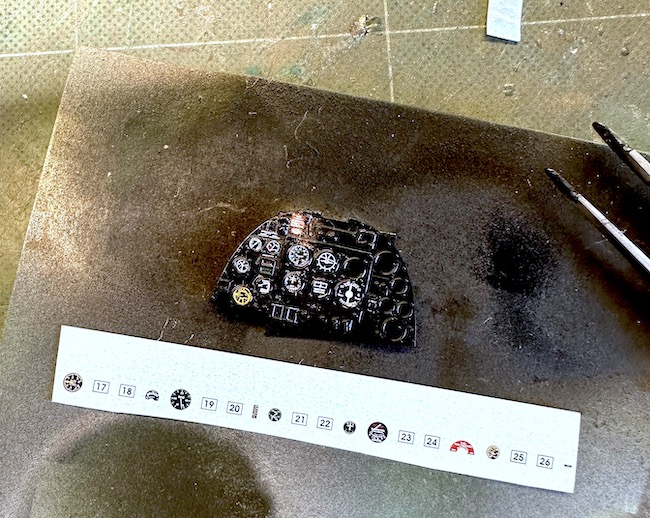
A rather messy pic shows how the decals are supplied and the tools I used for positioning them! The instructions are clear about their place.
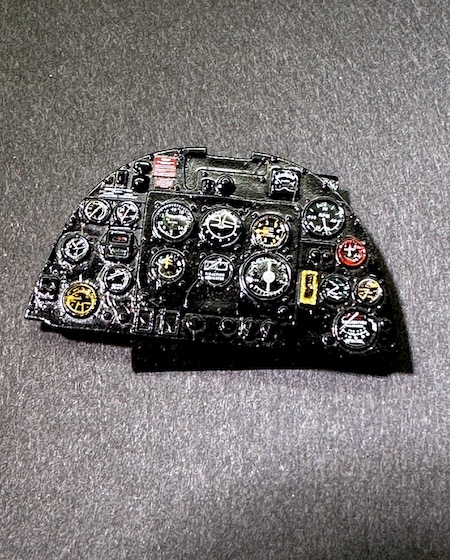
I thought that the instruments were a bit bright once finished, so I tried one dial on the lower left using diluted Tamiya smoke to dim it. I will apply a bit more and then do the rest.
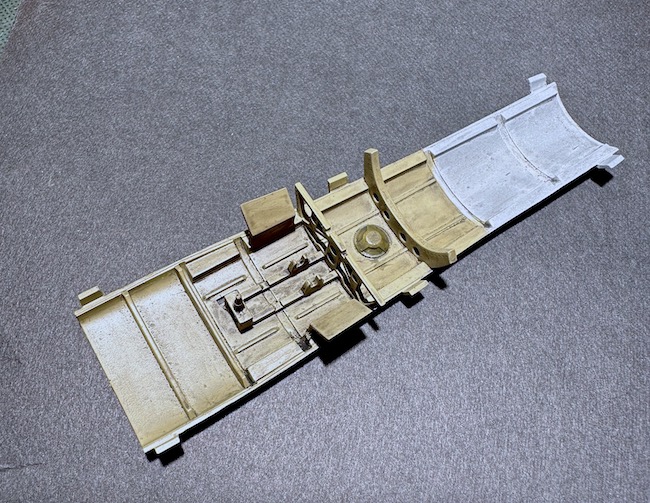
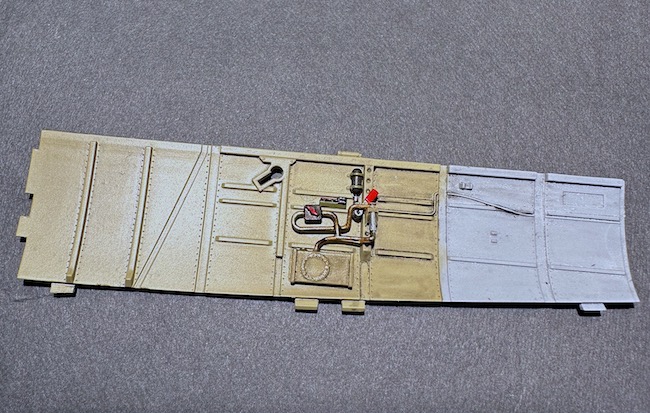
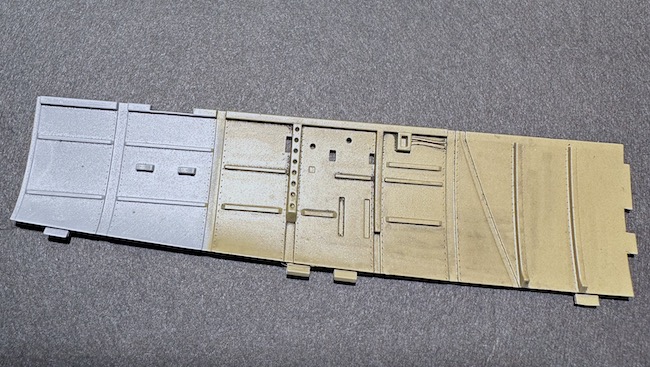
The cockpit floor and two sides have a wealth of detail, the large majority of which, won’t be visible when the cockpit is fully kitted out. I have done some light work on them, and this will be tidied up where necessary.
The box on the starboard side liquid container for the windscreen de-icer. It seems to me that the pipes are a tad over scale.
There seem to be thousands of rivets involved in creating this model .
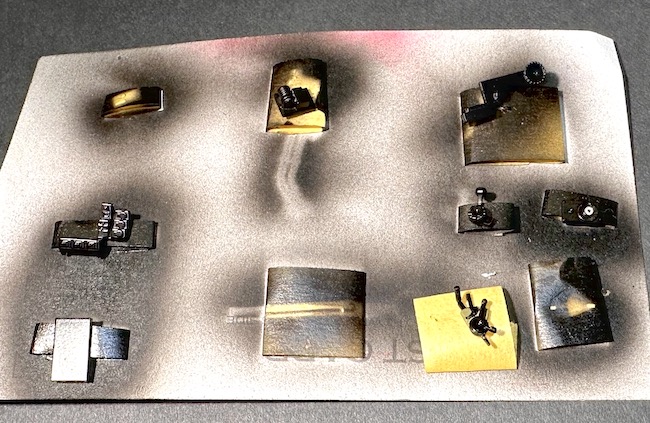
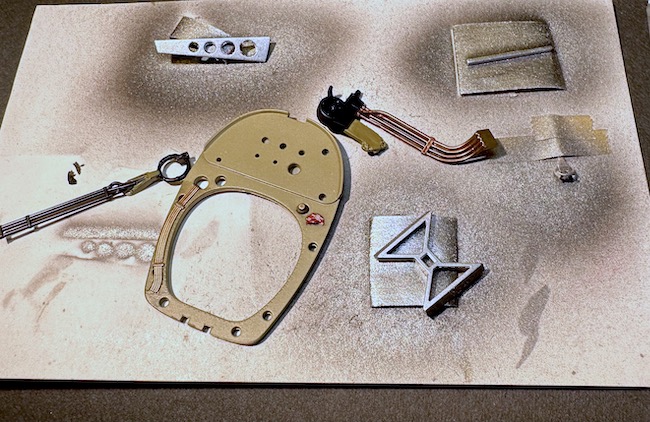
All the small parts are sprayed in their base colours some with details picked out. As I use the spray gun for painting this will involve some fiddly masking. I think the result will look smoother overall.
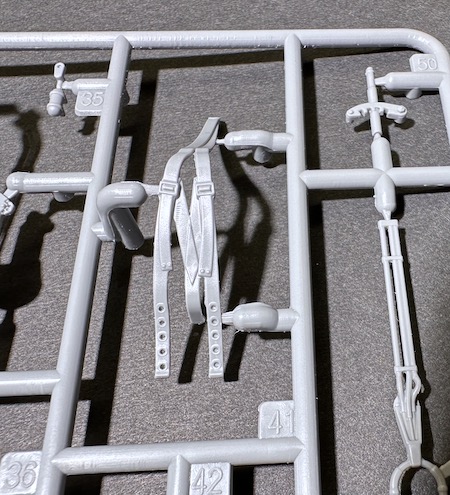
The harness is a bit disappointing and will need some work to make it more convincing.
Ask a question or add feedback:
You must be logged in to post a comment.