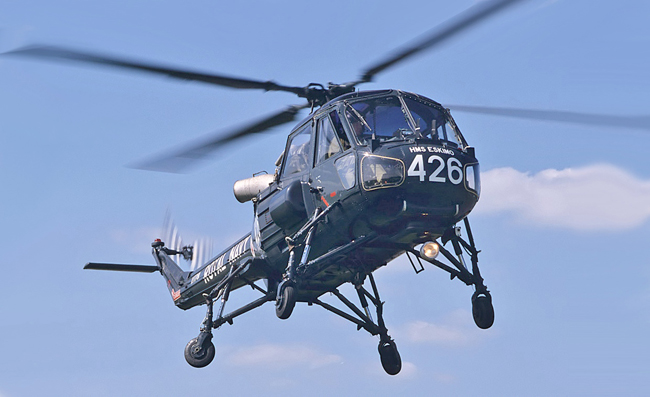
(Photo: Westland Wasp HAS.1 Royal Navy. Courtesy Mike Freer)
For Fleet Air Arm modellers the Westland Wasp is something of a holy grail. With the exception of the long out of production Fujimi 1:48 kit the Wasp has never been produced, which is extraordinary! Most Wasp builds will start with a conversion kit for the Airfix Scout in 1:72nd scale…
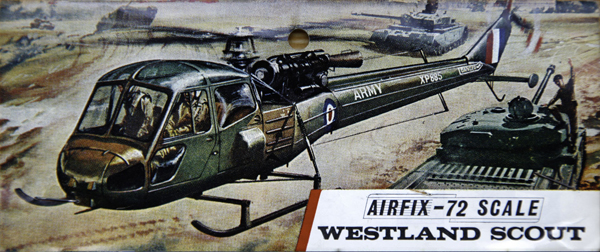
…and this would be no exception. There was an Aeroclub conversion available many years ago, but that is now difficult to find and so converting a Wasp has been a largely impossible task, until now. Air Graphics recently released their conversion (AIRC72-07) and so this was pre-ordered to allow the build.
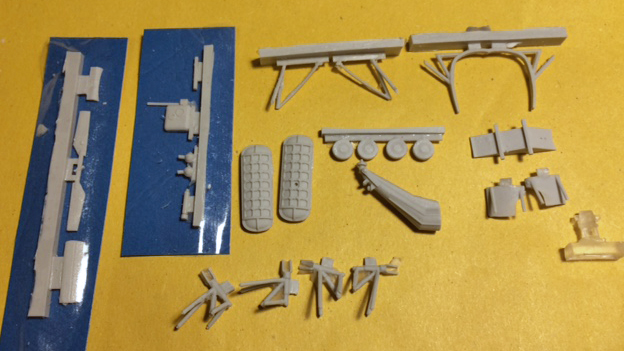
The Air Graphics conversion covers the main differences between the Scout and the Wasp, providing the:
• new wheeled undercarriage
• tail
• tailplane
• tail rotor
• flotation sponsons and
• various sensors and aerials.
I also purchased the Air Graphics SS12 missile set (AIR AC-133). Air Graphics also make an engine set, but as there are a lot of pipes and connections between the engine and fuselage I thought that it would be just as easy to modify the kit engine.
The Air Graphics conversion comes in a brittle resin which has micro steps giving a rough surface, these are probably due to a 3D printer being used for the masters. This needs to be dealt with before construction and due to the brittle nature of resin and the complex shapes of the castings it was to be no easy job!
Whilst the Air Graphics conversion provides the main parts required it is not totally comprehensive.
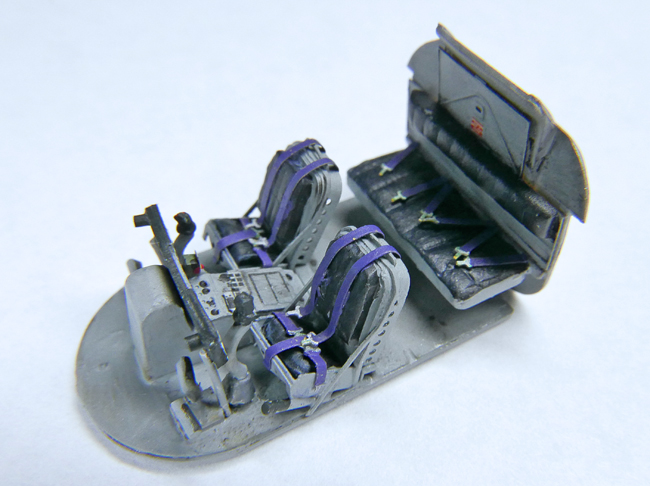
Fortunately I had been storing parts away for this build for a number of years – enter Airwaves set AC72-165. This set provides PE for the interior and is a little gem, the pilots seats are especially good, providing great representations of the real thing. The instrument panel had to be scratch built as the Wasp had a full width panel as opposed to the half width panel on the Scout. The built interior was painted in acrylics, with the seats being finished with an oil layer to simulate leather.
Ask a question or add feedback:
You must be logged in to post a comment.