Review by: David Gaylard (January 2012)
Gallery and pdf
I’m not going to waste time waffling on about this kit, because I’m keen to crack on with it! So, for an overall impression and summary of this promising little kit, take a look at the Here Now review here in SMN.
Construction Begins – The Cockpit
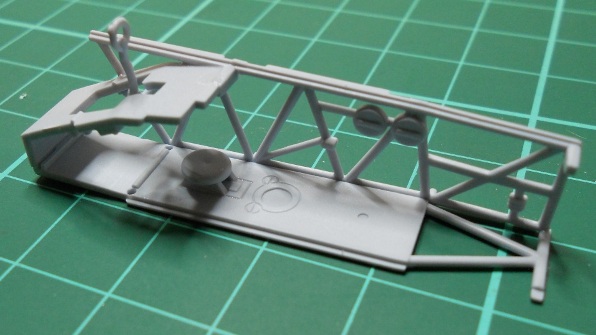
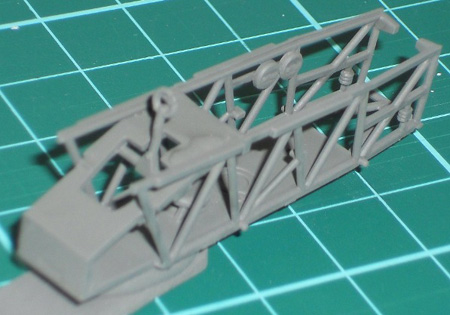
More or less following the instructions, construction starts with the cockpit “cage”.
I chose to assemble as much as possible of this sub-assembly prior to painting; it shouldn’t prove too hard to get Interior Green into those nooks and crannies with an airbrush. There are only a few details to be picked out in other colours afterwards, using a fine brush.
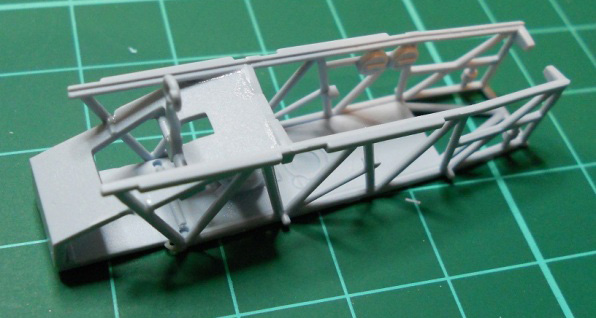
I only part-cemented the port “sidewall”, at the front end. This should allow the rear end to be opened up after painting to allow the radio set to go in.
So here it is mounted on an ice lolly stick with Blu-Tac and sprayed with Interior Green.
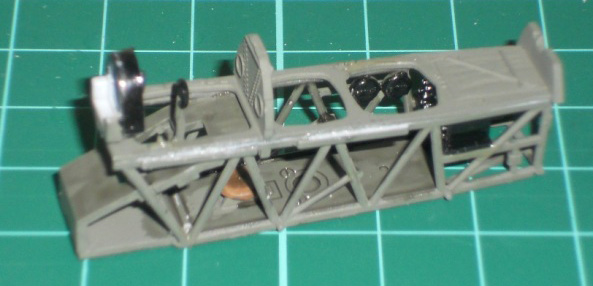
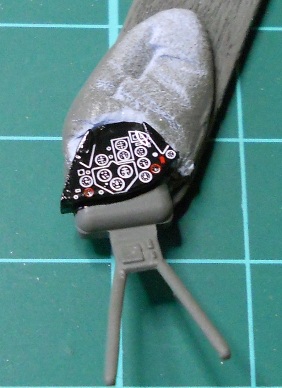
Here is the instrument panel painted up and with the decal applied, sealed in under a coat of varnish (Klear) and the radio, with raised details picked out in white using a cocktail stick.
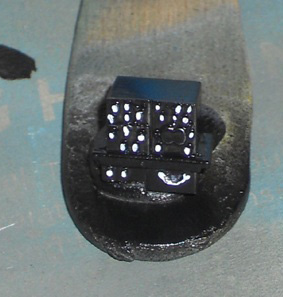
And finally, here is the whole cockpit assembly ready to go in.
The floor has been given a wash with Tamiya Smoke (X-19) to bring out some of the detail. Note that I have chosen to leave the pilot’s seat and the rear machine gun cradle off for now. It should be easy enough (and safer) to fit these later.
