Review by: Geoff Coughlin
Our thanks to A2Zee Models for kindly supplying our review sample.
![]()
Reference…
Do check out SMN’s Photo Reference Library, where there’s an excellent walkaround set of images covering the interior and exterior details of the Shorts Tucano T1.
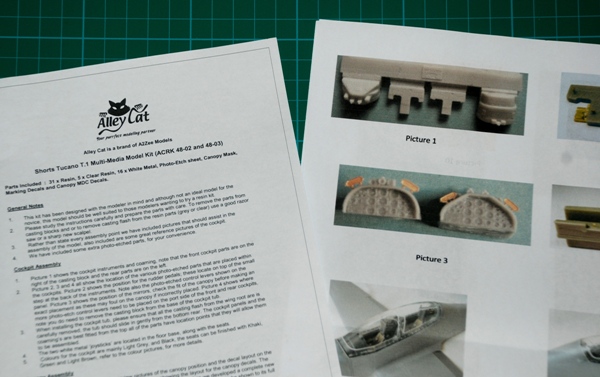
The kit instructions are also a useful resource, having some colour images to help you get the colours right.

Some ‘extra’ tools you’ll need for this build:
- Razor saw to cut away parts from their moulding blocks where these are thick e.g. ejection seats
- Cyano glue
- Sharp new scalpel blade in your scalpel to help remove the parts from their moulding blocks/frames
- Blu-Tac putty (or similar putty you get from stationers to hold posters on the wall) to hold your parts secure on the bench while using your razor saw.
It’s also a good idea to check out your Techniques Bank too, there are some useful step-by-step techniques in there to help with some of the tasks you’ll need to do here with this build.
Let’s get going…
Ok, the first thing to do is study the instruction sheet carefully, in fact very carefully.
My experience with this kind of resin project is that you need to be careful to follow the manufacturer’s guidance; it will be there for a reason. Don’t forget too, if you are new to resin kits, then you’ll need plenty of cyano (super) glue to stick the parts together – plastic weld and liquid poly will be useless here, so you can put that to one side.
Have a wash…
No not you, the parts. Being resin (and often plastic for that matter), they will need to be washed carefully in warm soapy water to remove the mould release agent that although not visible will, as sure as night follows day, be there.
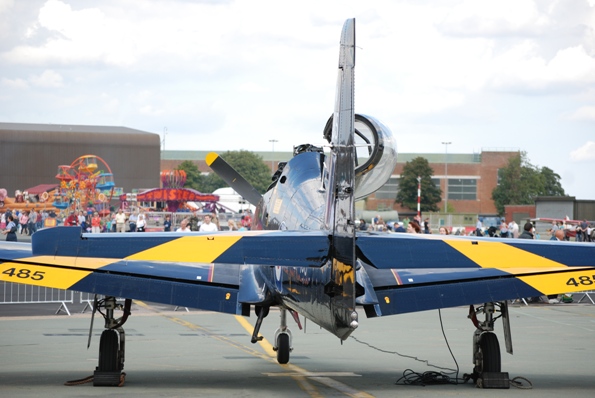
If you don’t wash all the parts, then there’s a good chance that your paint will lift later when you remove any masking tape and we will be using some of that for the yellow wing stripes. Yes, the plan is to build an operational trainer that features the yellow wing and tailplane markings over a glossy black airframe (we won’t be using gloss black, but more of that later…).

Preparing the cockpit and fuselage…

When all is dry, I was anxious to start getting the resin parts off their moulding blocks and remove any excess resin from around the kit items.
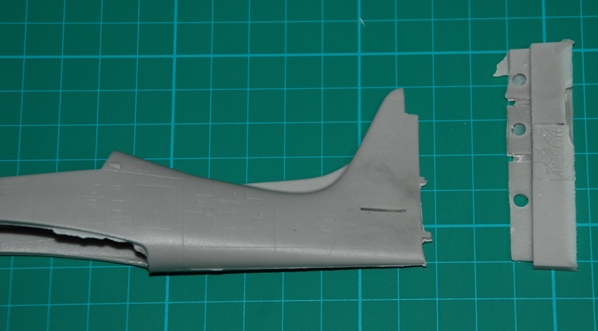
First task is to separate the fuselage from the moulding block aft of the fin and this is a lot easier if you use a new blade in your scalpel. A few passes down each angle on both sides and the fuselage came away pretty cleanly – so far so good.
Your scalpel comes in handy now to clean up the excess, together with some medium grade sanding sticks. I have a couple that are broader and firmer than some and these are ideal to help retail a neat flat surface for the parts to mate to.
The fuselage interior has some nice detail moulded into the side walls and when you look you can see small slots where the cockpit tub will eventually click in. I wanted to get a good feel for whether this was going to be the case and so I prepped the tub next. It came away easily enough from the casting block and the excess was removed by sanding the underside on a rough piece of wet and dry taped to the workbench.