Feature Article with Calum Gibson
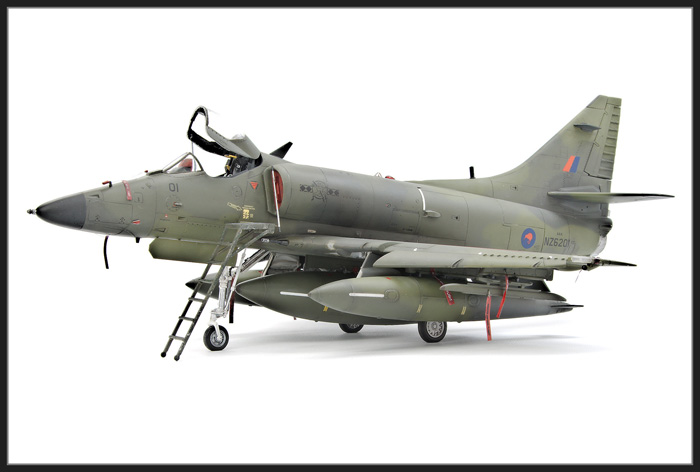
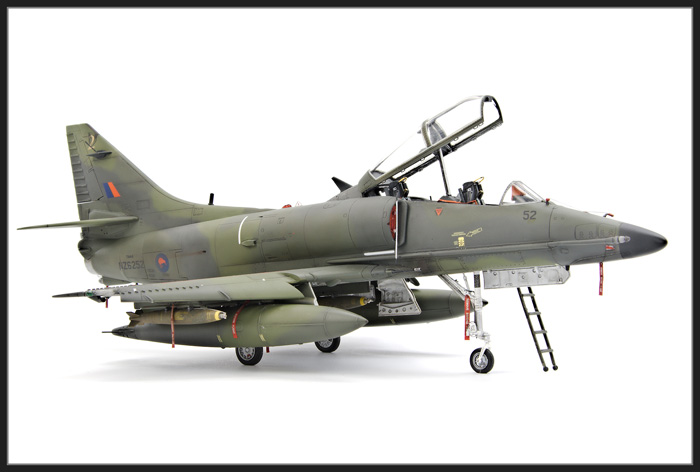
The Skyhawk holds a special attraction for me because I spent 5 or so years working on them when I was in the RNZAF. I’ve now built six 1/48 scale Skyhawk’s over the years but none in the livery that they carried when I worked on them. So during the 2020 lockdowns I decided it was time to rectify that.
Here’s a quick look at how this project turned out…


The 48th scale Hasegawa Skyhawks are well regarded by most modellers. But after building 5 of them (4 A-4’s and 1 TA-4) I tend to disagree. Whilst it may have been good kit in the 1990s I don’t consider it one now. I would really love a modern replacement. Sadly, Hobby Boss’s recent effort wasn’t it.
Hasegawa Skyhawk Fit Issues…
The main fit issues I’ve encountered are as follows. These are applicable to both the A-4 and TA-4 kits:
- The intakes and ‘engine front’ parts do not meet up
- The RH rear fuselage insert requires filler to match the fuselage contours.
- Inserts for the guns/no gun fairing in the forward wing root to fuselage join don’t match wing contours.
- Left hand wing to fuselage join always ends up with a gap
- The hump to fuselage join needs some filler.
- The speed brakes don’t match the contour of the fuselage when closed. A saving grace is that speed brakes tended to open slightly after shutdown when the hydraulic pressure bled off so you can get away with not making them fit perfectly.
- If you’re not using the hump I found the top of the fuselage, under where the hump would be needs a bit of filler to smooth it off.
Some accuracy issues, and build notes:
- The panel lines are quite shallow in a lot of places.
- The slat wells on the wings are just plain wrong. There is no step.
- The left main landing gear receptacle is approximately 1 mm to 1.5mm longer than the right one. If you don’t reduce this your model will sit left wing high.
- The underside of the tail section (under the hook) pinches up. Luckily there is a panel line here and the Arrester hook covers most of it.
- If you doing an A-4F onwards the line that represents the lift spoilers on the upper wing needs to be scribed. This is sometimes not shown on the instructions. Do this before you put the wings together.
- The nose wheel is not moulded separately.
- The slat tracks are moulded on the wings so get in the way throughout the build.
- The lower edge of the front windscreen has to be glued directly to the kit, there is no lower windscreen frame for the sprue gate to attach too. This can lead to damage to the clear part.
- The instructions don’t tell you to drill out holes for the fuel dump port on the lower wing.
- There are lots of ejector pin marks in annoying places.
- The plastic is very hard which makes scribing difficult.
Now I’ve got all the whinging out of the way, I do have say that, in my opinion, Hasegawa’s kit is still the best kit of the Skyhawk in 48 scale despite it being released in 2000.
Which Kit?
Well, any of the A-4E/F kits and TA-4F/J can be used for a RNZAF Skyhawk.
Beware though that kits marked A-4F only may not be suitable due to the different intakes in those kits. That said the difference in the intake profile is really hard to see. If in doubt take a look at this page . It lists the sprues in each of the Hasegawa A-4 boxings. The intake sprue that is correct for the RNZAF aircraft is Sprue J. Some A-4F’s had the up-rated engine of the A-4M and thus those aircraft need the same intake sprue as the A-4M (sprue Q). These are sometimes referred to as the Super Fox.
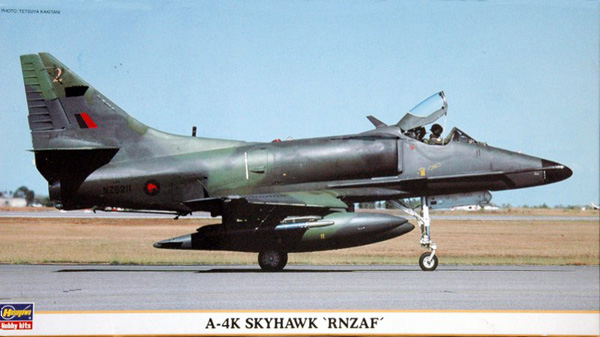
But for this build I used the specific 1:48 A-4K Skyhawk ‘RNZAF’ Kit (No. 09441) This was released in 2002 and contains five (5) white metal parts for the upper VOR/ILS antennas, forward under wing RWR antenna fairings and High Intensity Strobe light that were introduced as part of the Kahu upgrade undertaken between 1989-1991 (Kahu is Maori for Hawk). All of these are pretty easy to scratch build but if you don’t have to, then why do it.