Trusty 10″ plastic card comes to the rescue. To fix the step between the two parts I used brass rod to spread the LEX top and bottom (you can see a small stress fracture on the LEX due to this).
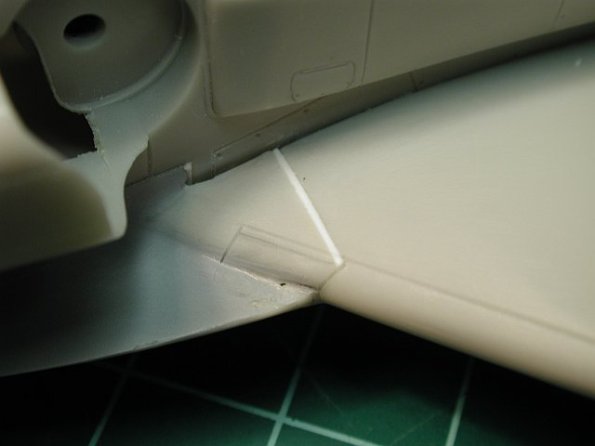
The gap has been filled and sanded smooth. As the panel line did not line up (yet another problem), I filled the incorrect one (you can still see it below the new one) and the scribed a line which was a continuation of the panel line on the wing leading edge. Note also the fairly large gap between the wing and fuselage.
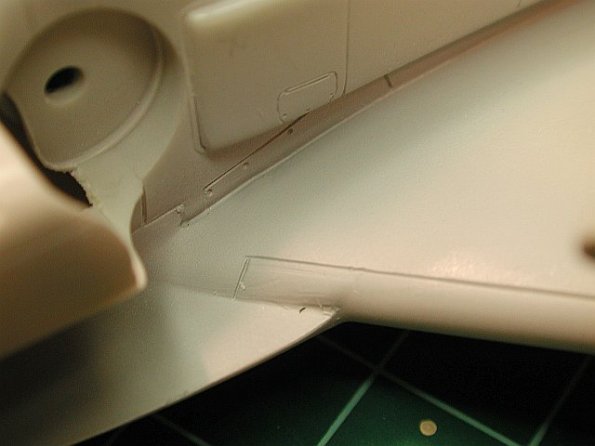
The finished job. The fuselage to wing gap has been filled with Milliput and the LEX to wing gap is no longer evident. Finally the panel lines look they should.
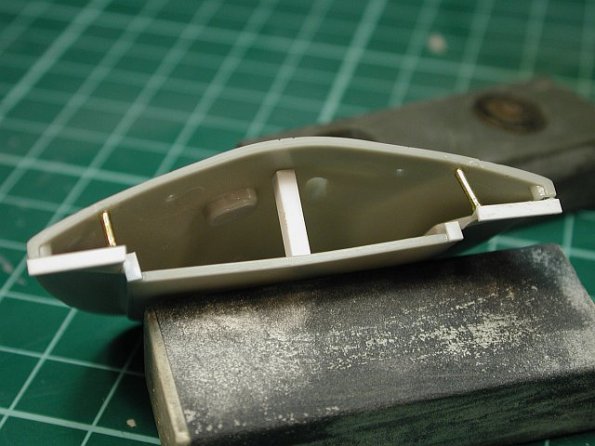
Here is the back end of the LEX section. You can see the spreaders I used to try and minimise the step between this part and the wing section. Also note the white plastic card ‘gap-fillers’.
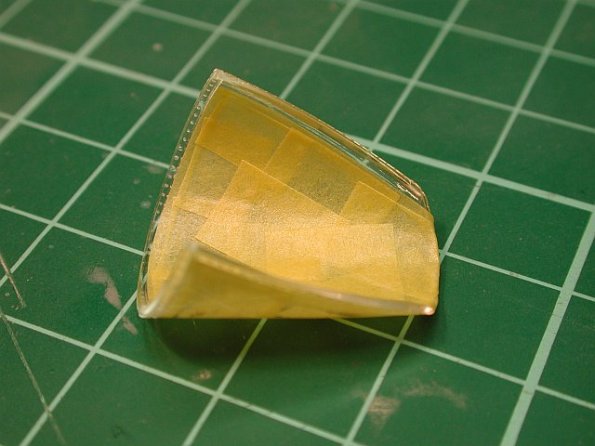
The interior of the windscreen has been masked to allow painting of the frame interior.
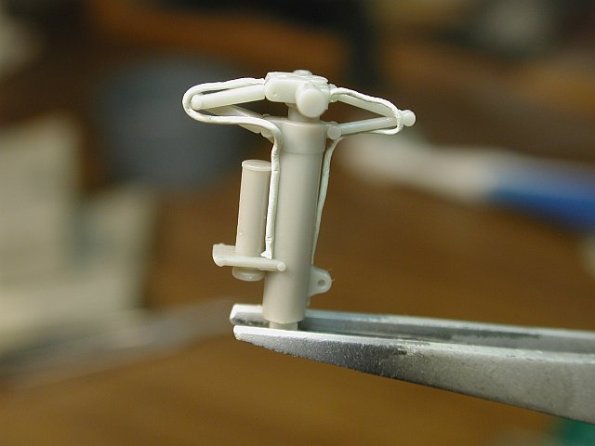
The main landing gear has been detailed with Milliput brake lines. This is the first time I’ve used this method. The jury is still out on this one.
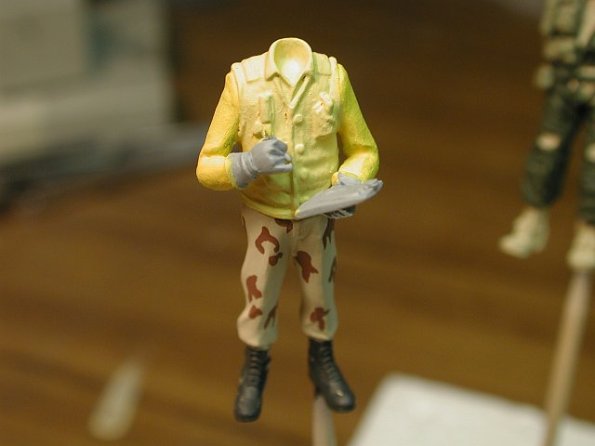
Ok, now if I hear anyone laughing, you’re in for it; some more to be done on these guys. This chap is from Verlinden.
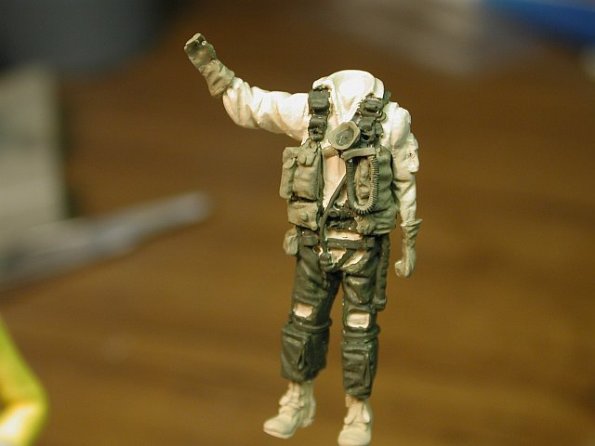
The pilot is from CMK. As the model will be as operated in OIF, I am painting the flight suit and boots in standard desert kit.
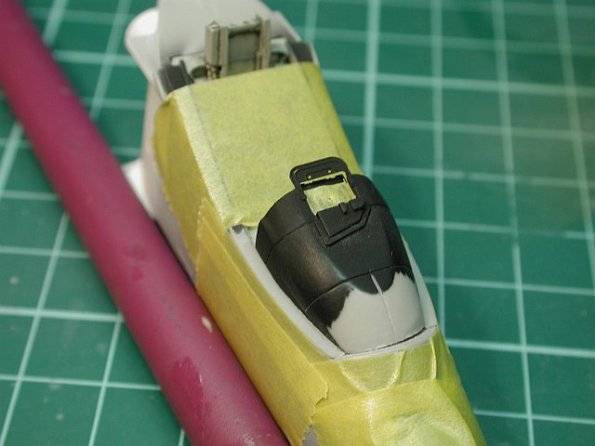
The windscreen had some noticeable fit problems at the front so I fixed this by thinning down the console. This of course destroyed the paint so I have masked the area in preparation for a touch up.