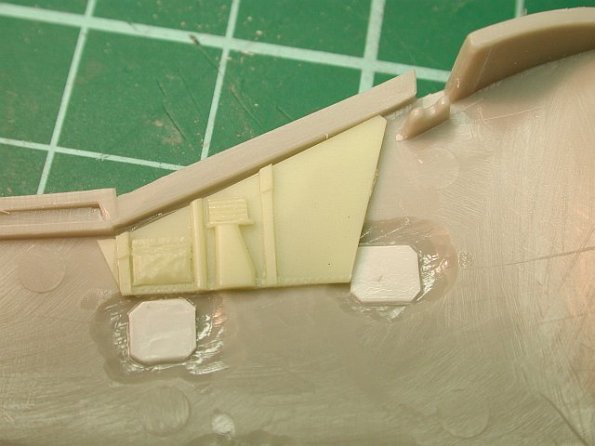
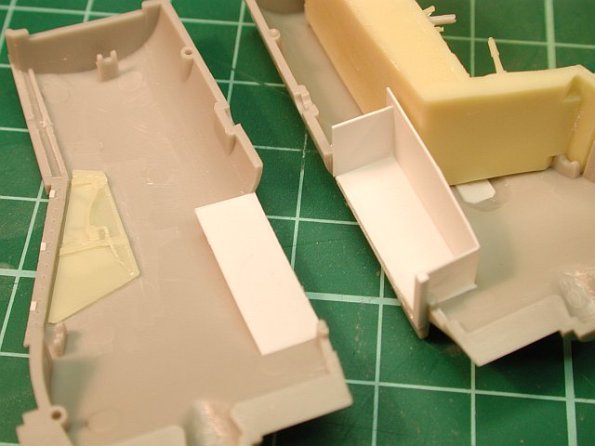
As this model will be displayed on the ground, I decided to show it with the boarding steps deployed. This involved chain drilling and then cutting the moulded steps from the starboard fuselage side. Following this the plastic was thinned (again with the Dremmel) and finally plastic card (i.e. the white) was added internally to provide a backing from the step. The actual extended steps will be added at model completion.

The interior of the cockpit side wall. The Aires resin section has been installed. Here you can see the plastic card backing for the boarding step cut-outs.

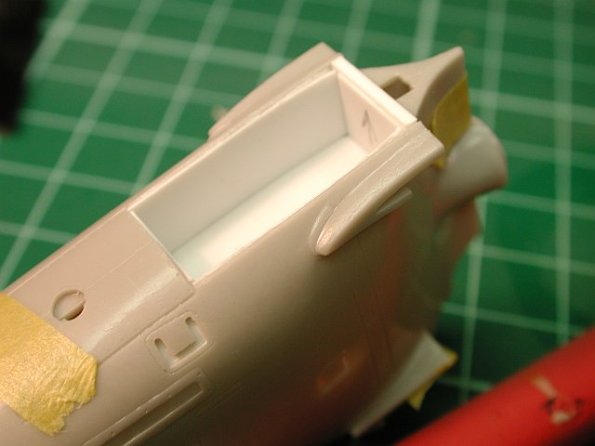
Reference photos show that when the Harrier is powered down, the main gear doors are left open. Aires makes a resin set of wheel wells for the Hasegawa Harrier. I purchased one of these sets and am planning on using it as a guide for scratch-building my own on my Harriers. Here you see the moulded in nose wheel doors have been removed and the basic structure of the wheel well has been created from plastic card.

Another shot of the wheel well with the fuselage halves joined.

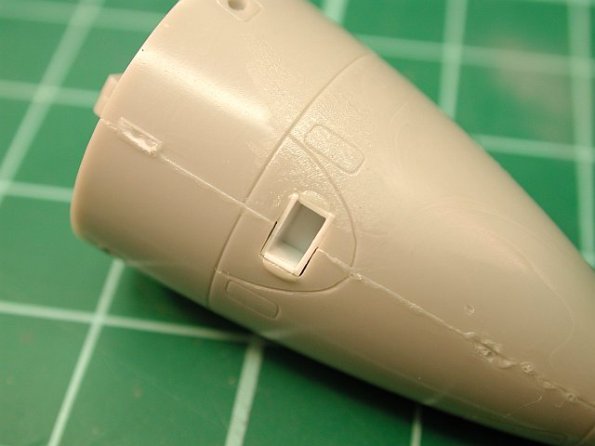
One of the disappointing elements of the Hasegawa kit is way they handle the RCS outlet in the nose. The kit simply provides us with a hole which quite frankly is a joke for a A$50 kit. Here I have boxed in the outlet in preparation for installing later the scratchbuilt nozzle which forms part of the RCS system.
Pages: Page 1 Page 2 Page 3 Page 4 Page 5 Page 6 Page 7 Page 8 Page 9 Page 10 Page 11 Page 12 Page 13 Page 14 Page 15 Page 16 Page 17 Page 18 Page 19 Page 20 Page 21 Page 22