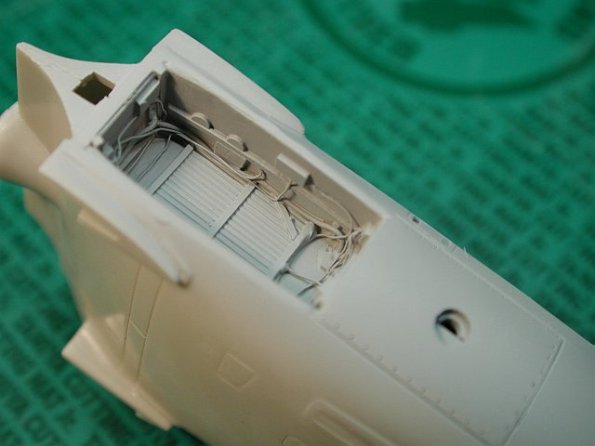
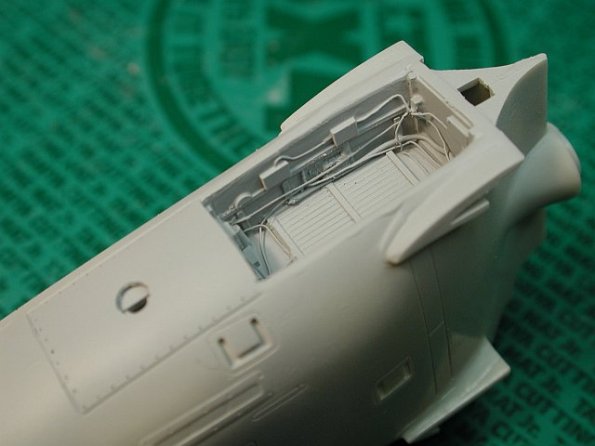
Using the Aires resin set as a rough guide (I’m not as good as the Aires master makers), plasticard, lead and copper wire is used to make the wheel well feel “busy”.

A coat of primer starts to bring out the detail. This should look good once its painted and weathered.

And the other side!
LEX matters…
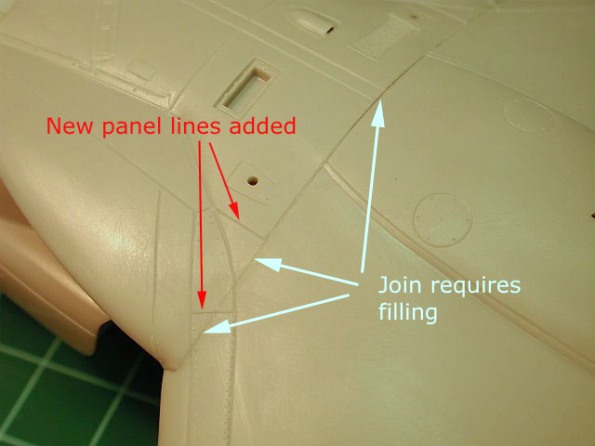
In the last week I’ve made some progress in bringing the fuselage, wing and LEX together. I have to say that if you want to do it properly, this requires a bit of effort. In particular the wing to LEX join has to handled carefully requiring new panel lines to be added. This trouble is as a result of Hasegawa designing the kit as very modular (so they can give us as many variants of the Harrier II as possible).
I’ve also decided how I want to setup the display base for this model. As a result I’ve started painting some figures. Please don’t laugh when you see them L I’m not a figure modeller. The other day my order of a set of PE carrier deck tie down points from White Ensign Models arrived.

The wing joins to the fuselage with little drama. The LEX however is the worst fitting part in the kit so far. This pic shows how the seam between the LEX and wing needs to be dealt with.

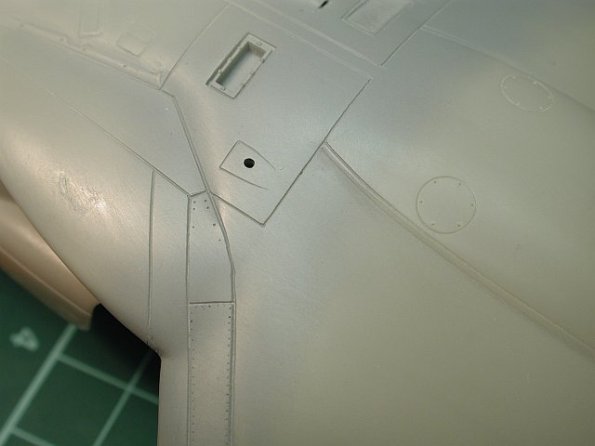
Once you have filled the outer part of the LEX-Wing join (whilst retaining/re-scribing part of it), you’ll need to re-scribe the damaged panel lines (and rivets). You can also then add in the missing panel lines (see red arrows above).