Fuselage closed- now working over the wings!
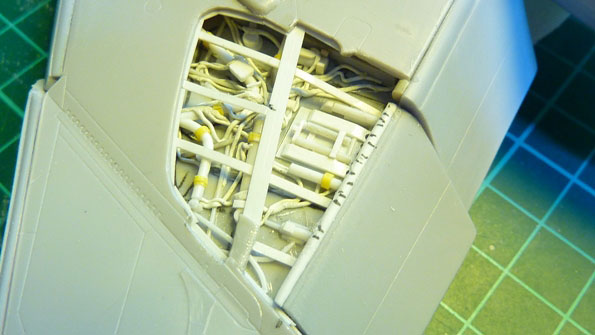
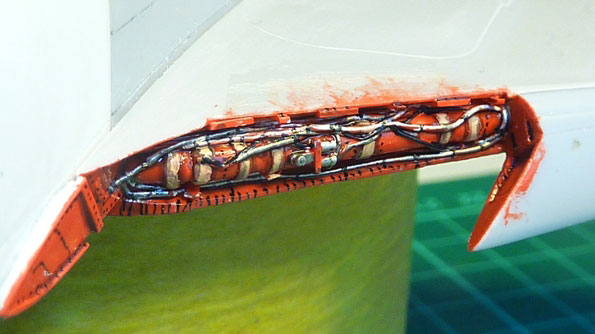
I just work over the left wing, showing some internal details, but here I didn’t work as the rest of the bays, no “box” at the start, here I just add the details directly over the plastic, on top and bottom of the wing.
The big difference in this job is that I didn’t represent the wiring in metal as usual but make them using white Milliput. The job involves mixing small quantities of white Milliput, rolling the ball you end up with, each time cut the line you have and roll it till you’ll have a fine wire. With a small brush dip in water, take the line with the end of your brush and put it in the area you want. You can move your Milliput line with your wet brush till it is in the good position. Let it dry and then paint it; the Milliput glues itself on the plastic piece. There’s a great YouTube video showing how it’s done here – it was very useful for me.
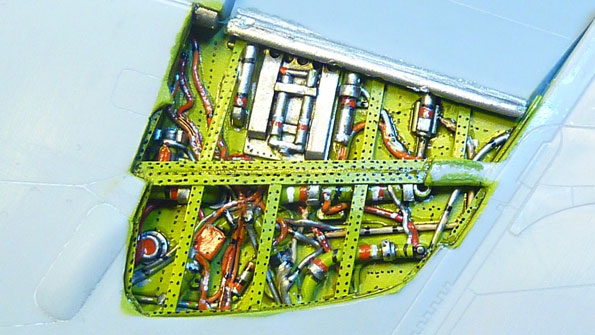
Paint job is as for the fuel cells, careful detailing….patience……it’s a close view…not really well representing of the overall view when looking at it!
Another detail area was created in the left wing in the slats area….just some small details in fact with the same building technique….
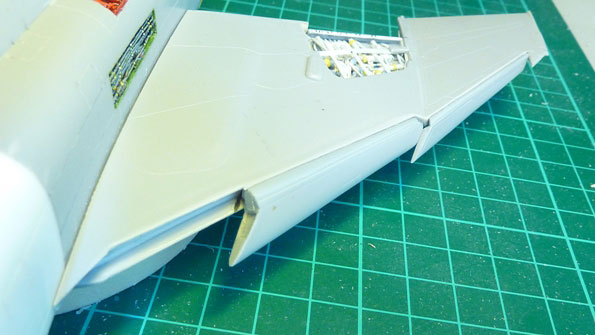
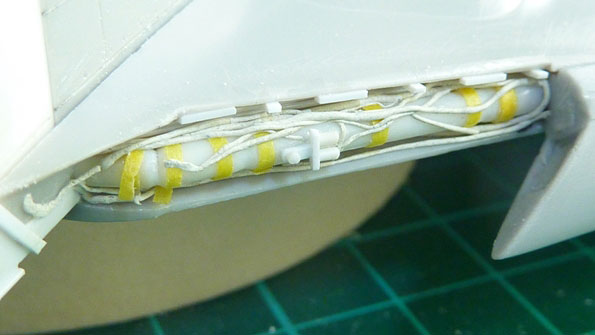
Just a note to say that I was pleased to use the Wolfpack resin set for the slats/flaps, it fits without problems!