Intakes first
I thought I’d start by showing the process of adding the intakes, as the instructions that come with them are a bit vague, and you never know, it might help someone.
This is the bit that needs to be removed from the kit fuselage sides. I chain drilled a series of holes all around the bit I wanted to remove:
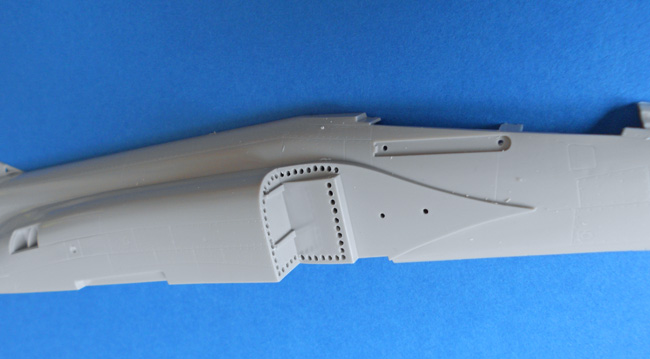
I then got a scalpel blade in the holes, and cut through the thin dividing bit of plastic left:
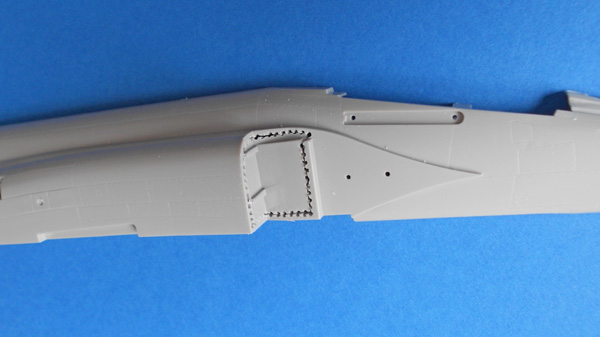
Meaning I could remove this bit of plastic and sling it:
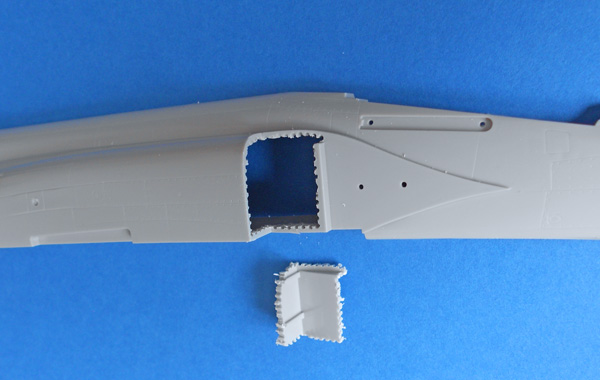
The plastic step near the front of the new aperture was removed by scoring along the joint with a scriber until it fell away, and the resulting messy hole was tidied up by scraping with a scalpel blade:
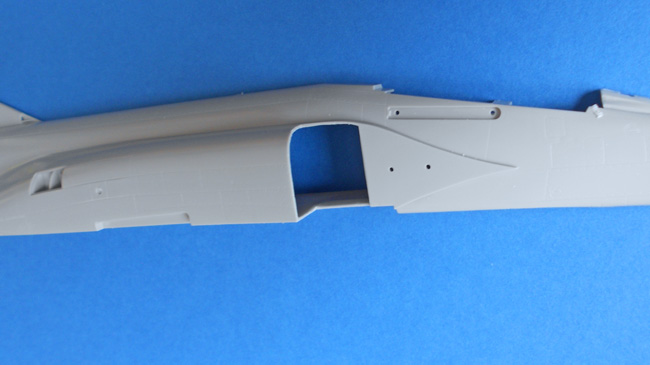
The new aperture was fettled and scraped until the new resin part could be fitted. Test fit, scrape, test fit, scrape…etc. You can see the depth of the new intakes here:
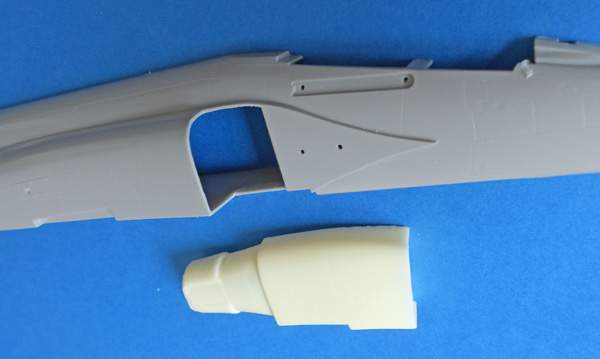
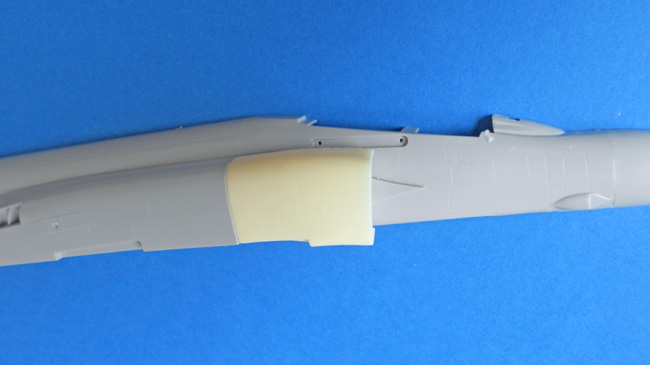
And here they are fitted. They’re a very good fit, obviously modelled from the original kit parts, and won’t need much filling:
The full depth looking down on them is apparent:
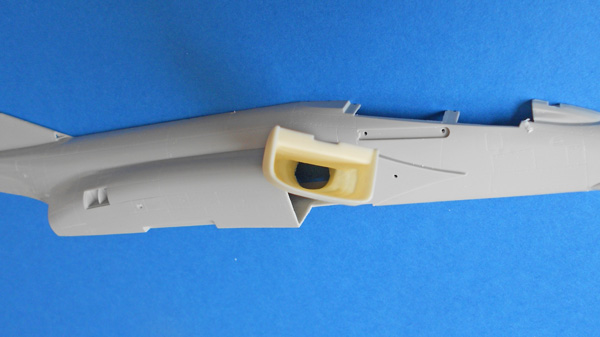
There’s a nice set of turbine blades to go in there yet, to complete the effect. I’ll photograph it once it’s painted. The underside wing part needs a little thinning and trimming to clear the underside of the intake trunking, but I haven’t shown that as it really is minimal.