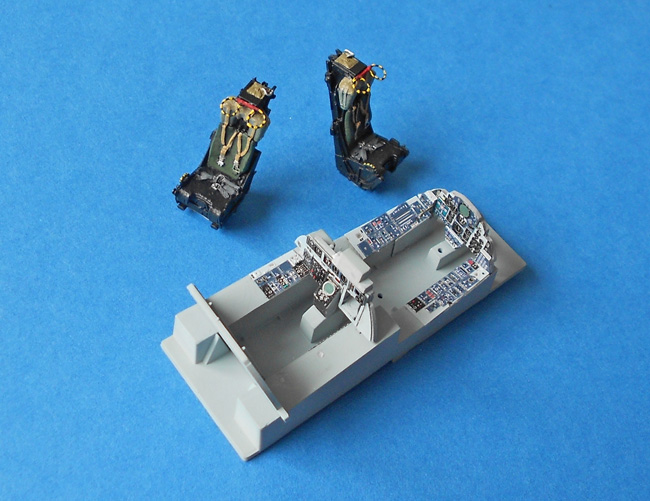
I then made a start on the cockpit
The resin seats were painted, and the colour PE was started in the tub. This is not complete yet, as the rear instrument panel has some very delicate attachments to go at the top, and I didn’t want to do that until the canopy centre was ready to be installed over the top to protect it.
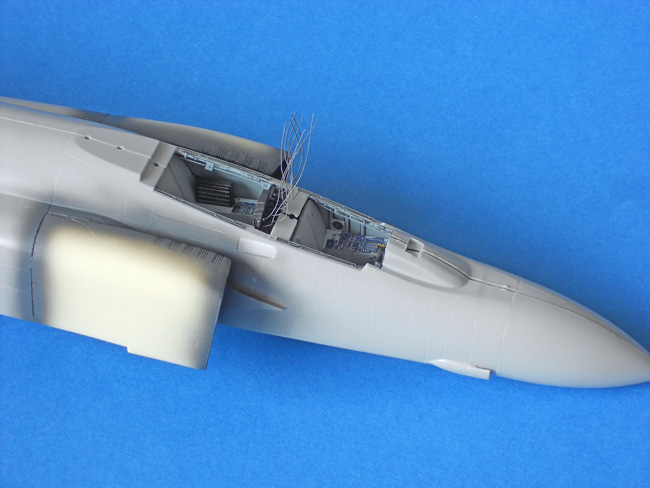
The wires sticking up out of the back of the rear instrument panel are lead wires to represent the cables and tubes and things that hang out of the back and disappear down behind the pilot’s seat. I can’t arrange them properly until the cockpit is in position permanently, so they’re sticking up like a bog brush here. The cockpit sills went on, and the resin intakes were attached and just needed fairing in.
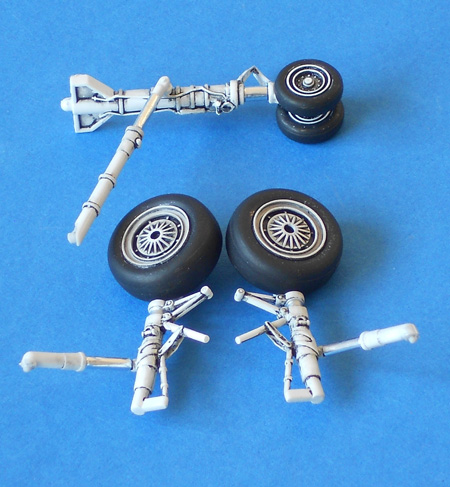
Then undercarriage
Just remember that blowing the photos up this big reveals every imperfection. They look quite acceptable to the naked eye:
With gear doors added:
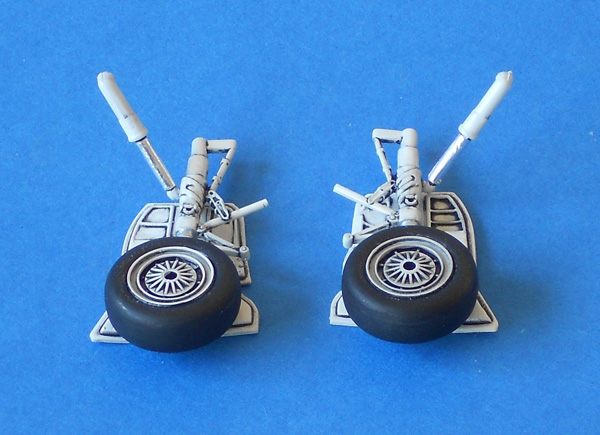
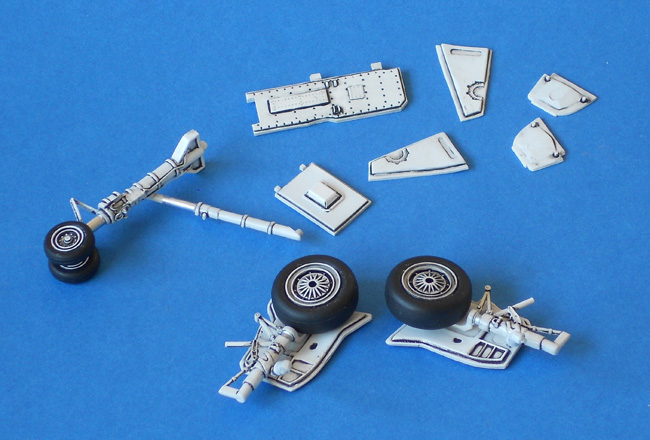
All the bits:
I decided that I wouldn’t use the Aires exhaust set, partly because they’re a bit too small in diameter, partly because I didn’t read the instructions stating that you have to remove a portion of fuselage inside to allow them to slide far enough in. I’d already glued the lower wing section in place making this surgery impossible, so I decided to live with the kit parts!