However, one solution usually leads to another issue, in this case the fitting of the machine guns.
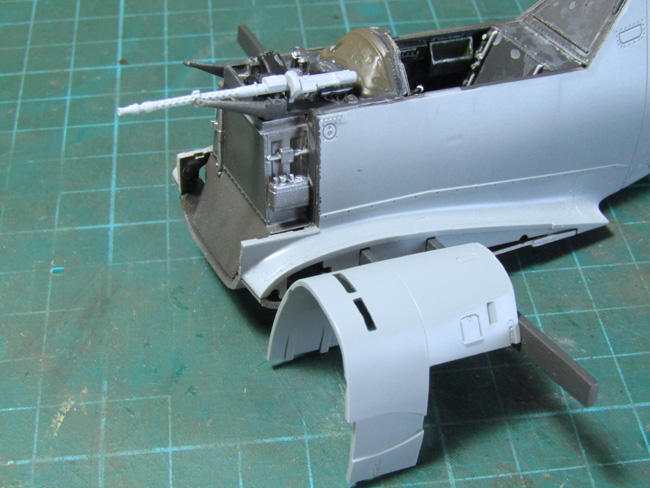
They will sit a little high, so remove by sanding a small amount of the top of the ammunition feed and remove the link chutes (tiny parts that you won’t notice or missing anyway).
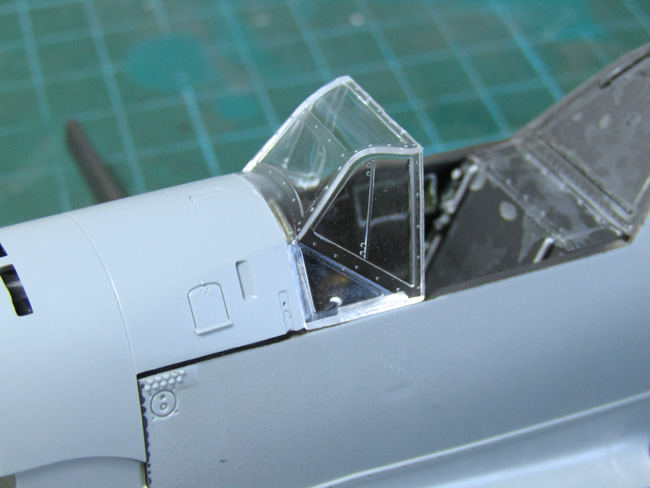
A nice flush fit ensues, windscreen matching the L shaped cowling and both flush with the fuselage sides, just what the doctor ordered. Just as an aside, if you are planning fixing the cowling in place, an alternative is to chop the main body of the machine guns at the fixing point to the mounts and just have the barrel portion glued in place, this works just as well.
A Daimler Benz 601 engine…
The kit engine is multipart and reasonably well detailed, however in my view it has scope for more details, especially hydraulic and fuel piping and electrical wiring. A super detailer could go to town here, but I will resist the temptation and stick with my OOB pledge.

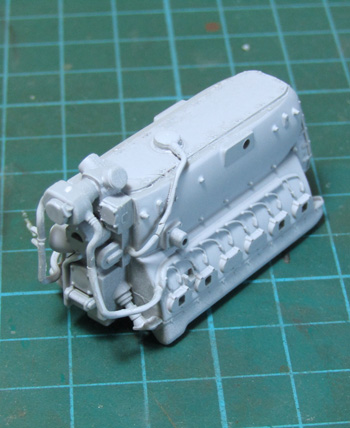
The main engine block is painted Semi Gloss Black, then adding the air filter and water tank which I have painted in RLM66 and Steel respectively.
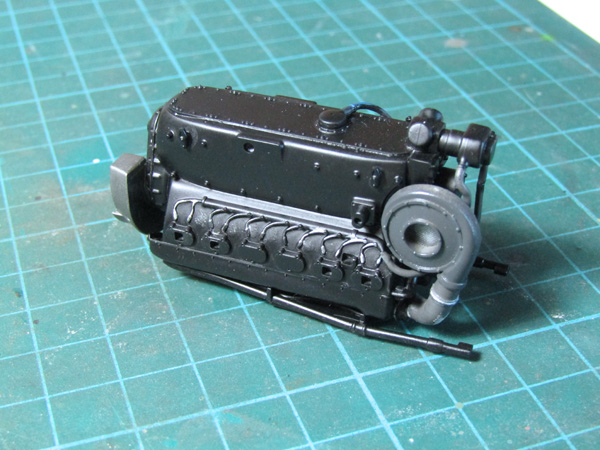
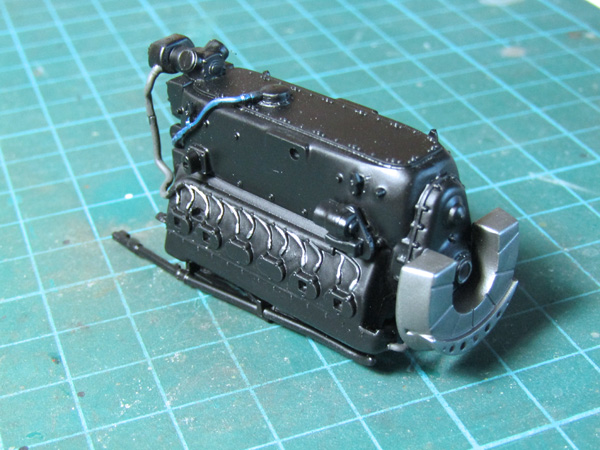
The engine mounts are RLM02 Light Grey and various pipes are picked out in a Rubber Black with the oil sump return pipe in Blue. This may not be the correct period colour, but it stood out on a restoration example and as it will be on top of the engine I thought it gave a nice contrast.
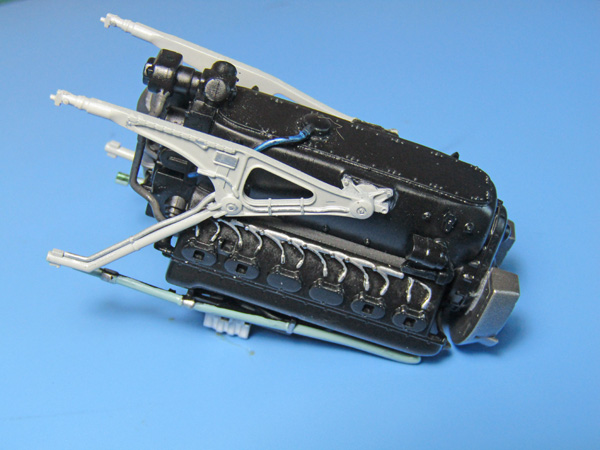

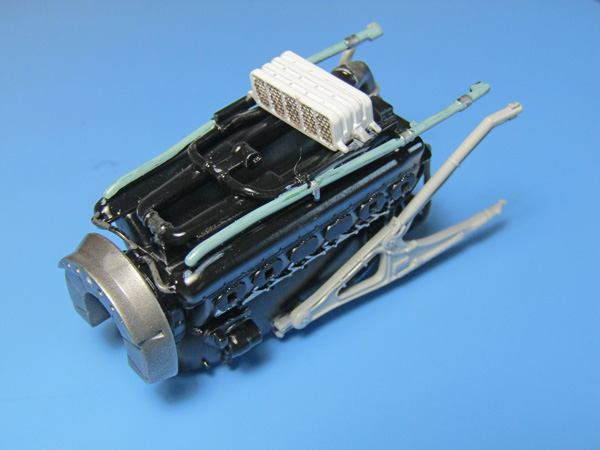

Underneath the air filter box is White with the filter faces metal and weathered with dust. The filter exhaust scoop should be fitted, but trust me leave it off for now.
HGW supply replacement resin exhausts, which are very nicely cast and far better than the kit parts. The casting block attachment is very thin, so no need for much sanding after removal.

Ask a question or add feedback:
You must be logged in to post a comment.