My recommendation is to complete the transfers in sections, undersides first then each fuselage sides and tail, then finally the wing upper surfaces, pausing between each section to allow the decals to dry and NOT removing the protective film at this stage.
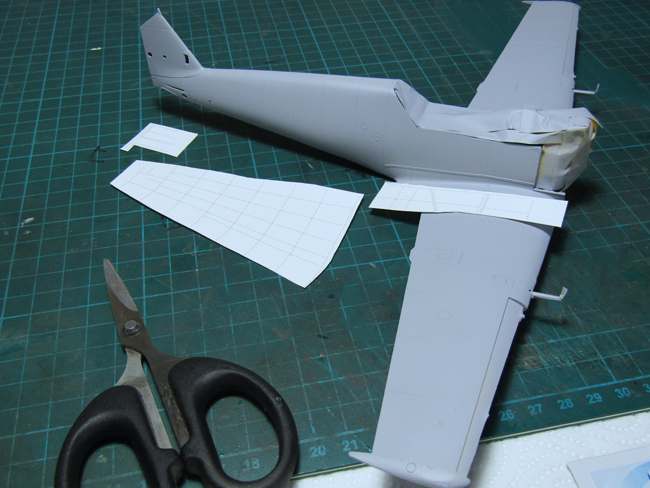
Cut out each numbered panel from the appropriate sheet, trimming around the edge as closely as you can, but leave one side with a little bit extra overlap of film, which will make it easier to remove when dry.
Some panels will need cut outs to allow raised fuselage detail to pass through.
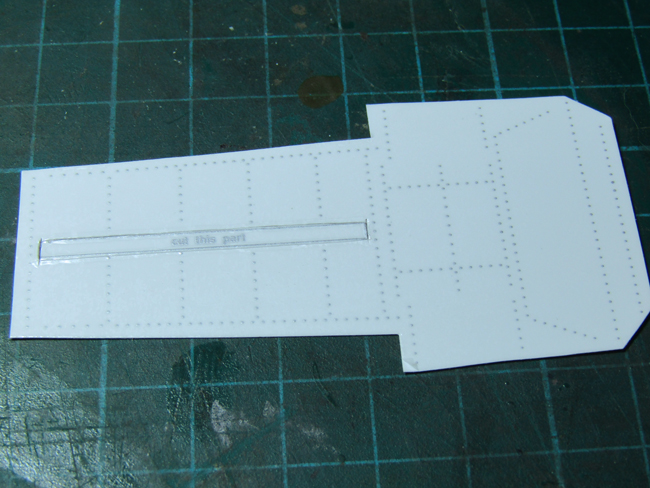
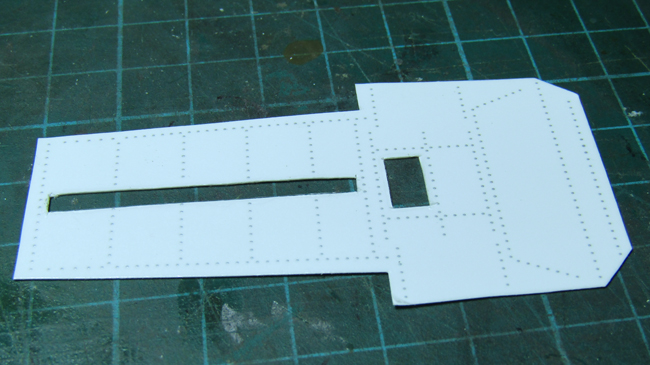
Ensuring the area is clean with the alcohol swab, a coat of the softening or setting solution is applied and the decal soaked in warm water for 10 – 15 seconds. It will then side off the backing paper and you can then align it in position.

Then using the wide brush and cotton buds, carefully extract all the fluid from underneath, spending time to ensure each and every rivet is in direct contact with the surface.
Then it is a waiting game – consider at least 6 – 8hrs for the transfer to dry completely, please don’t be tempted to rush this step.
The small overlap on the protective film is where you can then peal back and slowly reveal the rivet lines securely mated to the surface.
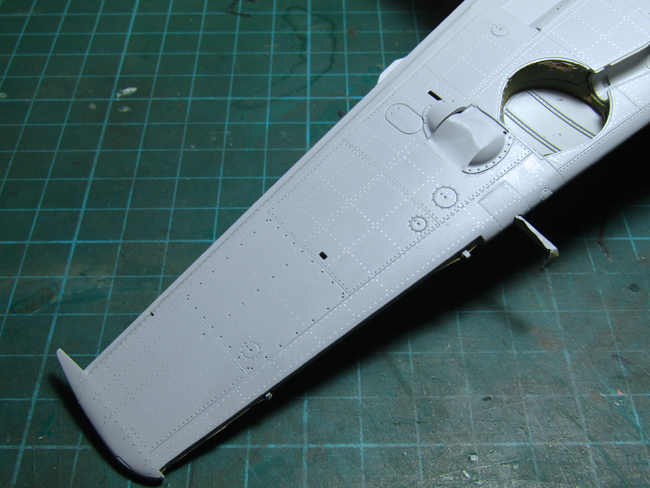
You can now use another alcohol wipe or damp cloth to wipe away any excess film marks or setting solution residue, leaving a perfectly riveted surface.
Let me assure you at this stage that the rivets are very securely attached, the model is now perfectly handleable, no need for a sealing coat, but don’t let your sanding material near them, the time for sanding is over, hence the reason all preparation in the earlier stage is paramount.
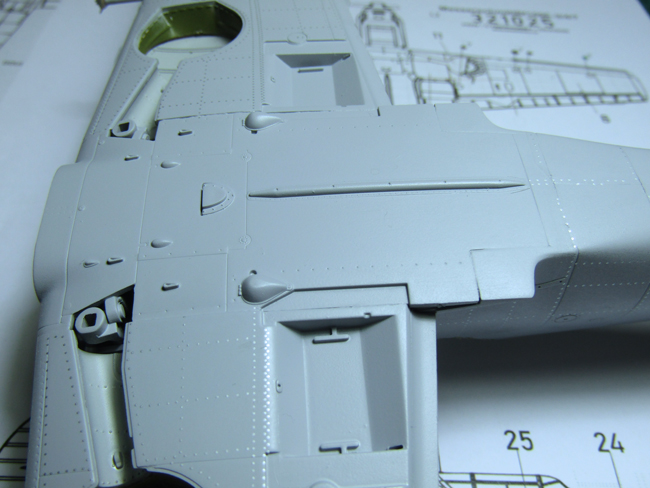
The results speak for themselves, some very discreet rivet patterns.
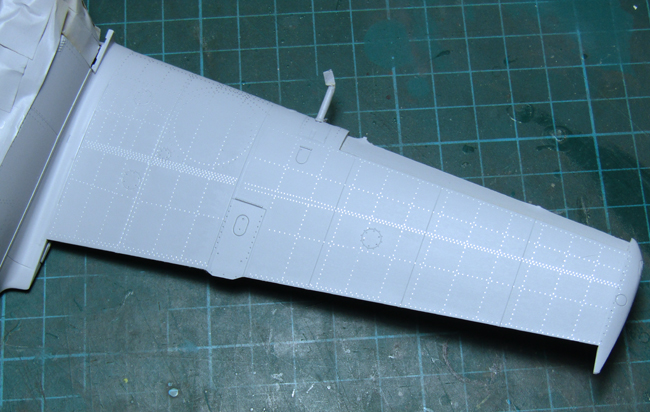
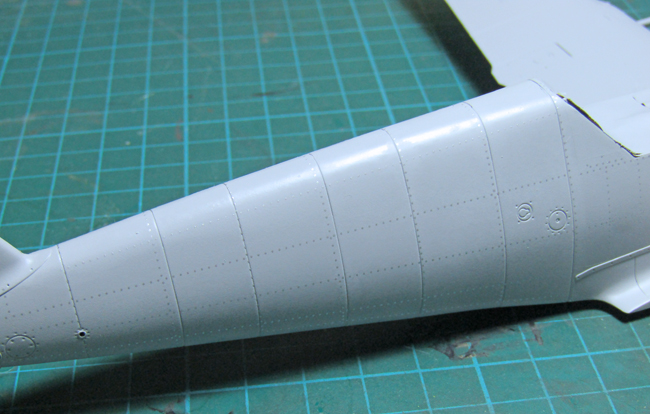
Next on the ‘to do’ list is the control surfaces. The kit supplies some photo-etch hinges that fit snuggly into the pre-prepared notches for them, just follow the instructions carefully as each pair have specific alignment.
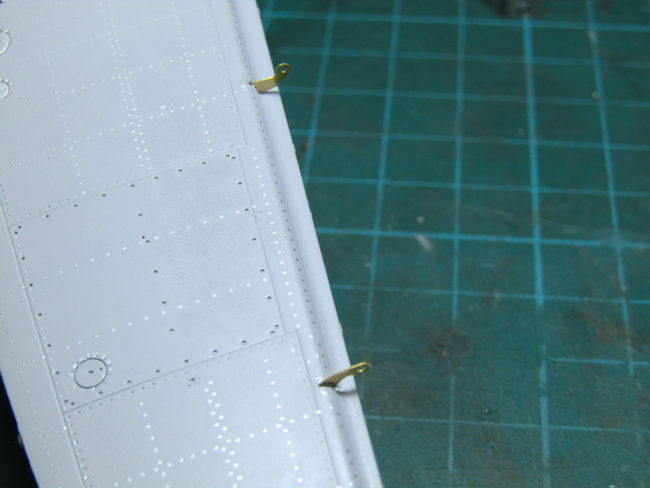
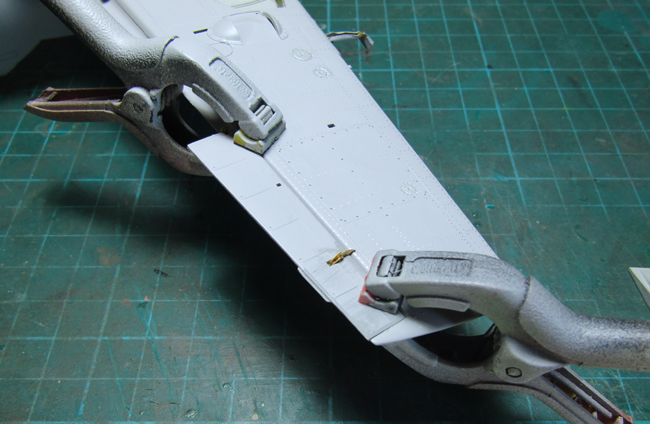
I would recommend these are clamped in place till the glue sets fully as there is a lot of strain on these very small hinge parts.
Ask a question or add feedback:
You must be logged in to post a comment.