Onwards to painting…
A slightly different approach this time with the positive rivets to consider. I am choosing to not pre-shade prior to a base colour coat, but apply that coat first and then post shade.
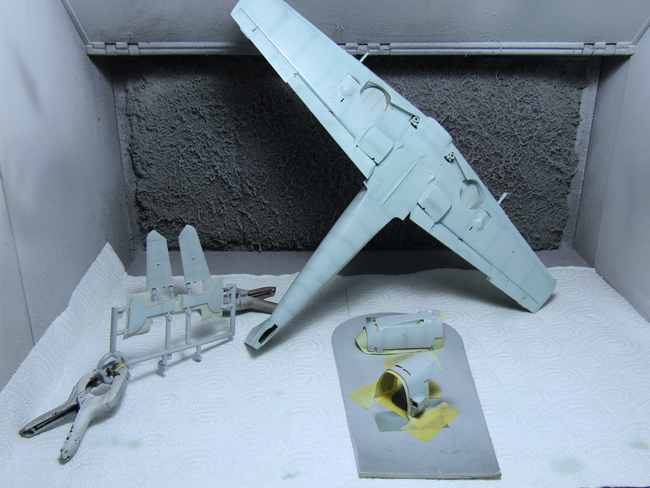
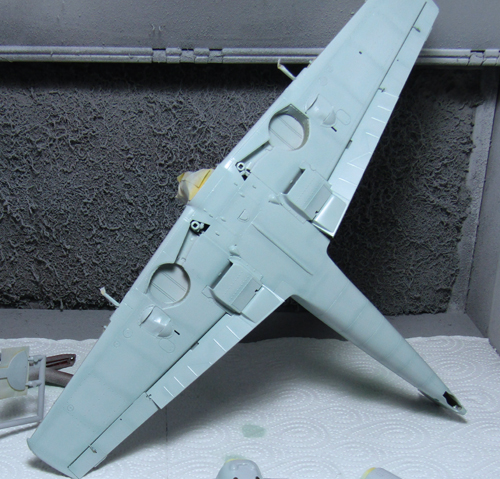
After post shading a number of lightened and thinned top colour is applied until the panels are faded sufficiently.
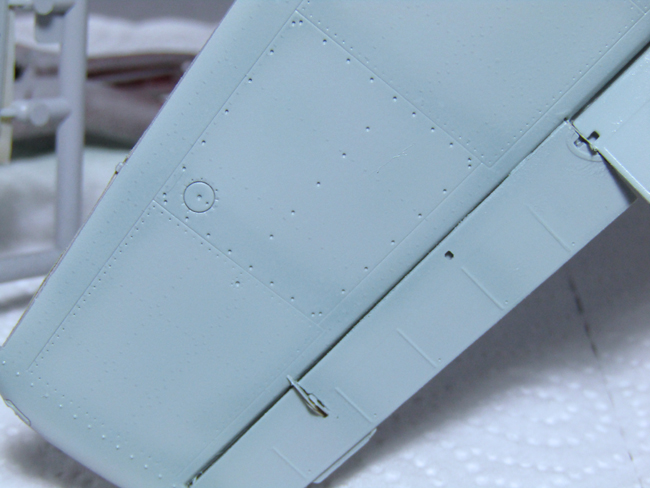
It’s not an easy task to photograph with my limited happy snappy skills, but look carefully and you will see the ‘hint’ of the positive rivets alongside some recessed ones.
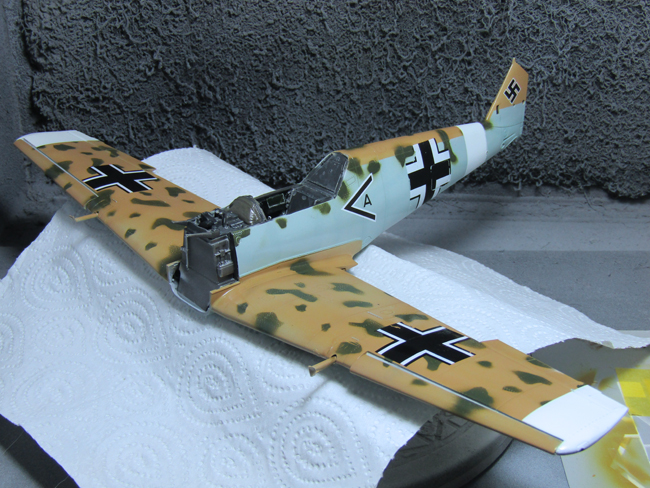
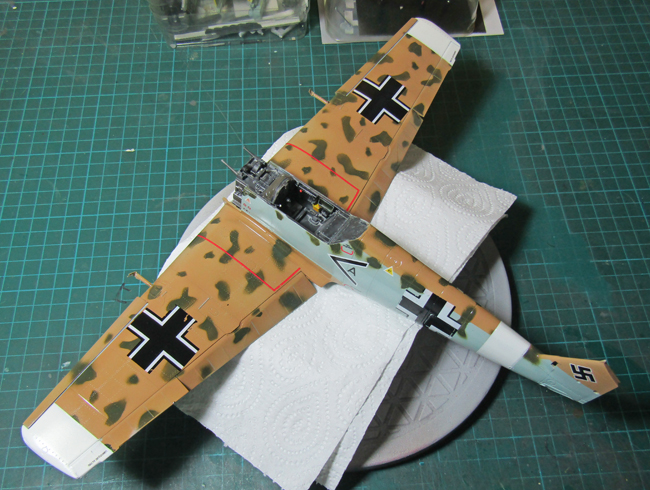
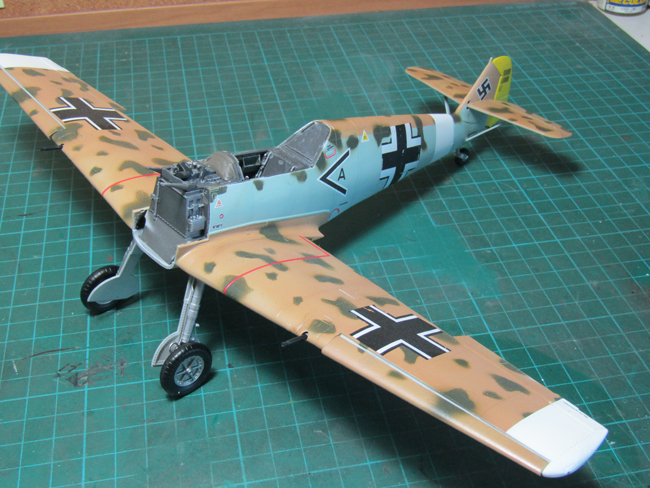
Undersides and fuselage sides painted we continue on with the upper and top surfaces in the desert sand, once again a topcoat layer, then post shading, before overshooting a lightened and thinned blending coat.
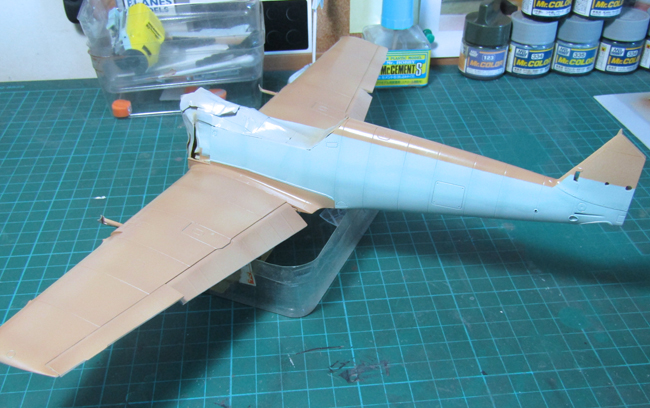
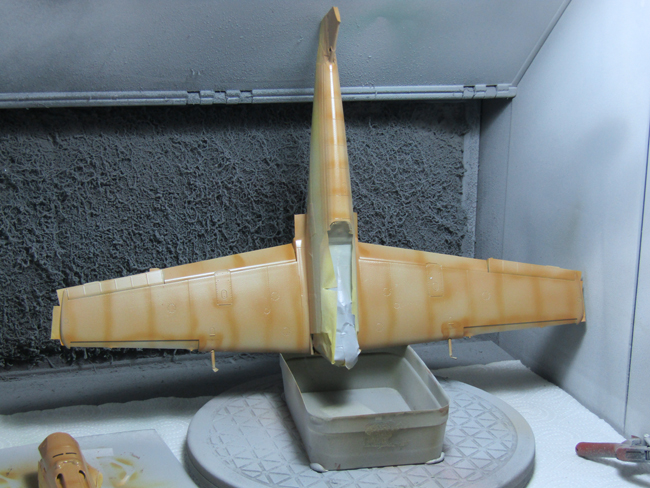
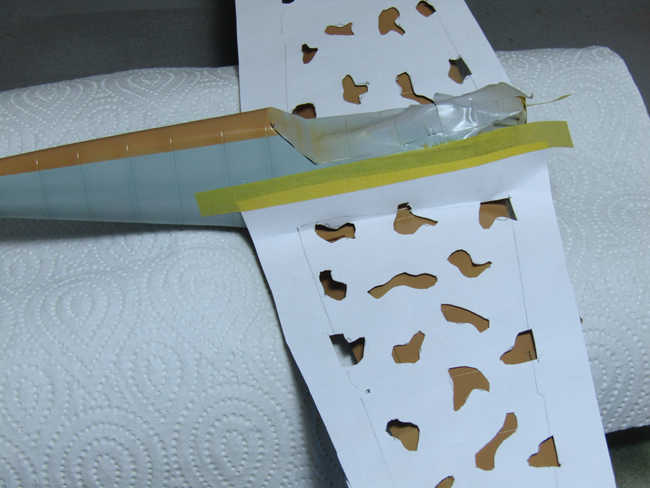
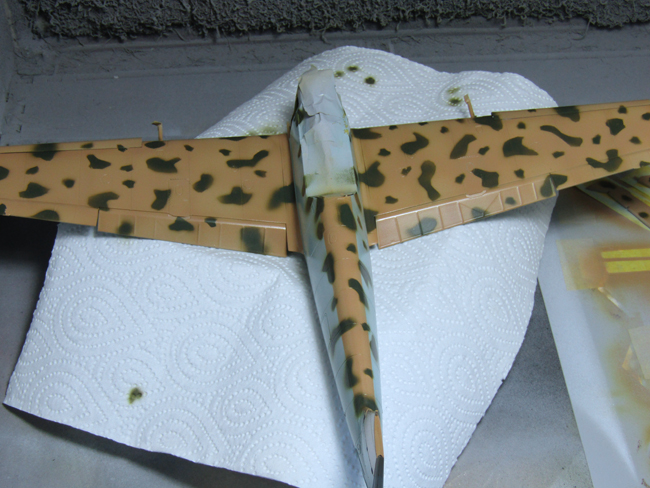
The Leopard Spot camouflage pattern I used some self cut masks with random sizes and shapes, completing the larger spots first then infilling with smaller ones.
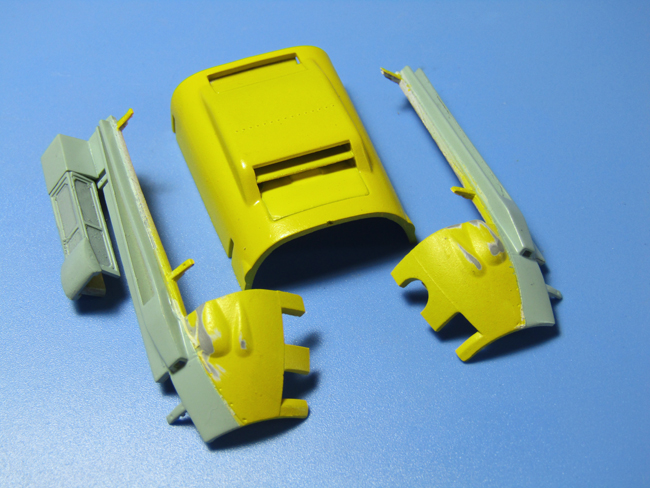
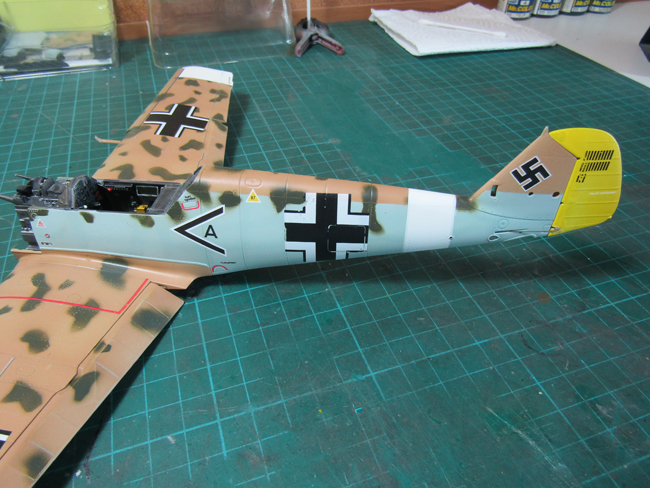
The lower engine cowl gets a base coat of Yellow, I opted to not have the complete yellow nose, in any case the finished model will be displayed with the top cowl removed and engine exposed.

The white tail band and wingtips are masked up and painted at this point.
Note a coat of high gloss ready for the decals and stencils.
Once again these are waterslide transfers, so the same method of application as the rivets. If you wish some weathering to the decals, then a little blu-tac will lift the surface. You will need to do this before sealing everything in with a matt surface coat.
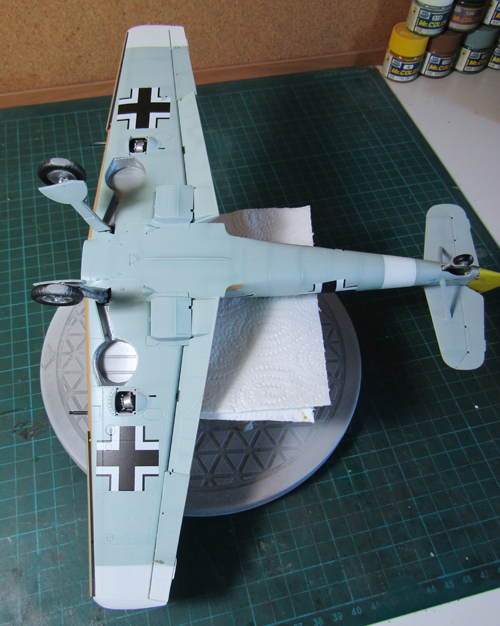
The undercarriage and tail wheel are pre-painted and simply fit into their respective location points.
Ask a question or add feedback:
You must be logged in to post a comment.