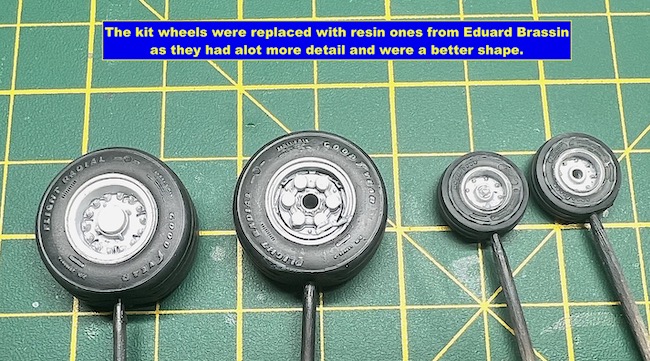
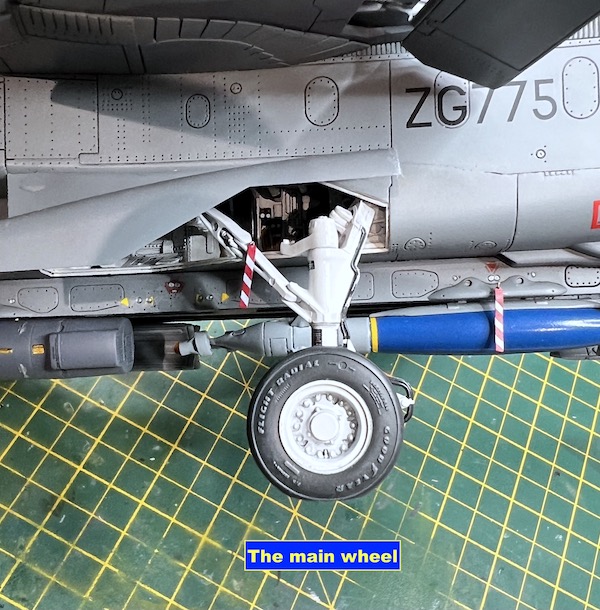
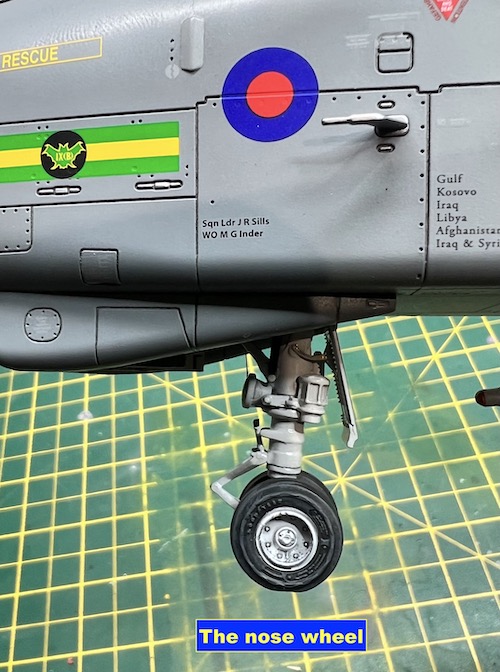
I opted to replace the kit wheels with a set from Brassin as the detail was a lot more refined.
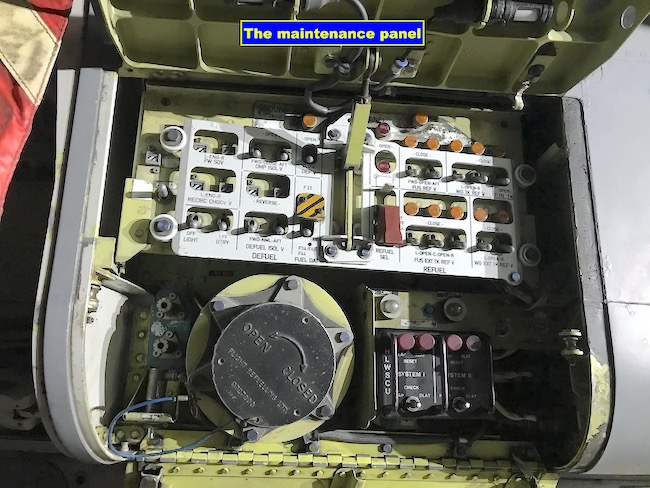
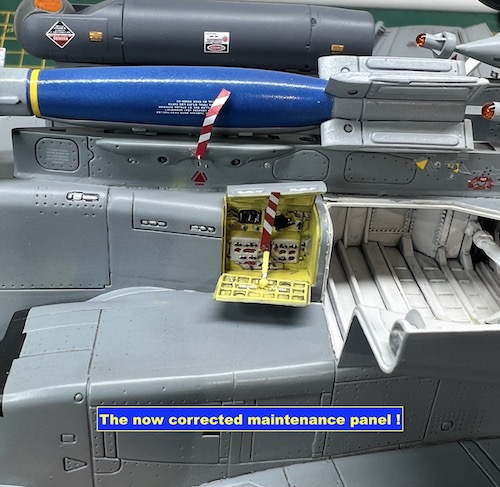
As I mentioned earlier I found a reference picture of the maintenance panel which showed a base zinc chromate colour so this area was repainted as shown below.
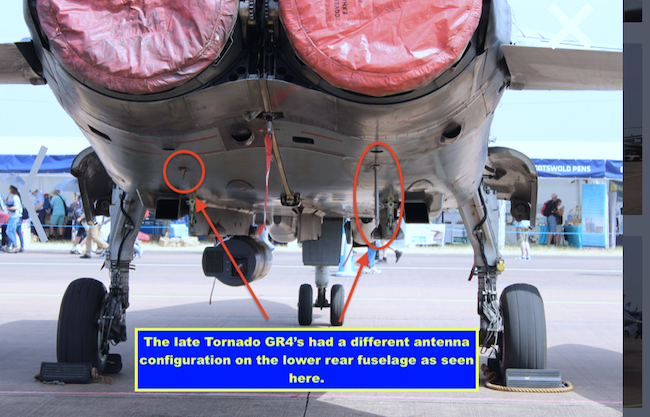
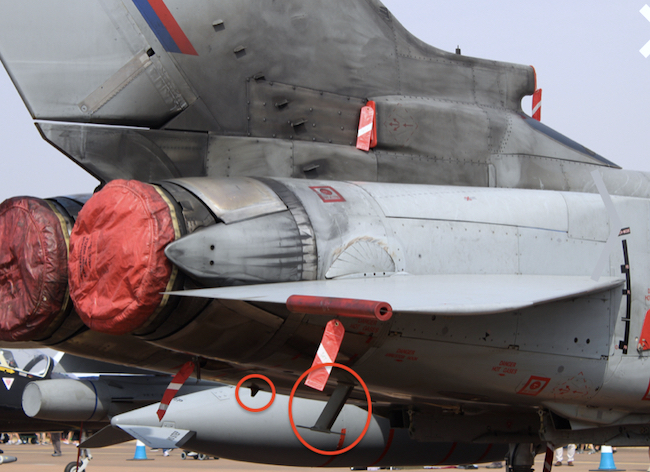
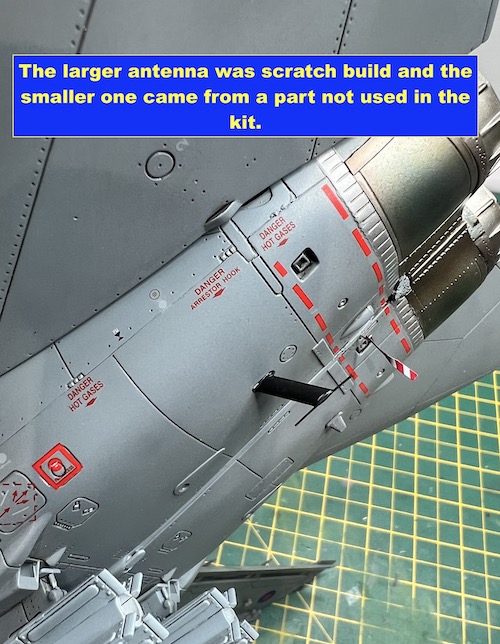
These late GR4’s had an additional aerial on the lower rear fuselage which is mentioned in the kit but is not included so it needs to be scratch built. I used some evergreen plastic and stretched sprue to make mine.
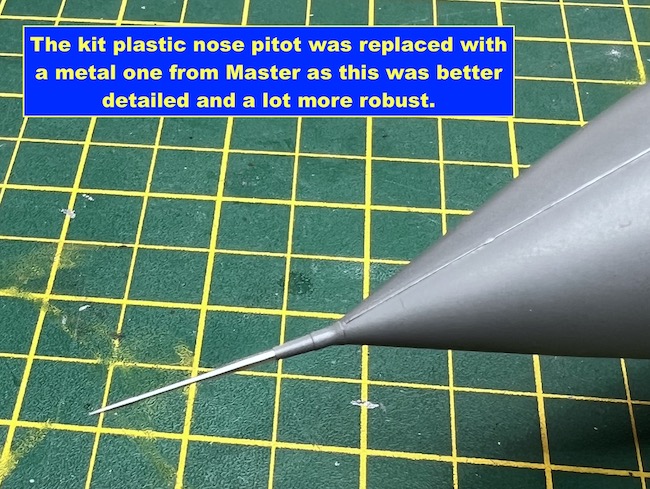
For the nose pitot I chose to replace the kit part with a metal replacement part from Master as it was more detailed but more importantly it was a lot more robust a I have a tendency to break these parts!
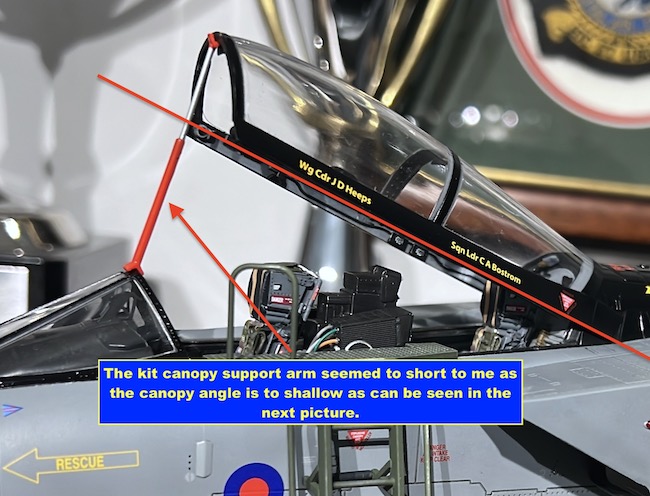
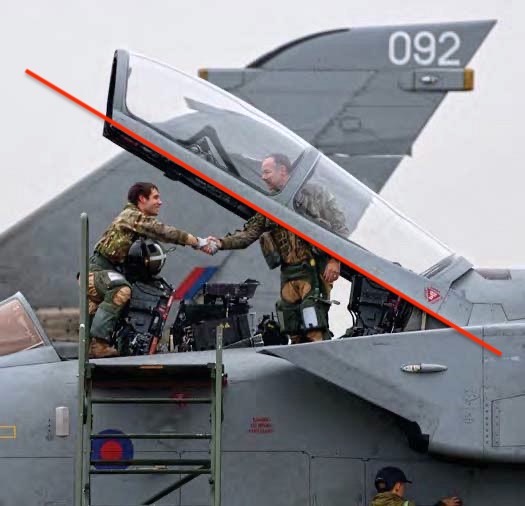
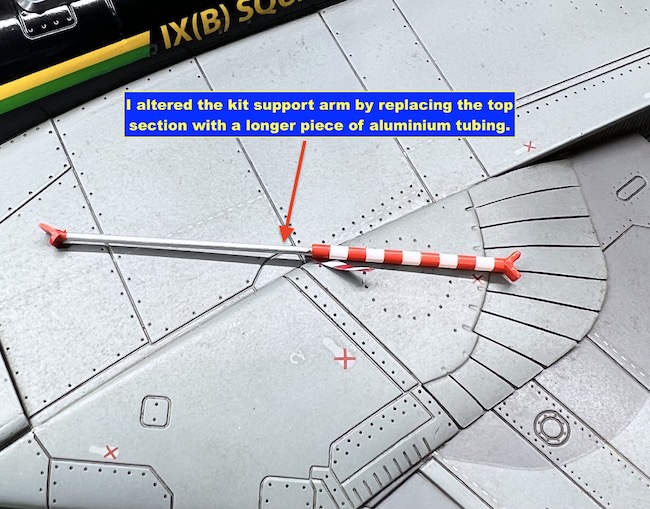
You can close the canopy if you wish as the fit is quite good but to me it seemed a shame to hide all that detail. For me gluing the canopy in the open position was a sure-fire way to brake it at some point. Fortunately, the kit contains a canopy support strut (is on the clear sprue if you’re looking for it!) but this is a little too short to allow the canopy to sit at the correct opened angle. I replaced part of the strut with a piece of Albion Alloy aluminium rod to get the correct length so that the canopy sat at a far better angle.
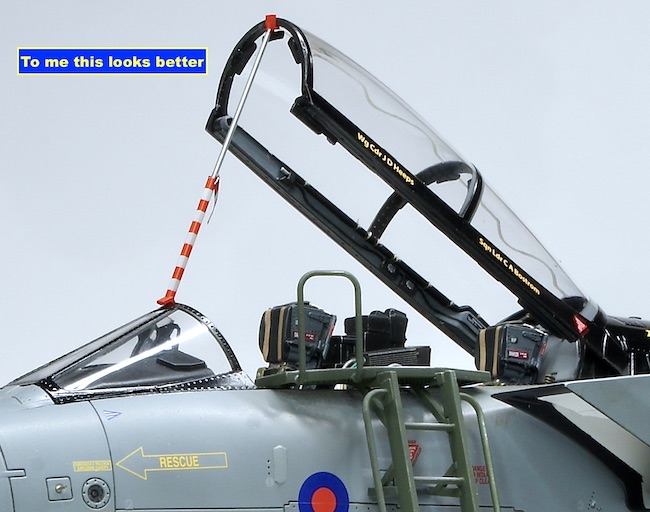
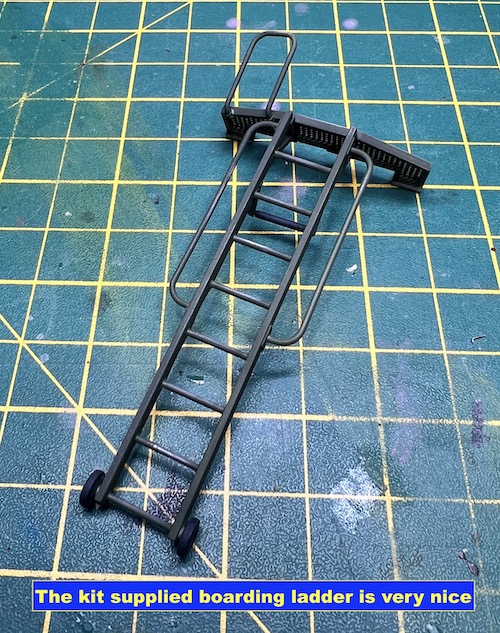
For the final touch the kit contains a very nice boarding ladder/platform. This was assembled from the box and it looks great on the finished kit.
Kevin Rowbotham says
Outstanding job on the GR4 Dave…..I’ve never built a Tornado but yours has certainly inspired me!
I really enjoyed your write up, thanks for sharing,
Kevin
Paul Ainsworth says
Hello,Dave – Magnificent work as always.
This Tornado kit is absolutely superb and you’ve done great justice to both it and the Tornado aircraft,
Another fantastic aircraft that’s disappeared from our skies.
Seeing ‘scale replicas’ like this easily remind us of the real aircraft we love and miss.
A fantastic aspect of our wonderful hobby.
All The Best,
Paul.😉👍
Christopher Woolford says
Terrific build Dave. You have got her right – beautifully photographed too.