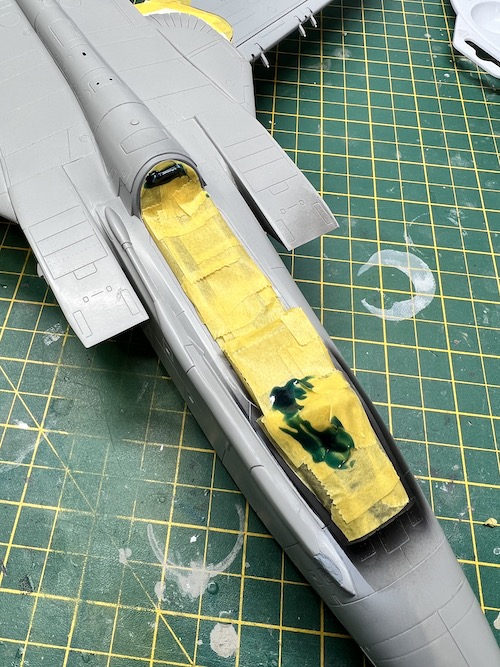
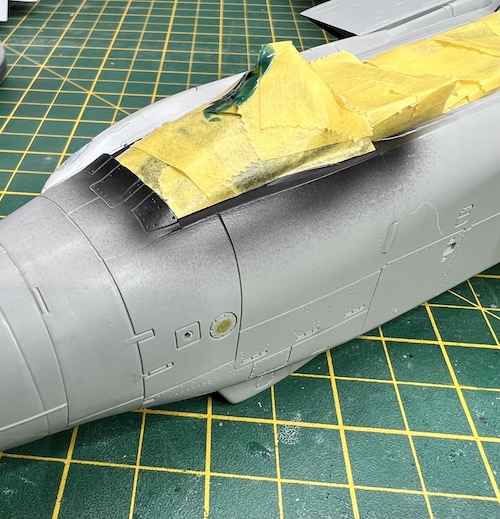
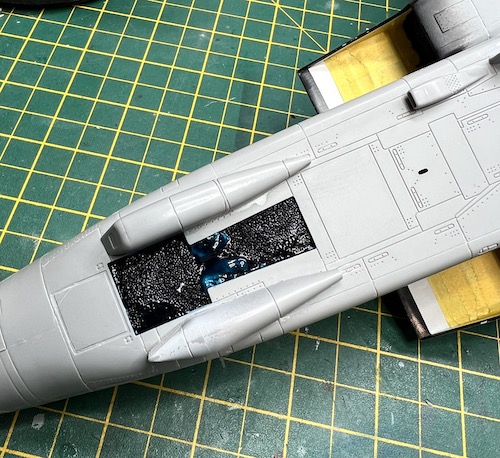
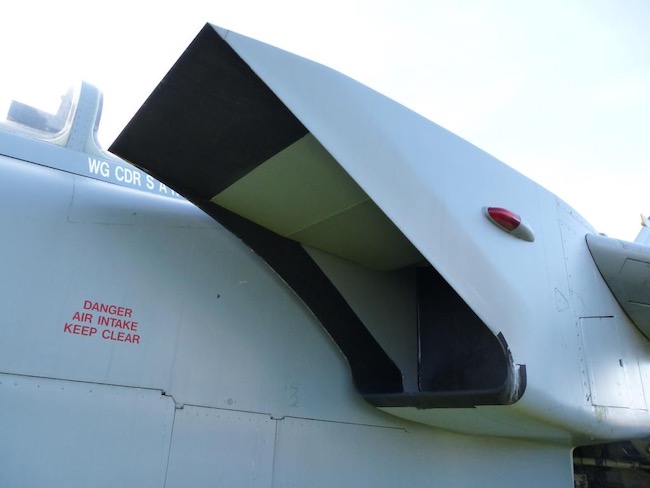
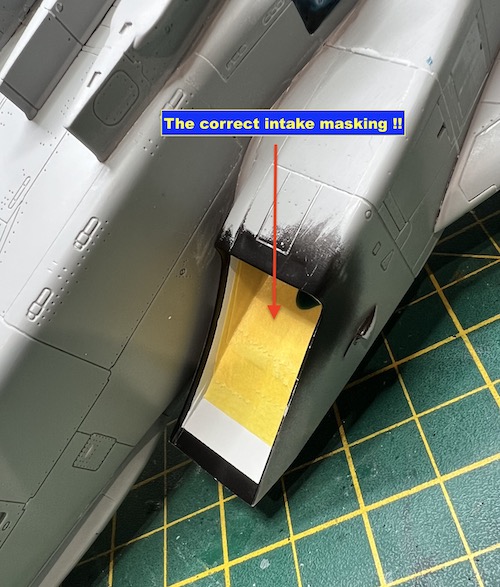
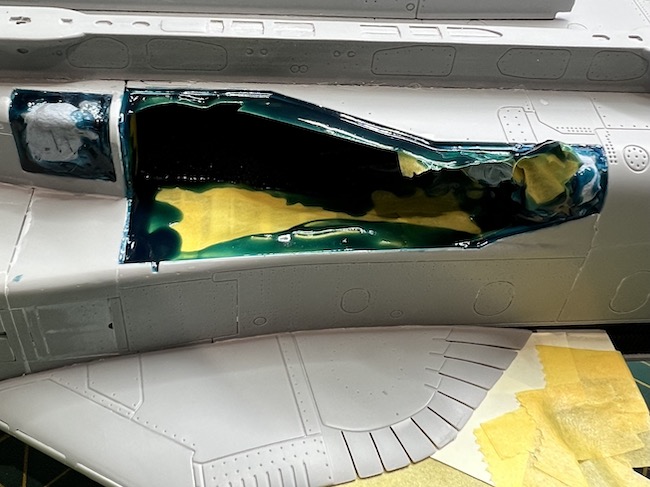
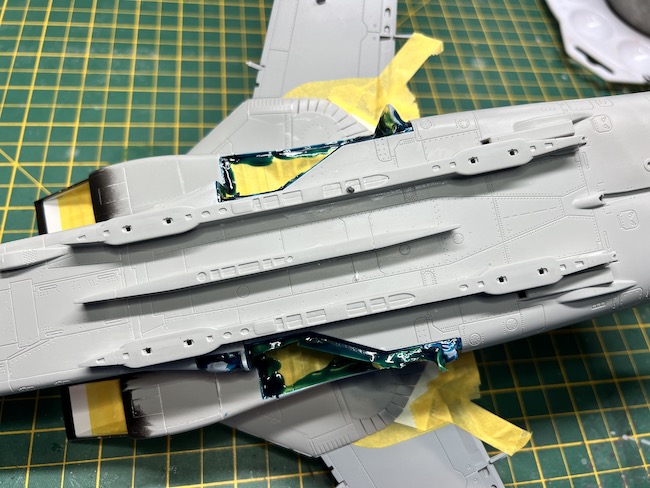
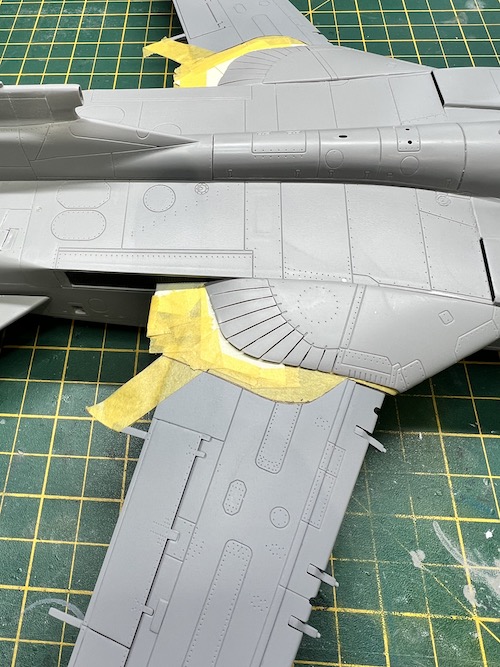
Next it was just a case of masking everything off ready for the painting to begin.
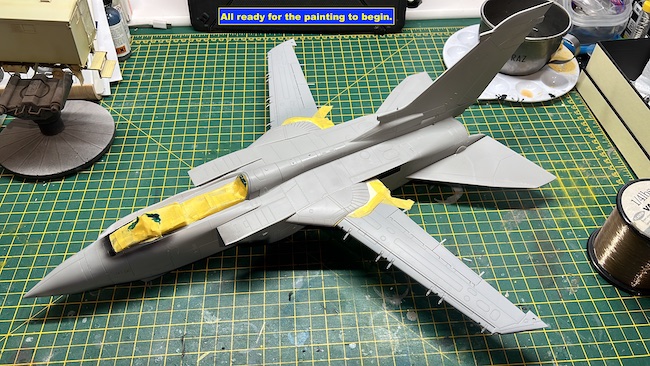
Painting
The first stage of painting the model is, in this case, looking for reference photos and there is an abundance of the subject that I wanted to model, namely the 9 Sqn disbandment scheme.
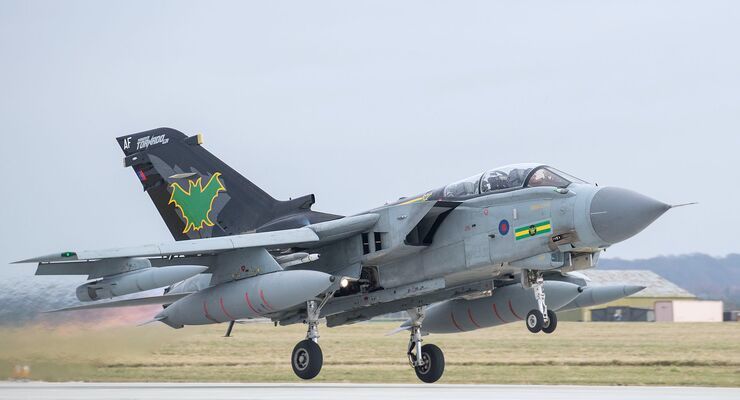
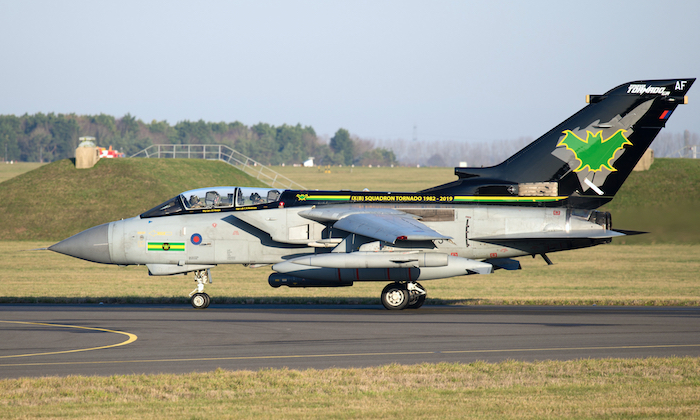
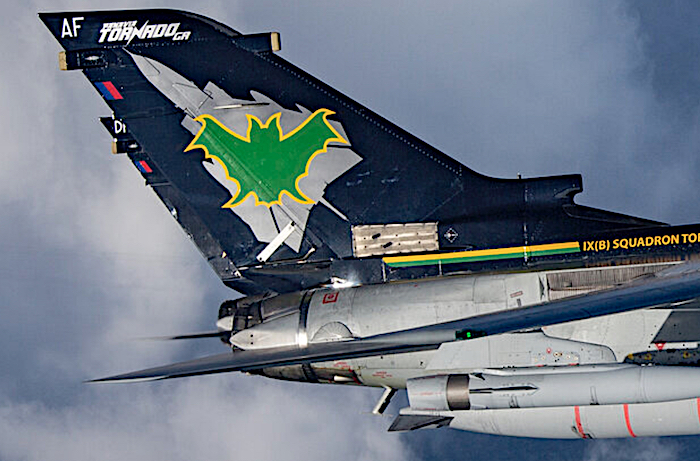
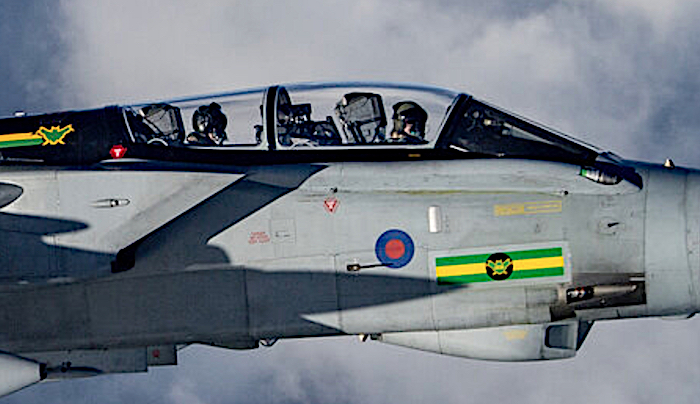
The first thing to note is it’s quite clean when compared to the majority of ‘line’ Tornados. It also has the smaller 1500 Ltr wing tanks but I couldn’t source these so I will have to stick with the larger Hindenburg tanks. It also has two Boz pods on the outer pylons and although the kit does cover this I opted to stick with one Boz and one Skyshadow ECM pod. The other thing to note is the Litening targeting pod on the under-fuselage hard point.
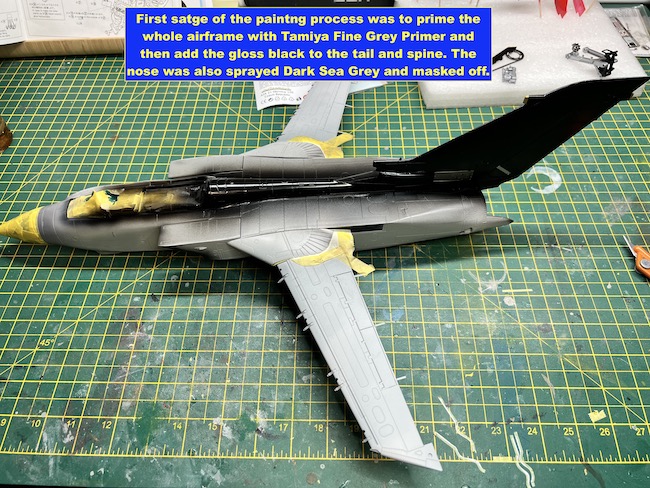
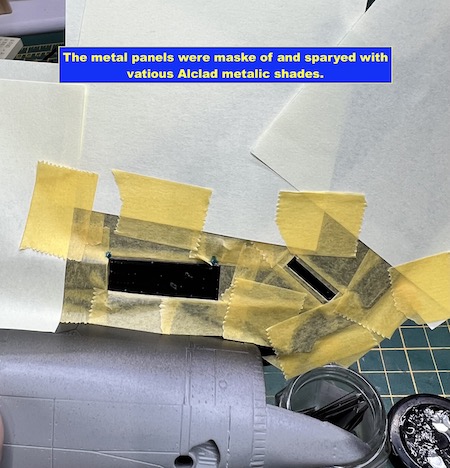
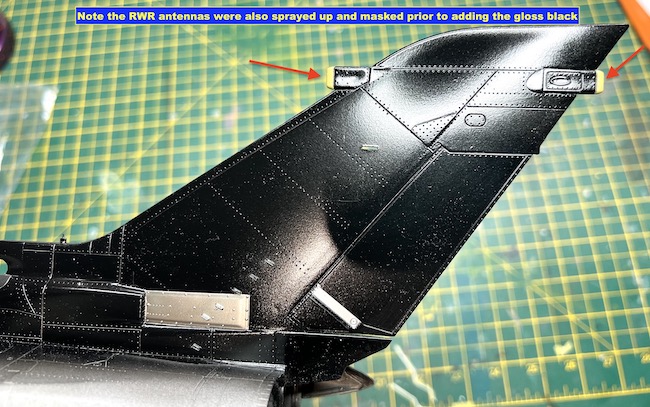
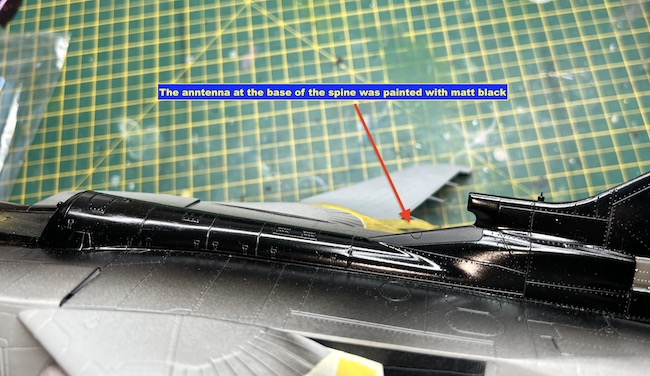
With the reference located and a plan formulated it was time to start the painting. Stage one was to prime the whole airframe with Tamiya Fine Grey Primer to highlight and imperfections and to give a smoother surface for the paint. Next, I painted up the RWR antennas and the matt black antenna at the base of the fin and when dry these were masked up. Then I need to spray the black tail / spine gloss black. For this I used Tamiya TS-14 from a ‘rattle can’ as I find these give a great gloss finish that is far better than I can get from my airbrush. I then masked of the bare metal areas around the tail and sprayed these with various Alclad metallic shades. Once complete the tail and spine were masked off and it was time for the main camouflage to be applied.
A little bit of research showed that the GR4 fleet changed its camouflage scheme over time from the green/grey of the 80’s and 90’s to a an all grey scheme in the late 90’s onwards (not forgetting the ‘Pink’ GW1 in 1991). Even this grey scheme changed from an initial two-tone grey camouflage with a black radome to an all Medium Sea Grey scheme with Dark Sea Grey radomes from 2007 onwards. The moral of this is check your references to see which scheme you need. As an addition you will see aircraft with a ‘patchwork’ of different colour panels as replacement panels were often sourced from aircraft with the previous grey scheme.
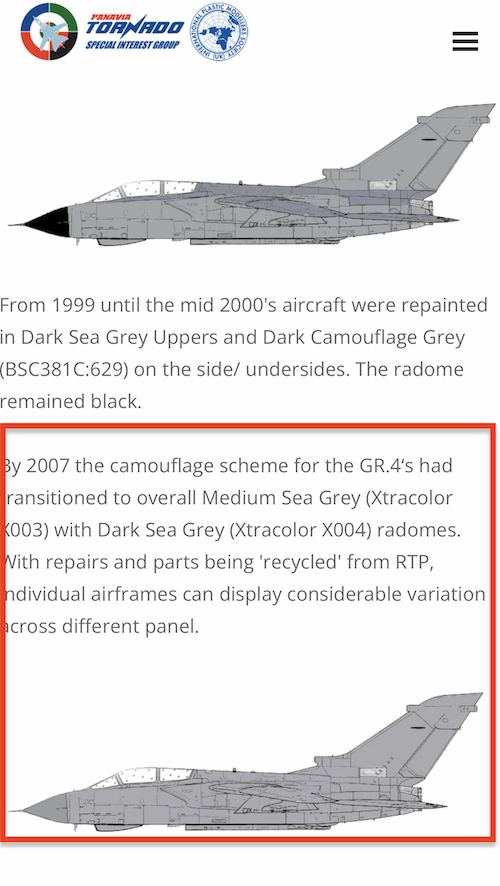
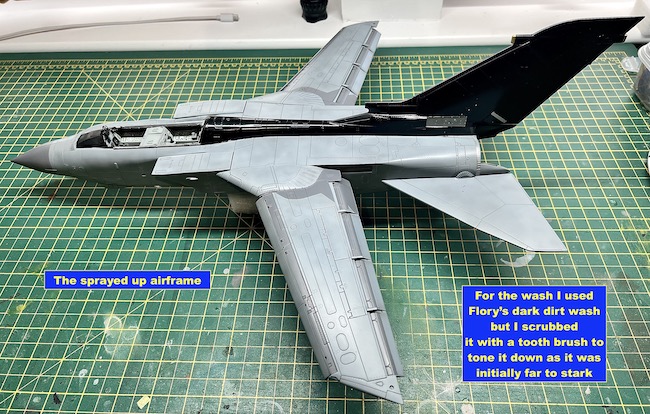
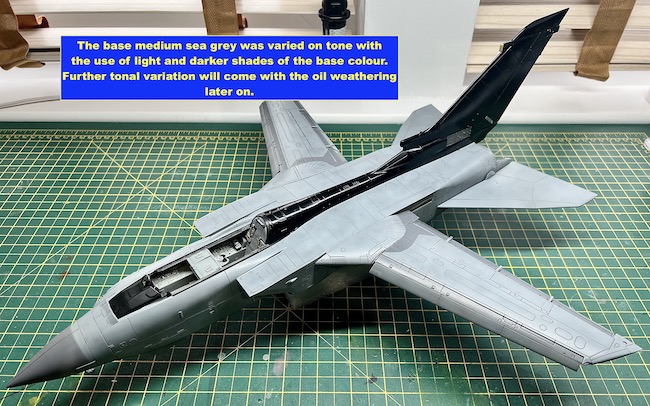
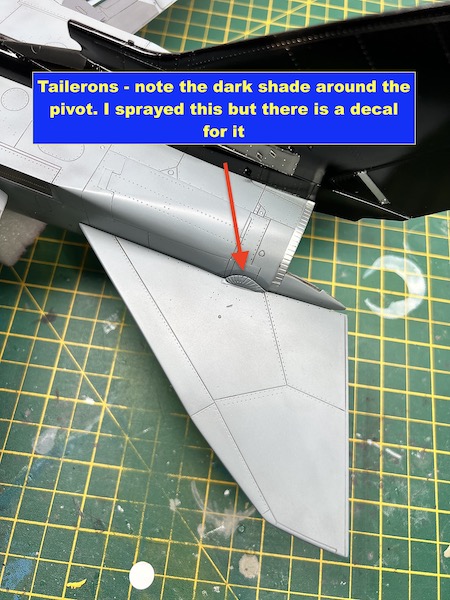
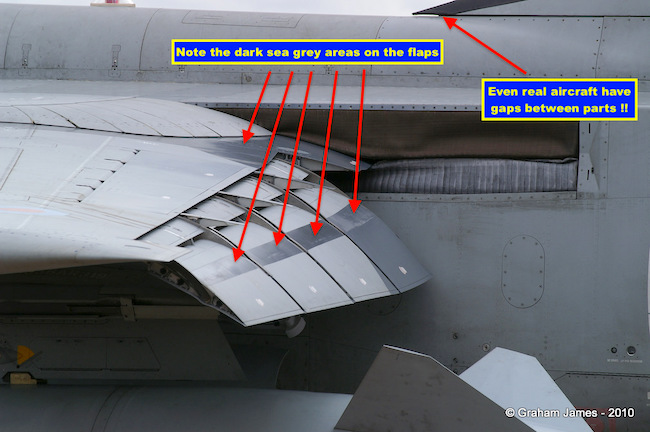
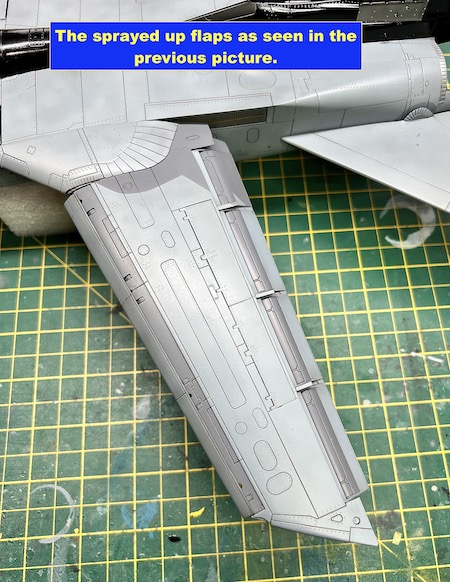
For my subject it was easy, it was the later all-over Medium Sea Grey scheme and as it was a commemorative aircraft it had all the panels of the correct colour. The first thing I did was the radome in Dark Sea Grey and once masked off the remainder of the airframe was sprayed with Medium Sea Grey. The Medium Sea Grey came from several manufacturers including MRP, GUNZE and Tamiya as each had a slightly different shade. By using them all I ‘patchworked’ the base grey to give some tonal variation to add interest to the finish. Reference photos showed the flaps had Dark Sea Grey areas so these were masked off and added. Once complete I needed to add a wash to bring out the panel details. I used Flory’s Dark Dirt wash and once dry I used a tooth brush to scrub and tone down the wash as the panel lining was far too dark and looked unrealistic.

Kevin Rowbotham says
Outstanding job on the GR4 Dave…..I’ve never built a Tornado but yours has certainly inspired me!
I really enjoyed your write up, thanks for sharing,
Kevin
Paul Ainsworth says
Hello,Dave – Magnificent work as always.
This Tornado kit is absolutely superb and you’ve done great justice to both it and the Tornado aircraft,
Another fantastic aircraft that’s disappeared from our skies.
Seeing ‘scale replicas’ like this easily remind us of the real aircraft we love and miss.
A fantastic aspect of our wonderful hobby.
All The Best,
Paul.😉👍
Christopher Woolford says
Terrific build Dave. You have got her right – beautifully photographed too.