On with construction
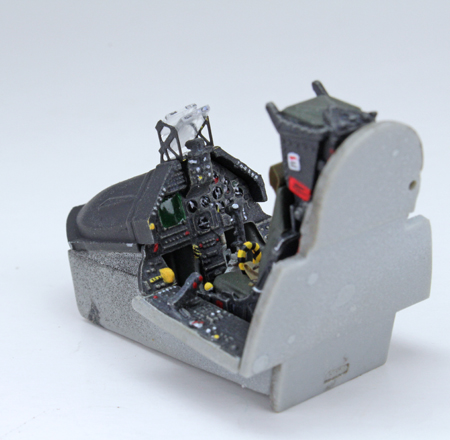
Construction begins as usual with the cockpit, and Kinetic have done a very nice job of providing a busy looking and detailed office space. There is plenty of raised detail on the side consoles and instrument panel, and with some careful painting it is possible to produce a very nicely detailed cockpit. I would mention that the only improvement Kinetic could make to the cockpit is to provide some instrument decals.
The detail is nicely raised and can be carefully painted to produce a nice effect, but the option to use decal instruments would have been nice.
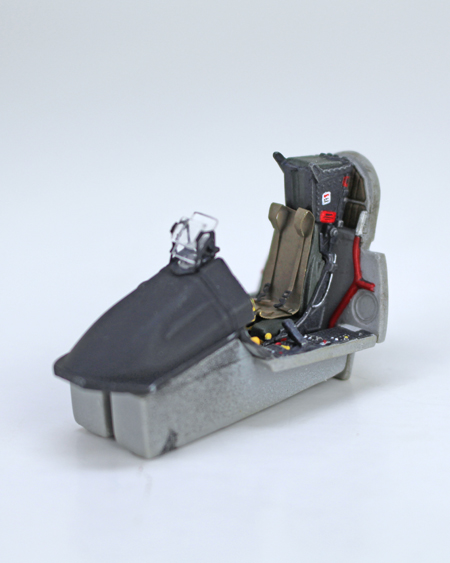
The ejector seat is definitely worth mentioning as well. It is made up of five different plastic parts with photo etch seat belts which help greatly with the overall look of the finished seat.
Once everything had been carefully painted using various Vallejo model color paints and AK Interactive’s light Ghost Grey (2057), a light coat of matt varnish was used to kill off any shine from the paints. I did add some Micro Krystal Klear to the instrument dials using a cocktail stick to simulate the glass before assembling the different parts of the cockpit.
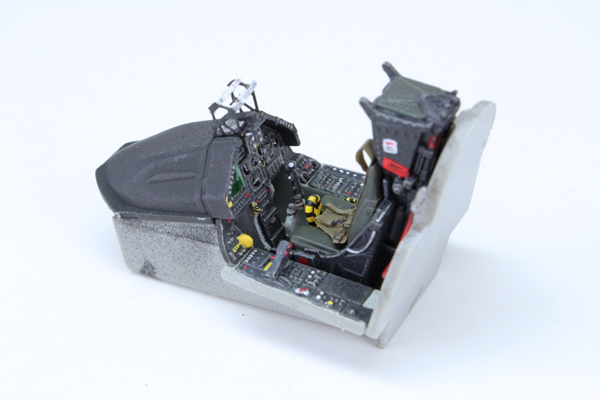
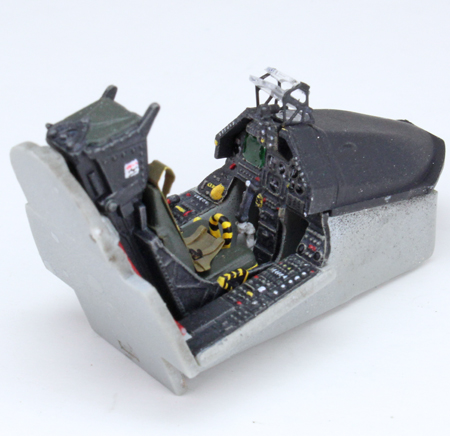
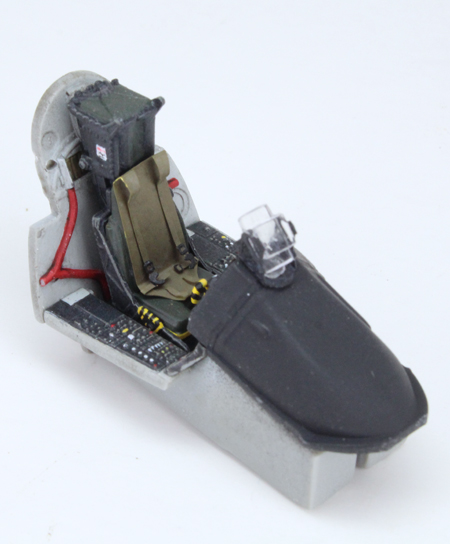
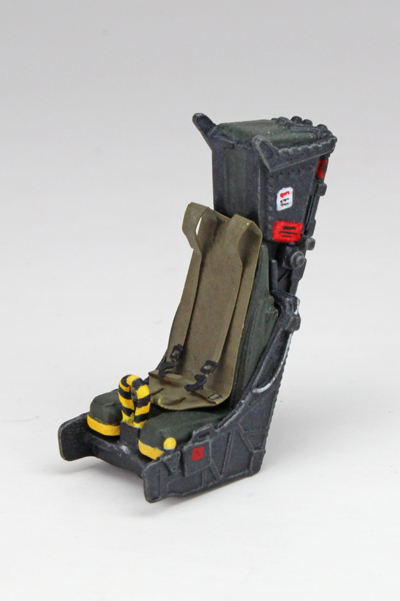
The fuselage has been designed that the cockpit and nose section is a separate sub assembly. This allows Kinetic to use the same sprues for different versions that require a different nose or a larger cockpit for an additional seat, without having to mould a separate fuselage for each one. All that is required is a different cockpit/nose section and you’re good to go for several different variants. This obviously is a cheaper way for the manufacturer to design and mould the kits, but unfortunately for the modeller, it means a little more work to ensure a smooth transition between the forward and aft fuselage sections.
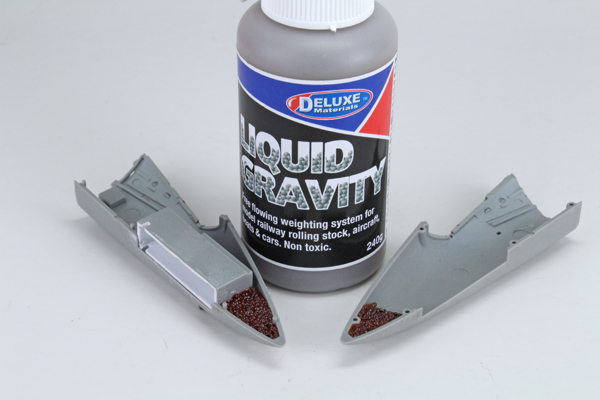
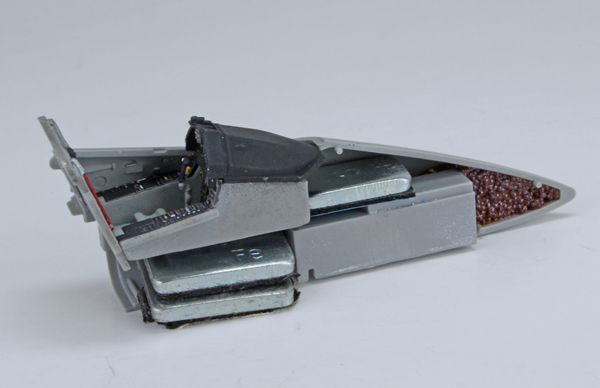
Before closing up the forward sub-assembly, the nose wheel well has to be included along with the finished cockpit. Weights to ensure the model sits correctly when it has been completed have also to be included. The instructions don’t tell you how much weight to add, but there is plenty of room to add more lead weight than is required. I used a combination of deluxe materials liquid gravity for the smaller spaces, and larger individual weights just in front and below the cockpit tub. I used a touch of superglue to hold all of the weights in pace.
