Main fuselage assembly
Turning to the main fuselage assembly the two air intakes, engine exhausts and rear wheel wells have to be assembled and painted before the fuselage halves can be closed up. Everything fitted pretty well although I’m not keen on having to fit the landing gear legs so early in the build. Only because there’s a good chance I’ll break them off, and it can make masking the wheel well off before painting a bit more complicated. The legs could potentially be inserted afterwards, but it looked to be a very fiddly job when I was dry fitting them, so I decided to stick with the instructions and fit them now.
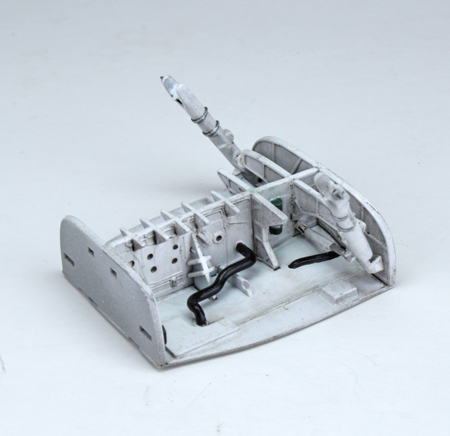
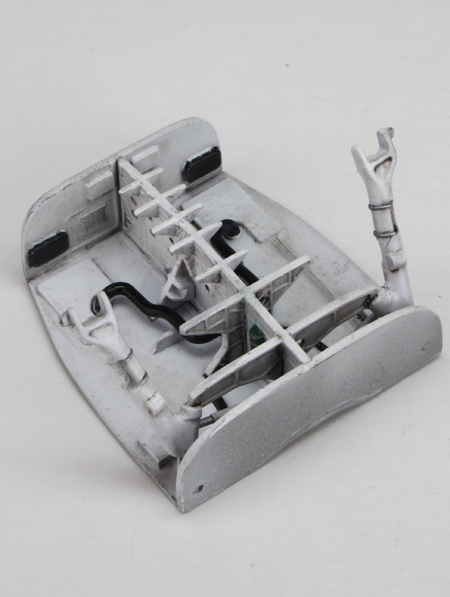
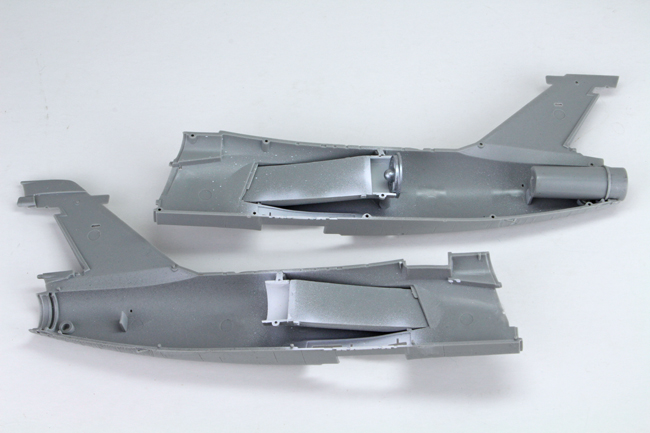
Once the two halves were together I did have to use a little filler along the main seam. Once the filler had dried it was sanded smooth and the lost panel lines and rivet detail was added back onto the model surface. There are several inserts and antennae to be fitted around the fuselage. There are different ones to choose from depending on which version of the kit you’re building, so be sure to study the instructions and reference materiel carefully before committing to glue.
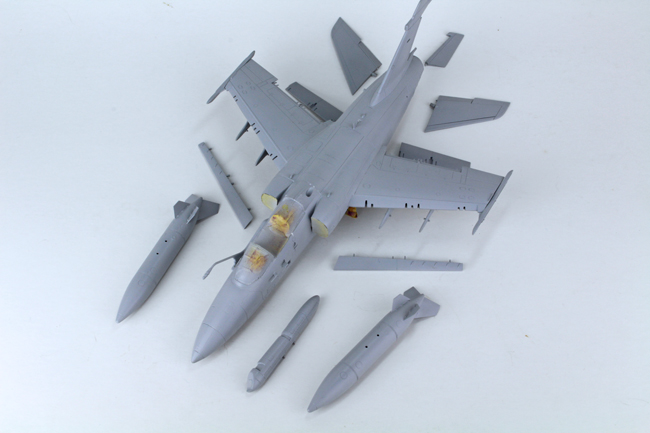
Wing assemblies
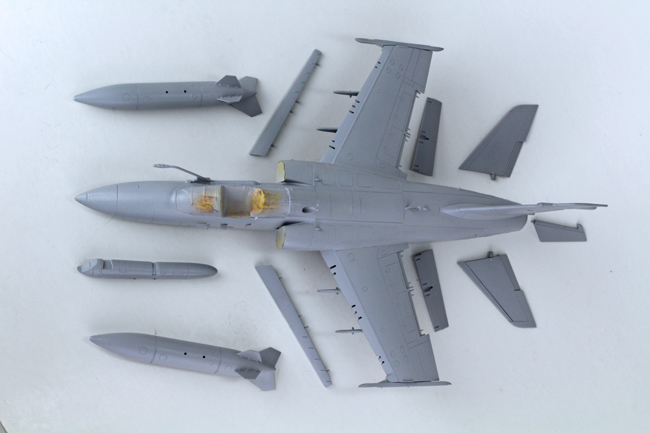
With the fuselage set to the side for the time being, the wing assemblies were up next. Kinetic have designed the wings so that the leading edge of the wings, and the trailing edge flaps can be set in either the raised or the lowered position. This adds a lot more interest to the look of the finished model and is a welcome addition. I of course decided to model mine with all of the flaps in the lowered position. So the correct parts were removed from the sprues, cleaned up and assembled as per the instructions. I did leave both sets of flaps unattached at this stage as it would greatly help with the painting stage later.
Once the glue had dried, the wings were then secured to the fuselage leaving only the smallest of gaps. This was filled with some Mr Surfacer 500 and the excess was removed with a cotton bud soaked in Mr Hobby’s lacquer thinner. Although the rear horizontal stabilisers were also assembled at this stage, I left these unattached for the time being to assist with the painting stage later.