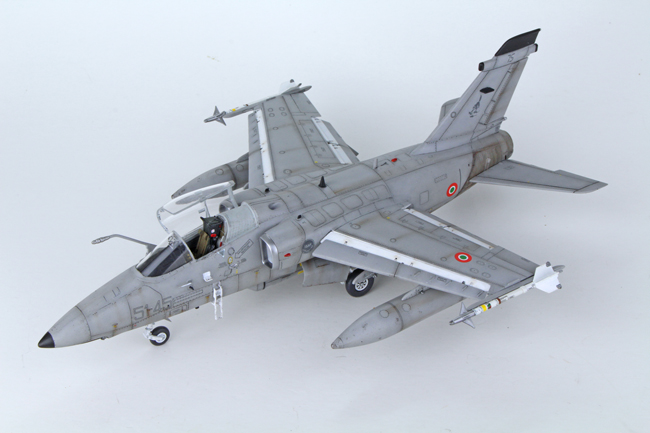
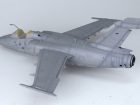
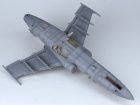
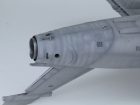
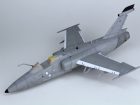
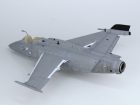
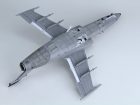
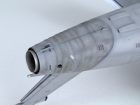
Once the main camouflage had dried, I used the Kinetic colour guide and my own references to mask off the areas of the airframe that needed to be airbrushed black and white. I used both Tamiya’s XF-1 and XF-2 to build up the colours slowly to ensure I got good coverage and that the paint didn’t pool and bleed under the masks. Once the paint had dried, the masks were removed, and the model was given a couple of light coats of Alclad II’s Aqua gloss in preparation for decaling. I have to say that if you haven’t tried the Aqua gloss before, do yourself a favour and get some. It leaves a beautifully glossy surface, and can be polished further with a soft cloth.
Another benefit of the Aqua gloss is that AK interactive, Wilder, or Ammo products can be used directly on top of it without fear of damaging the surface, and this is due to it being water based rather than oil or lacquer.
Decals
At first glance there didn’t seem to be a great deal of stencils or markings on the aircraft, but I found out rather quickly that wasn’t to be the case. Kinetic have suppled quite a substantial decal sheet that has been beautifully printed by Cartograf. As expected with Cartograf decals, they settled over the surface perfectly with the aid of some Micro Sol decal solution. Yet again though Kinetics instructions prove themselves to be next to useless, as some decals are numbered wrong or aren’t mentioned at all. The missiles being a perfect example, there is no mention of the decal placements for them at all, and I had to rely on my own research to apply them correctly.
And some weathering
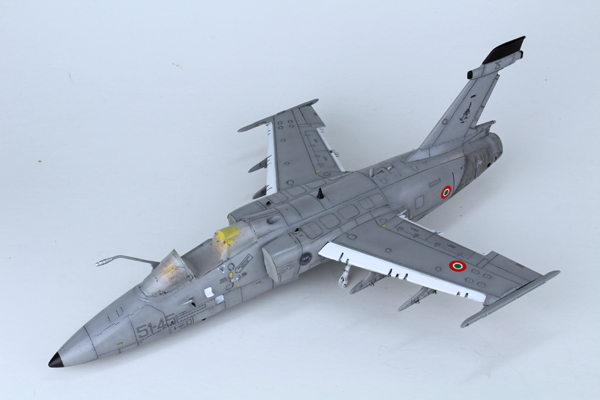
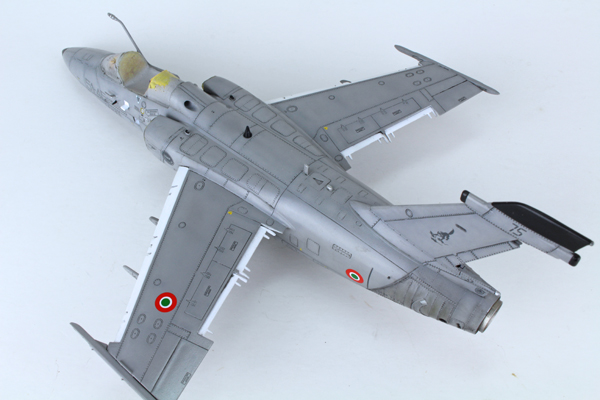
Once the decals had dried, the surface of the model was lightly cleaned with a damp clean cloth to remove any excess decal solution. Another coat of Aqua gloss was used to seal in the decals before moving onto a panel line wash. For this I used AK Interactives Paneliner for blue and grey (2072). The solution was brushed into the panels letting capillary action do most of the work. Once this was dry to the touch I used some clean dry cotton buds to remove the excess wash. Any stubborn stains were removed with a brush dampened with AK Interactives odorless thinners.
I used a highly thinned mix of Tamiya’s flat black (XF-1) and red brown (XF-64) to create some streaking on the lower surface. The same mix was used to highlight a few of the panel lines around the airframe to add some general dirt and grime. Once this had dried I added most of the smaller parts that I had left off to aid in the painting process, or in fear I’d break them off during the build. This was followed by a coat of Mr Hobby’s matt clear varnish thinned with their own acrylic thinner.
Once the matt varnish had dried I used AK Interactive streaking grime around specific areas of the model. I concentrated more on the lower surface to represent leaking fluids and general stains. It’s easier to get the most out of this product when used on a matt surface as the oil has a better chance of sticking to the surface rather than had it been applied on a glossy surface. I left this to dry for a while before using a brush dampened with ordless thinners to create streaks in the direction of the airflow. I finished the last of the weathering off with Humbrol’s smoke pigment (AV0004) around the engine exhaust, and around the nose mounted machine gun. Finally the canopy masks were removed and the canopy was fixed in position with some Micro Krystal Klear canopy glue.
